Haven't had a lot of hobby time of late, and as such I haven't had much in the way of interesting pictures to share. Time to remedy that with a whole MESS of pictures from a test game a friend of mine and I played in preparation for the Tempus Fugitives event coming up in March!
Skyhook Playtest Series, Game 1: Blood Angels vs. Dark Eldar - 1000 points, Annihilation
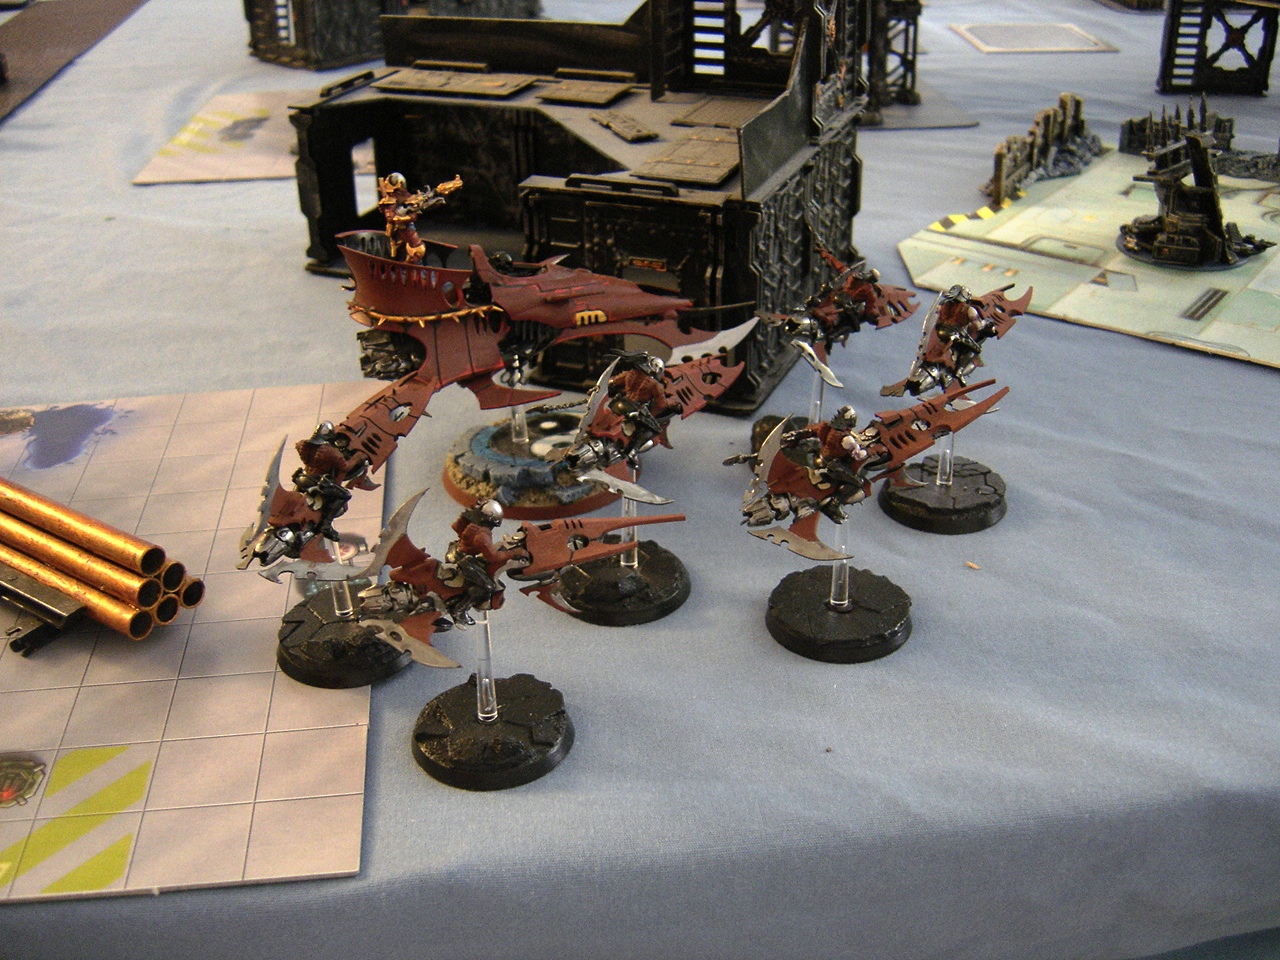
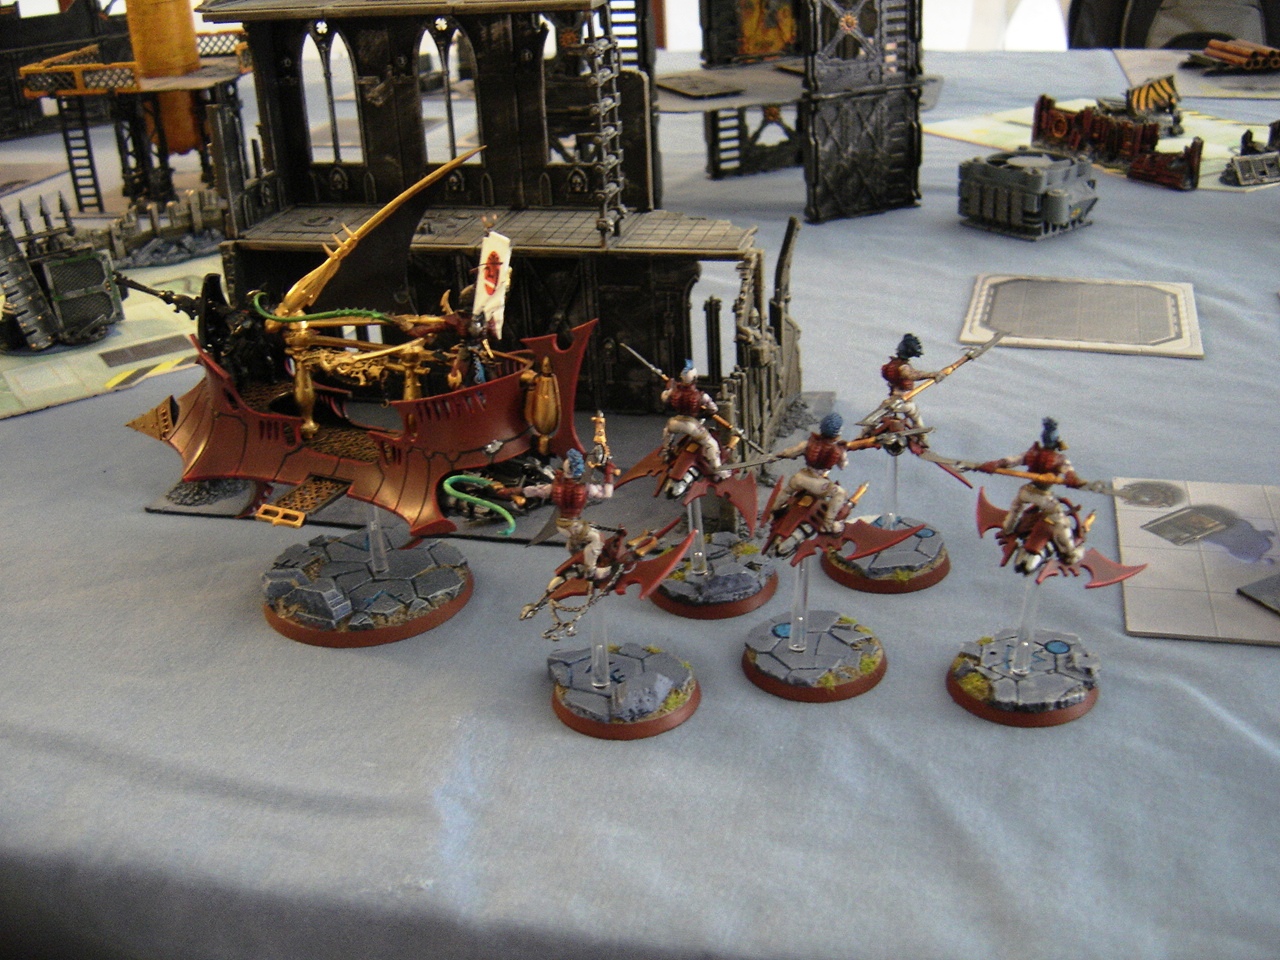
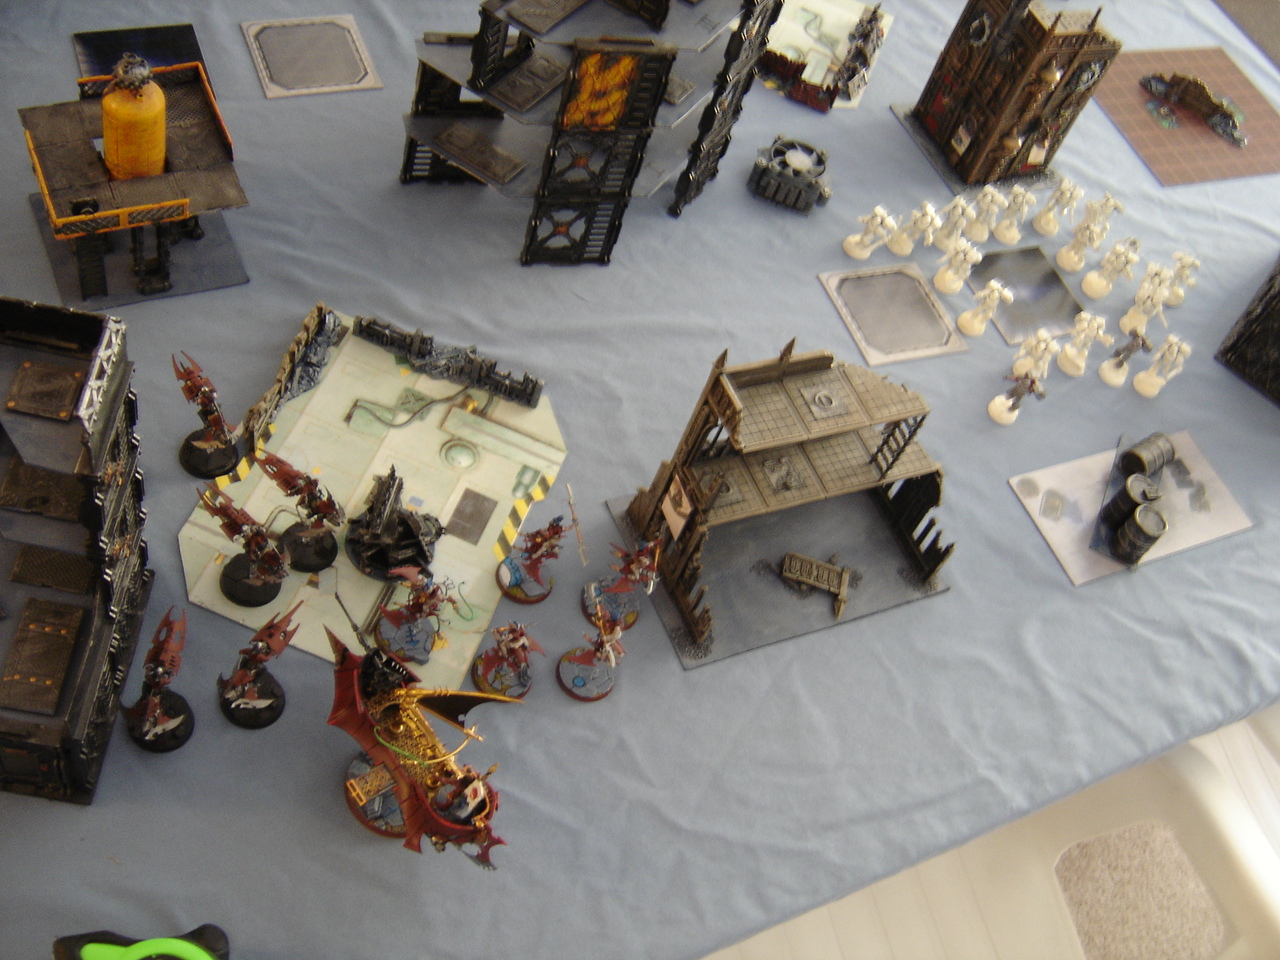
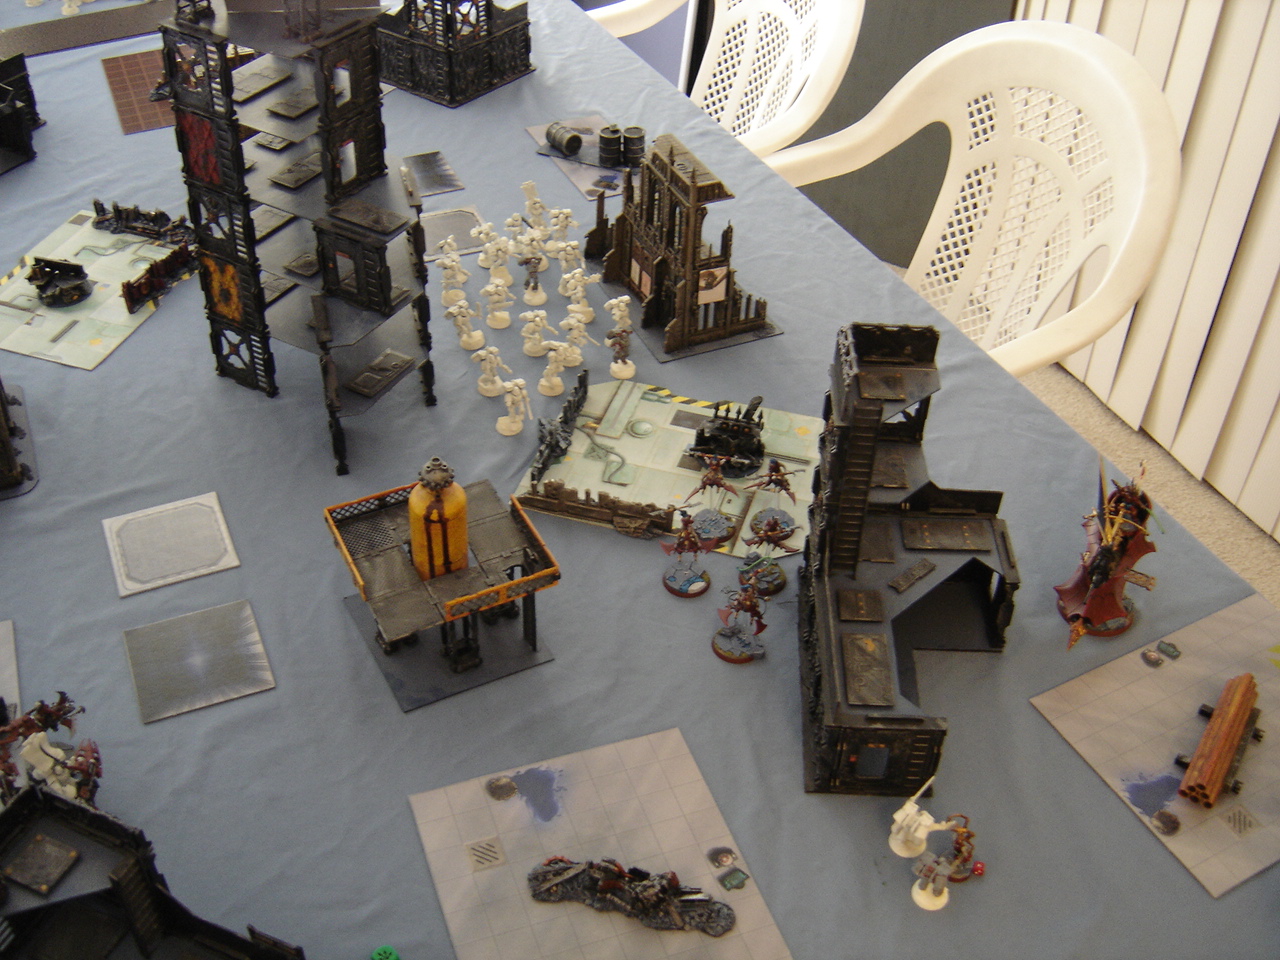
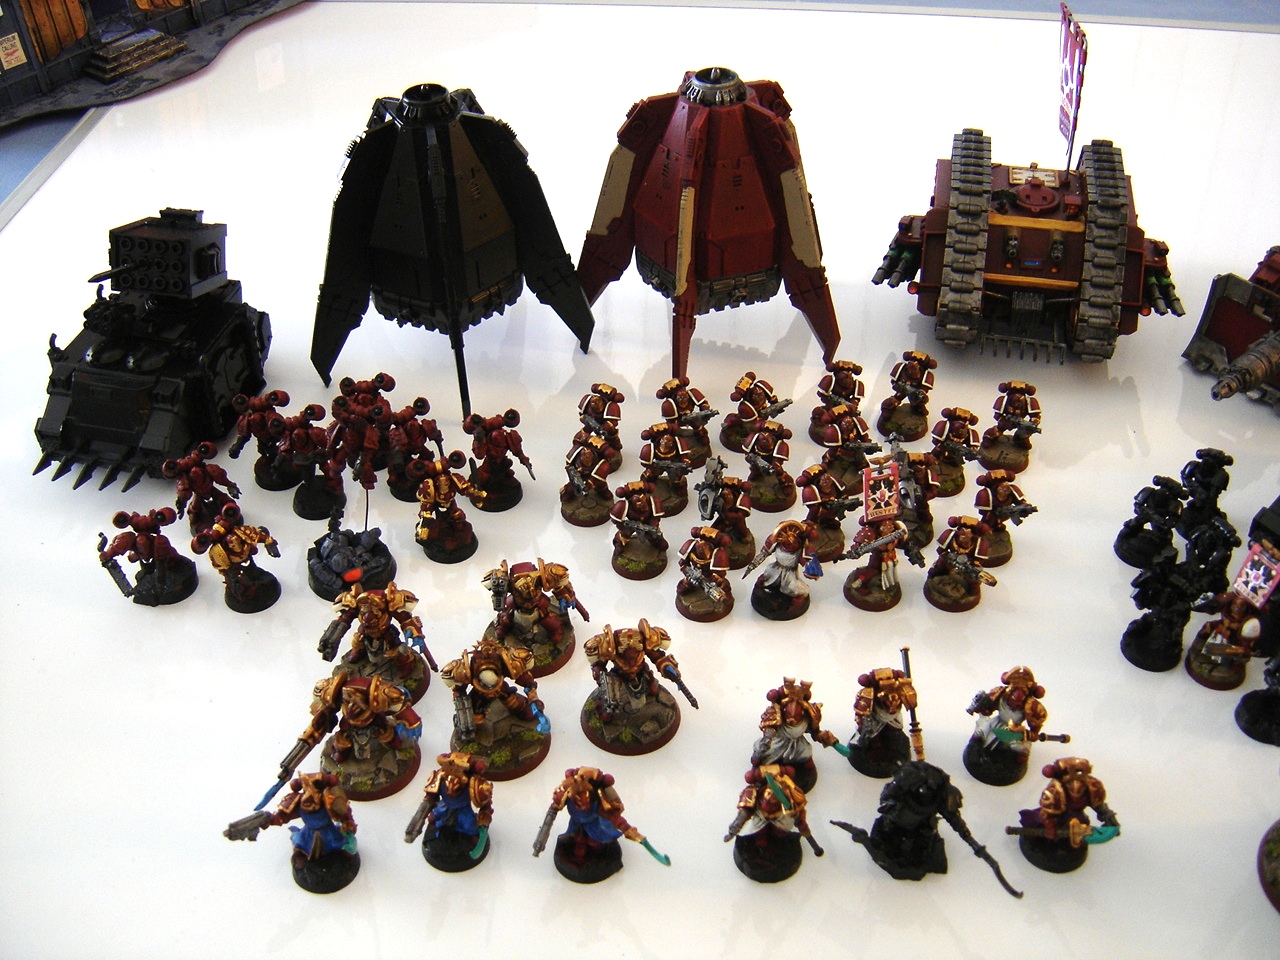
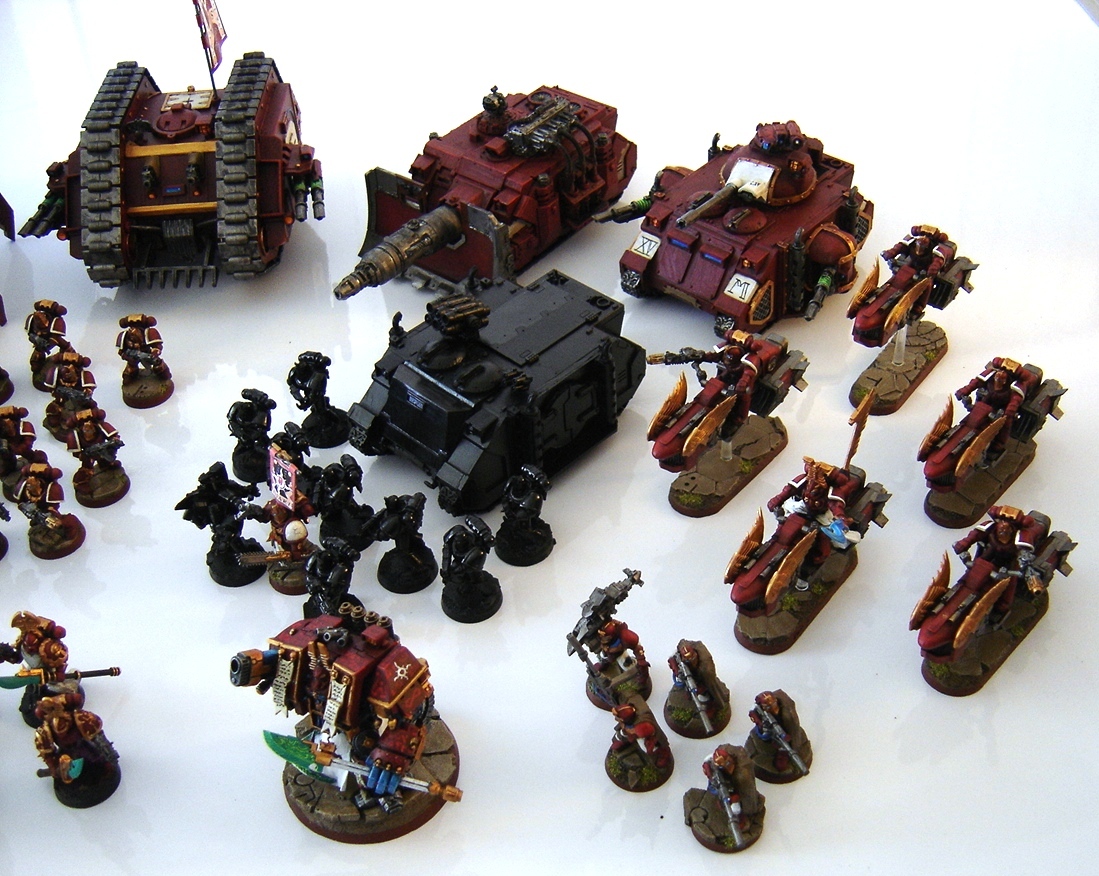
After collecting PalpaDave, he laid out his force:
The army stayed there for longer than I expected!
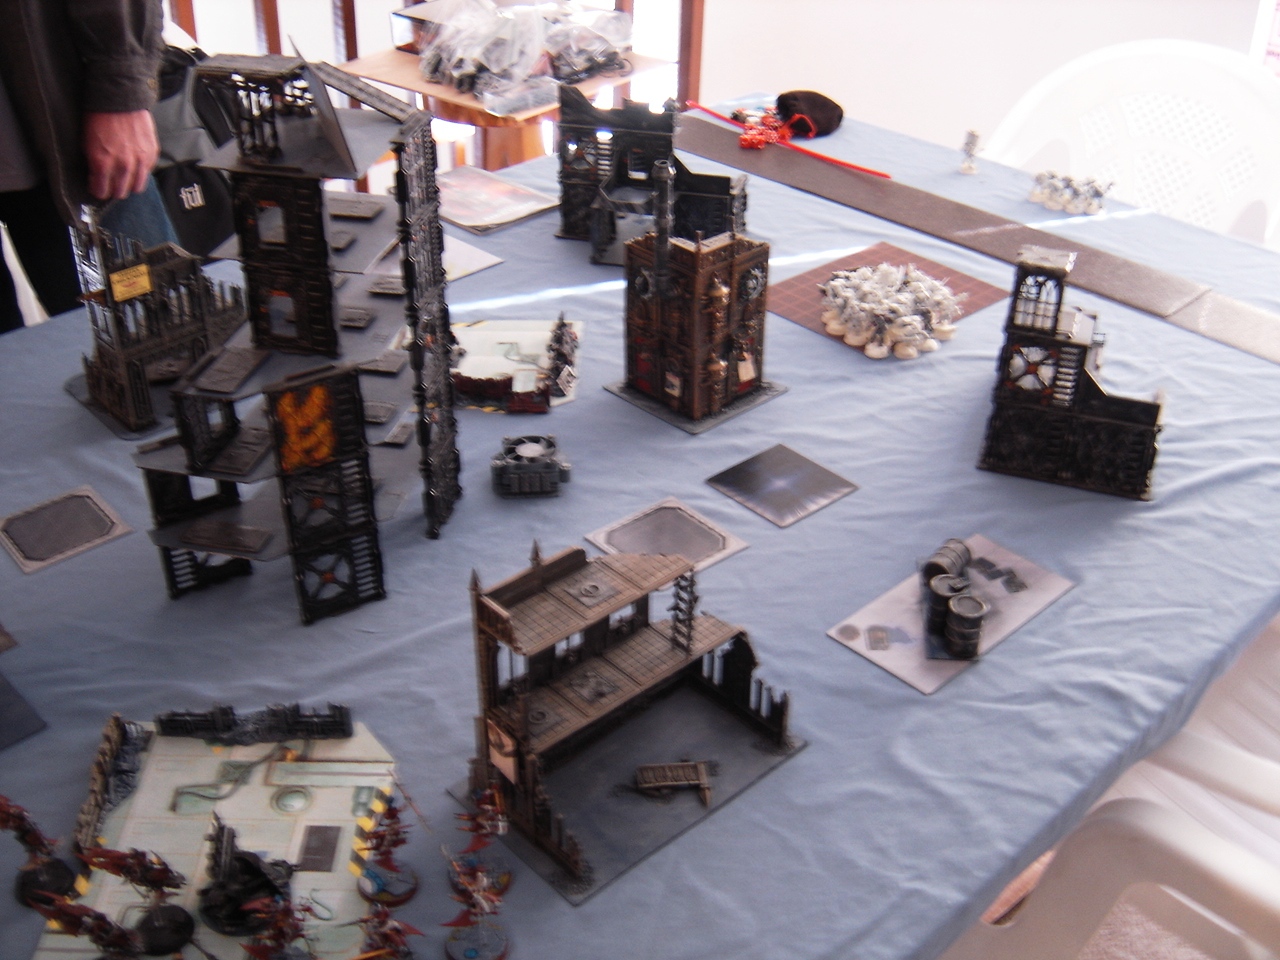
DEPLOYMENT
We went with the standard halved table setup and the Annihilation type, and rolled off. Dave won the roll and the Blood Angels chose to go second.
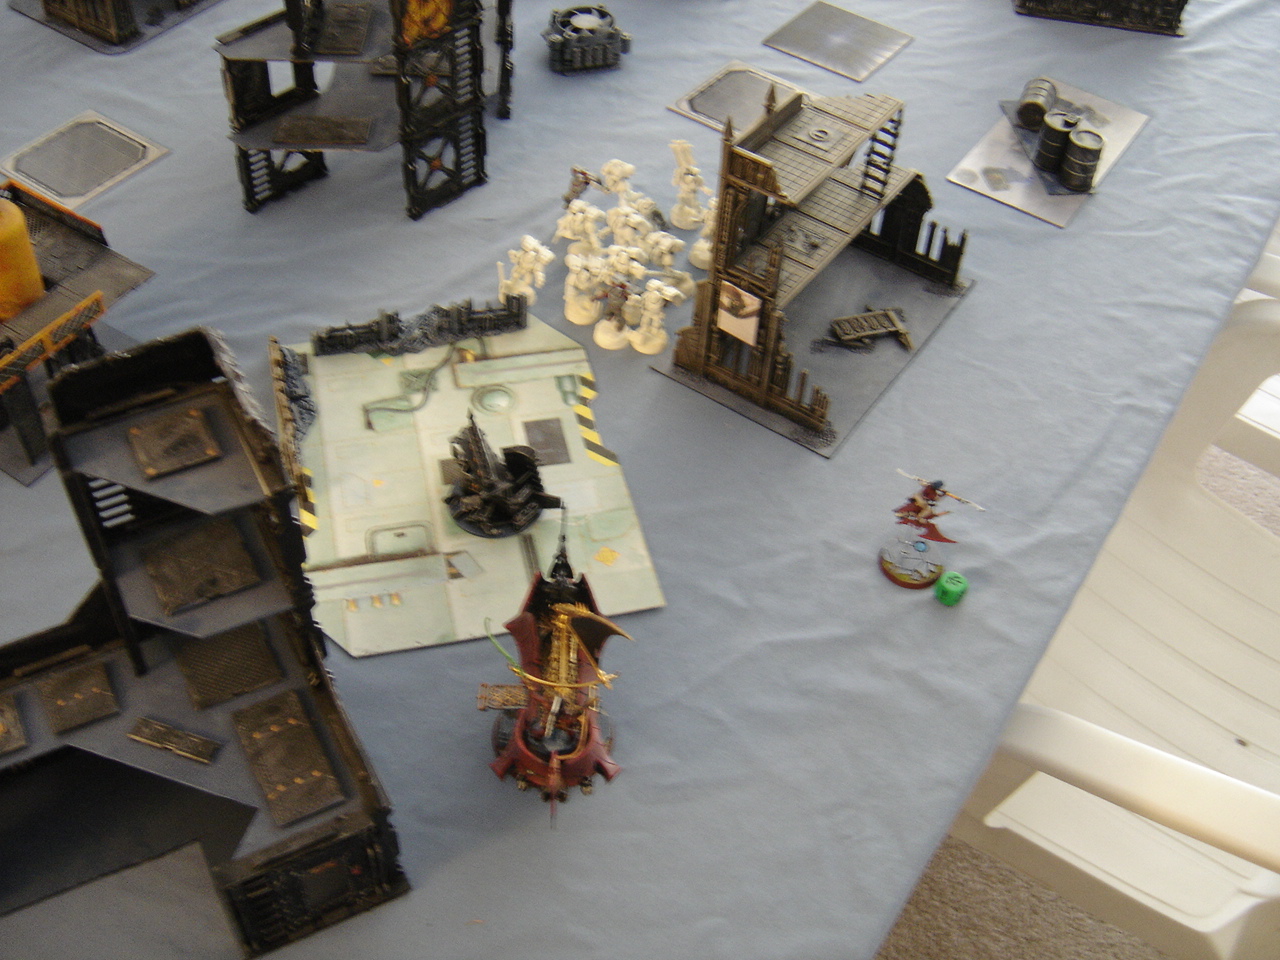
The Dark Eldar deployed the Venom and Jetbikes on the left flank:
While the Raider and Hellions took up station in the middle of the DE deployment zone:
The Blood Angels deployed... Nothing! As his entire force was capable of Deep Strike, that ended the segment.
TURN ONE
The Dark Eldar don't move.
The Blood Angels cannot yet arrive.
TURN TWO
The Dark Eldar don't move.
...A tumbleweed rolls by.
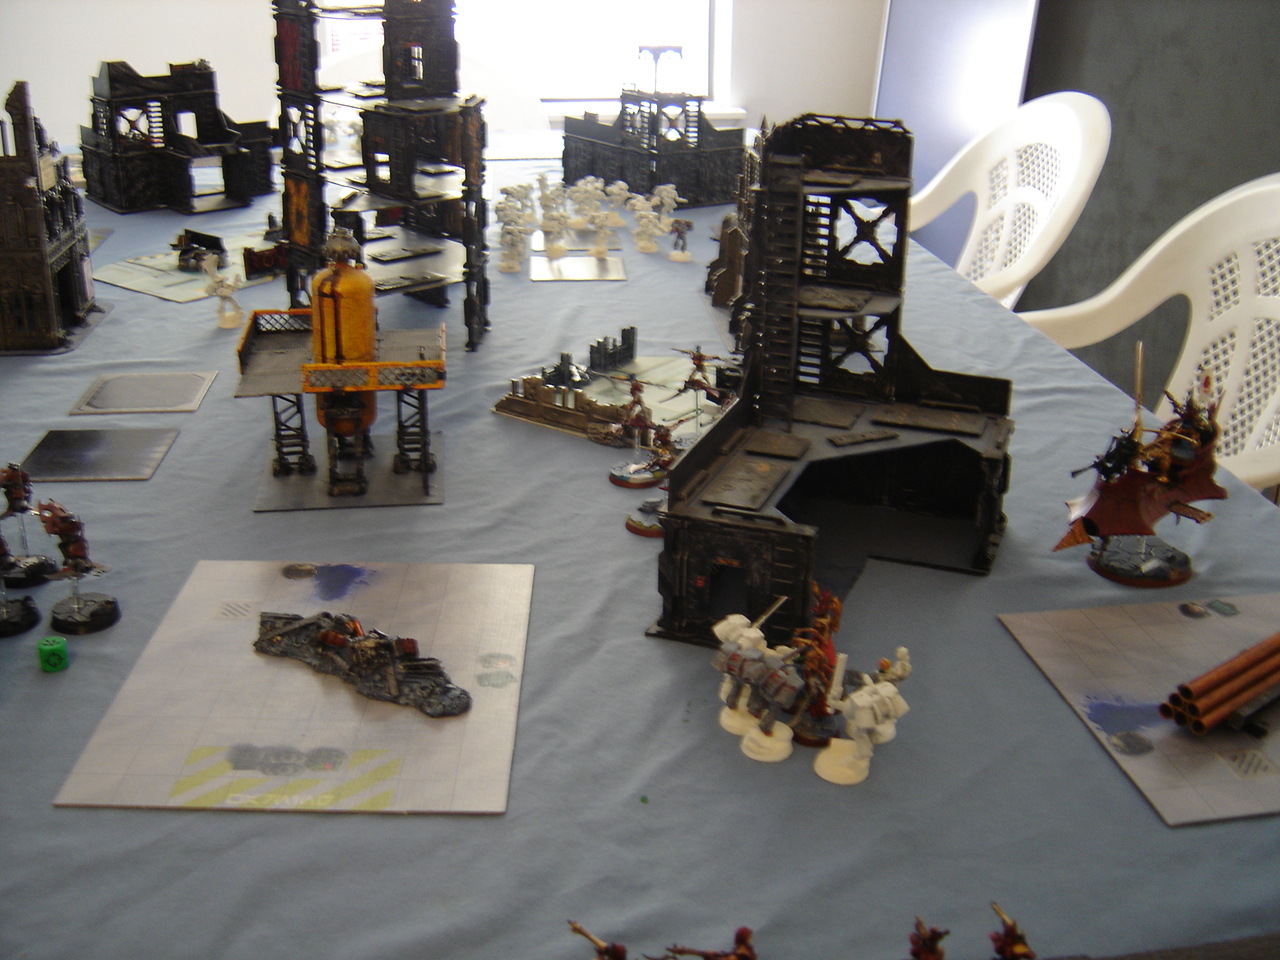
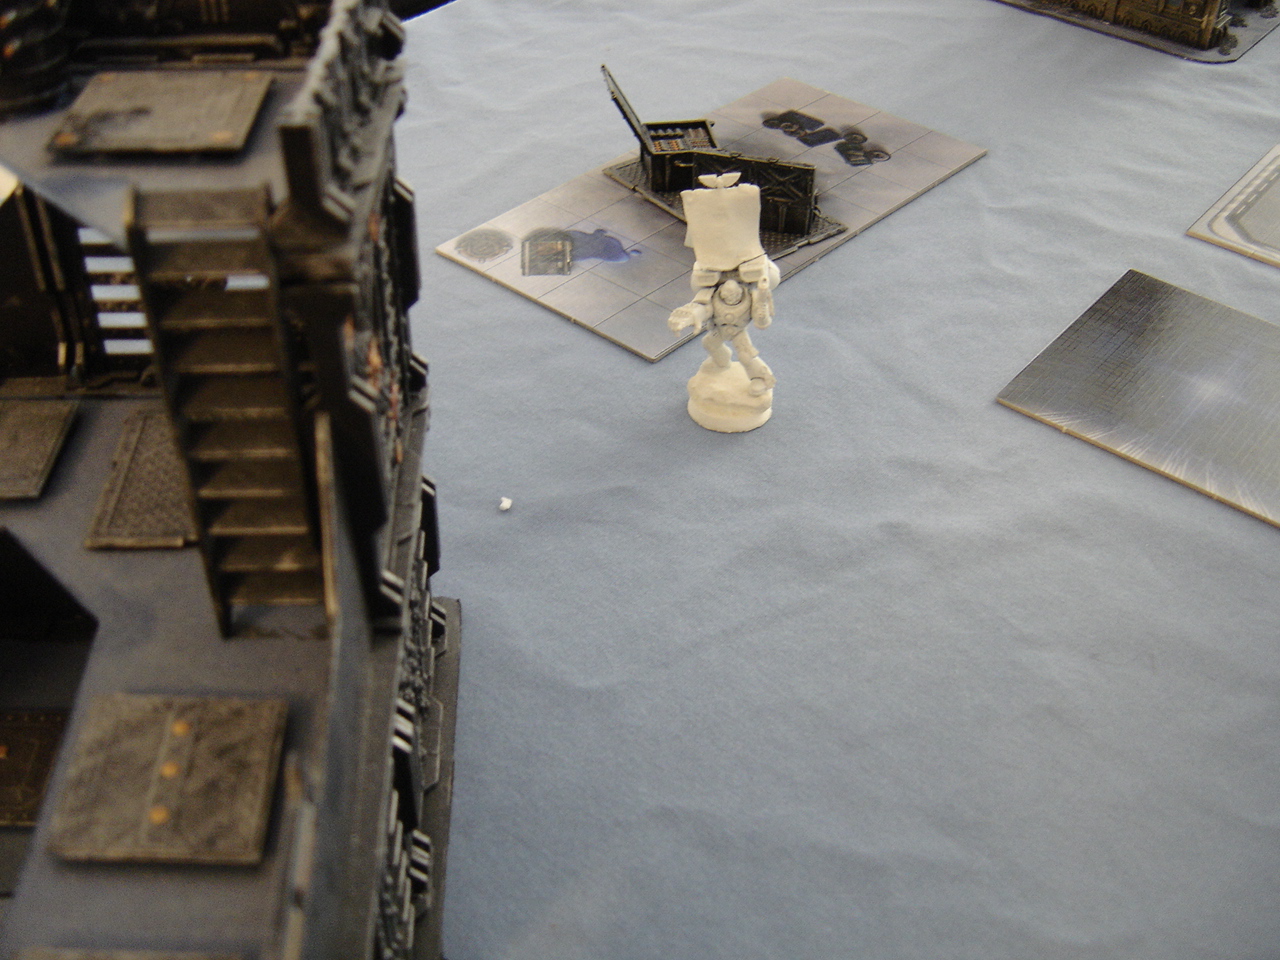
With a roar, the two Blood Angel assault squads arrive, and the Dark Eldar were so dismissive of the event at this point that I apparently failed to take a picture of it. The two squads arrive roughly a quarter of the way in from each short table edge, roughly at the centerline of the table.
The foolish Mon-keigh deployed outside their effective weapons range and turn two ends. Elapsed time from the end of deployment: about three minutes.
TURN THREE
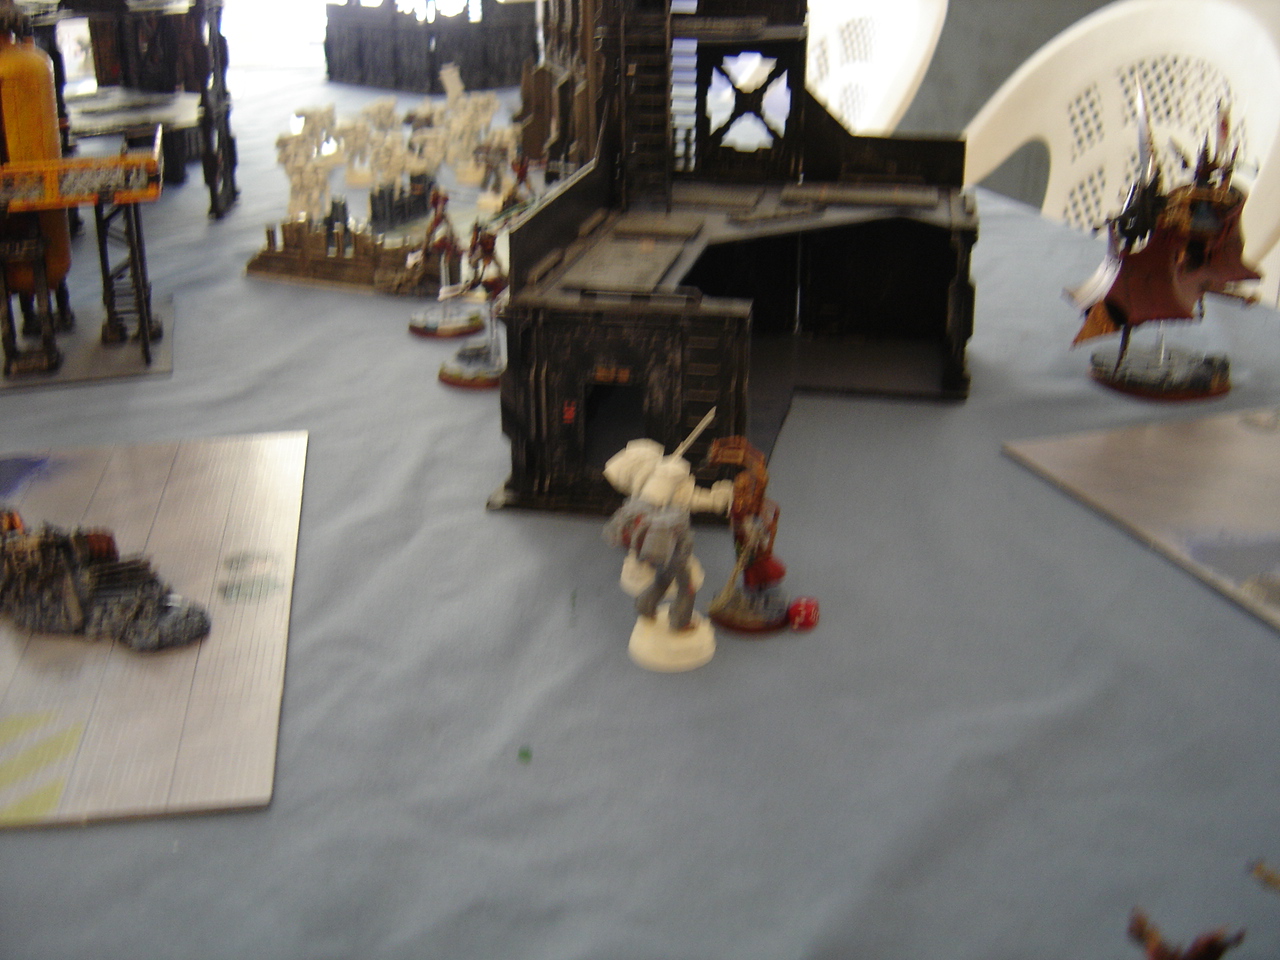
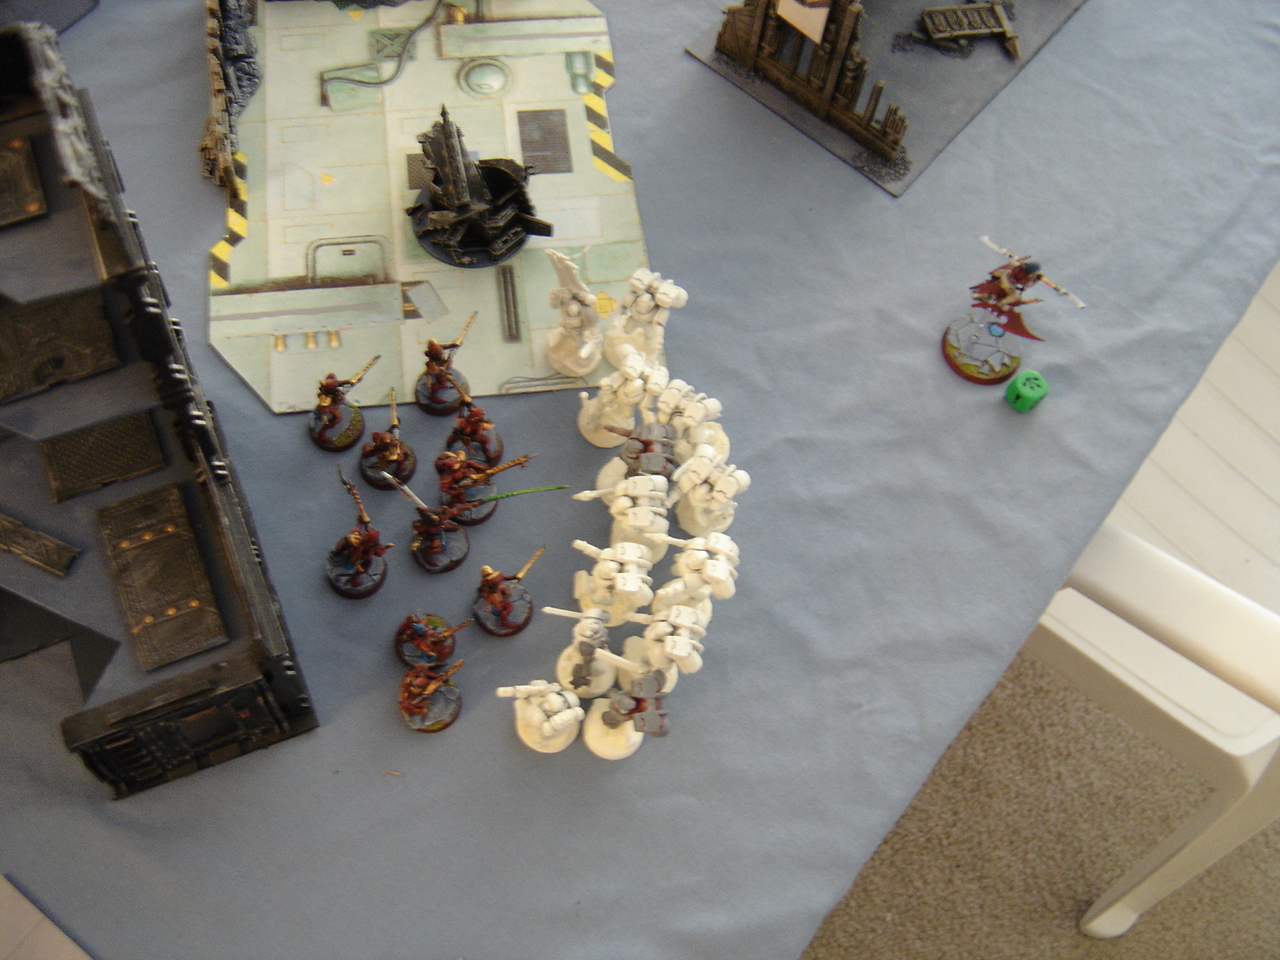
The Dark Eldar pounce on the Assault squad on the left flank, while the Raider and Hellions also swing out to the left to assist. A volley of splinter weapons accounted for a fair number of assault marines, though not enough to break their resolve.
This left the second assault squad rather far out of position, though being jump infantry the dark kin knew they wouldn't be out of the action for long.
The Blood Angels responded by destroying the Venom with a volley of Melta fire. The Crimson King and his unit dismissively rode out the blast, and accepted the charge of the assault marines. A furious melee ensued, with the preternaturally fast Archon laying out a number of marines with his Agonizer. The Blood Angels retaliation slew the Trueborn, leaving only the Crimson King and his Haemunculus,
On the right flank, the second Assault squad bounded forward, and turn three drew to a close.
TURN FOUR
The Raider and Hellions move in to assist the Crimson King while the Reaver jetbikes arrow off to attack Captain Furioso, and with contemtuous ease, the Crimson King slaughters a further four marines, with their return attacks nullified by a combination of eldritch techno sorcery and frightful bio-engineering. The Blood Angels grimly fight on.
In the Blood Angels phase however, the tables suddenly turned! A lucky strike by Perada was not intercepted by the Crimson King's shadowfield, and he was skeyered by the Blood Angel's relic blade.
At the same time, it became apparent that the Reavers had sorely misjudged the effective threat range of Captain Furioso. Fully half the squad was snatched from the air and crushed into scrap by the Captain's power fists, and his ceramite battle plate and martial skill was proof against the vile Xenos' counterattack.
The second Assault squad continued its advance, and turn four came to an end.
TURN FIVE
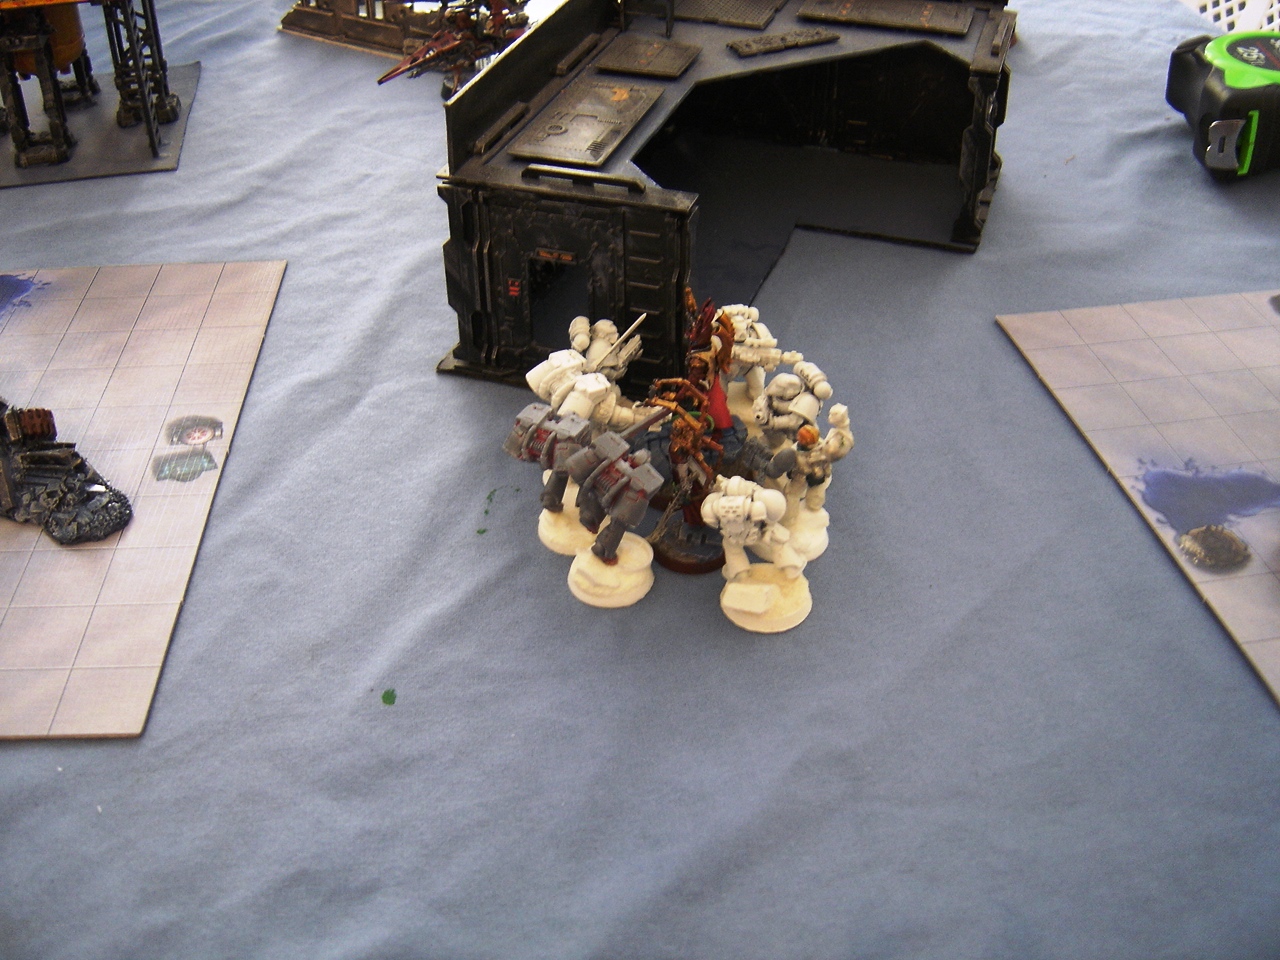
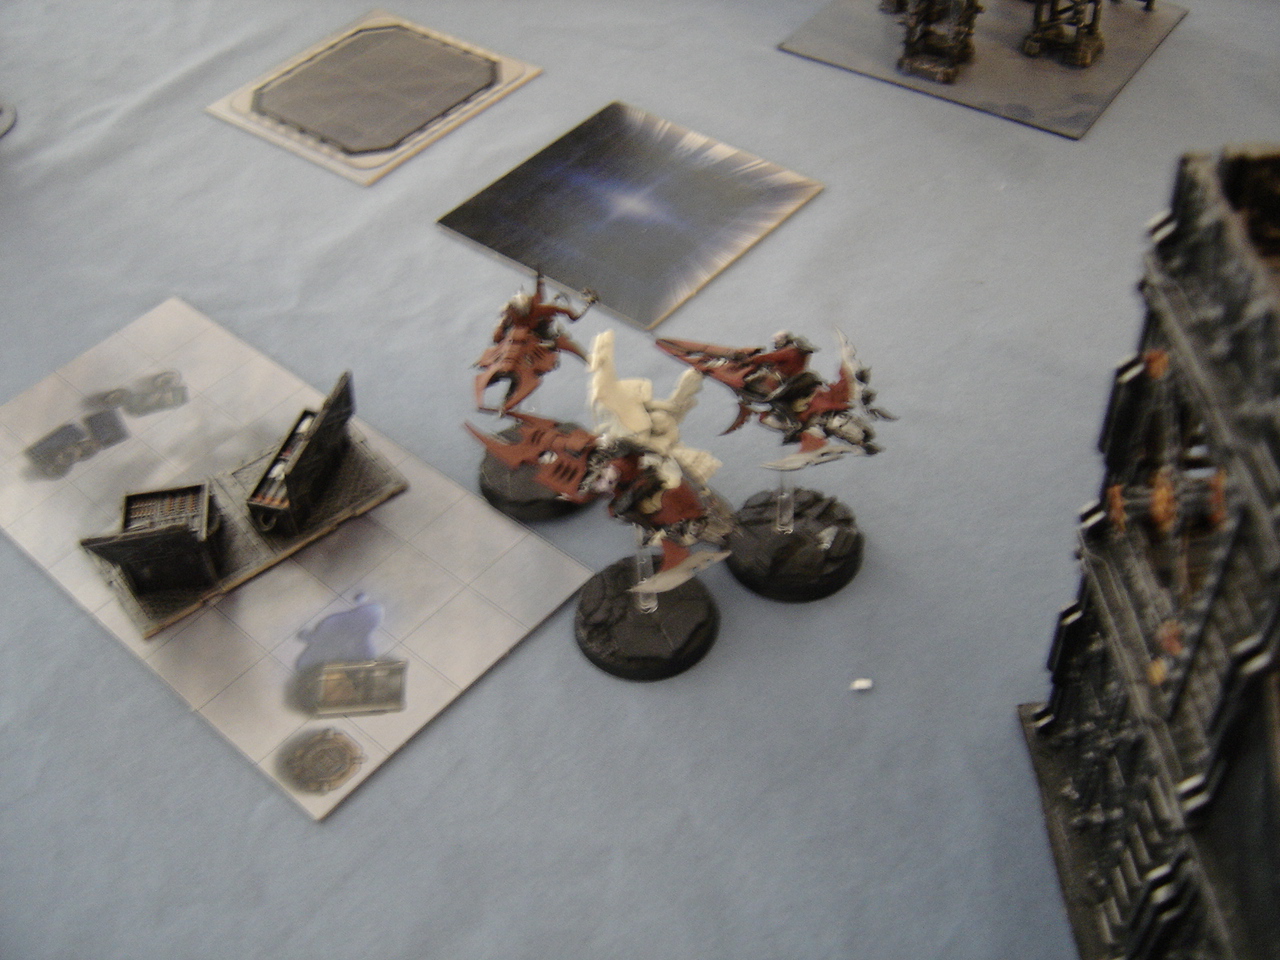
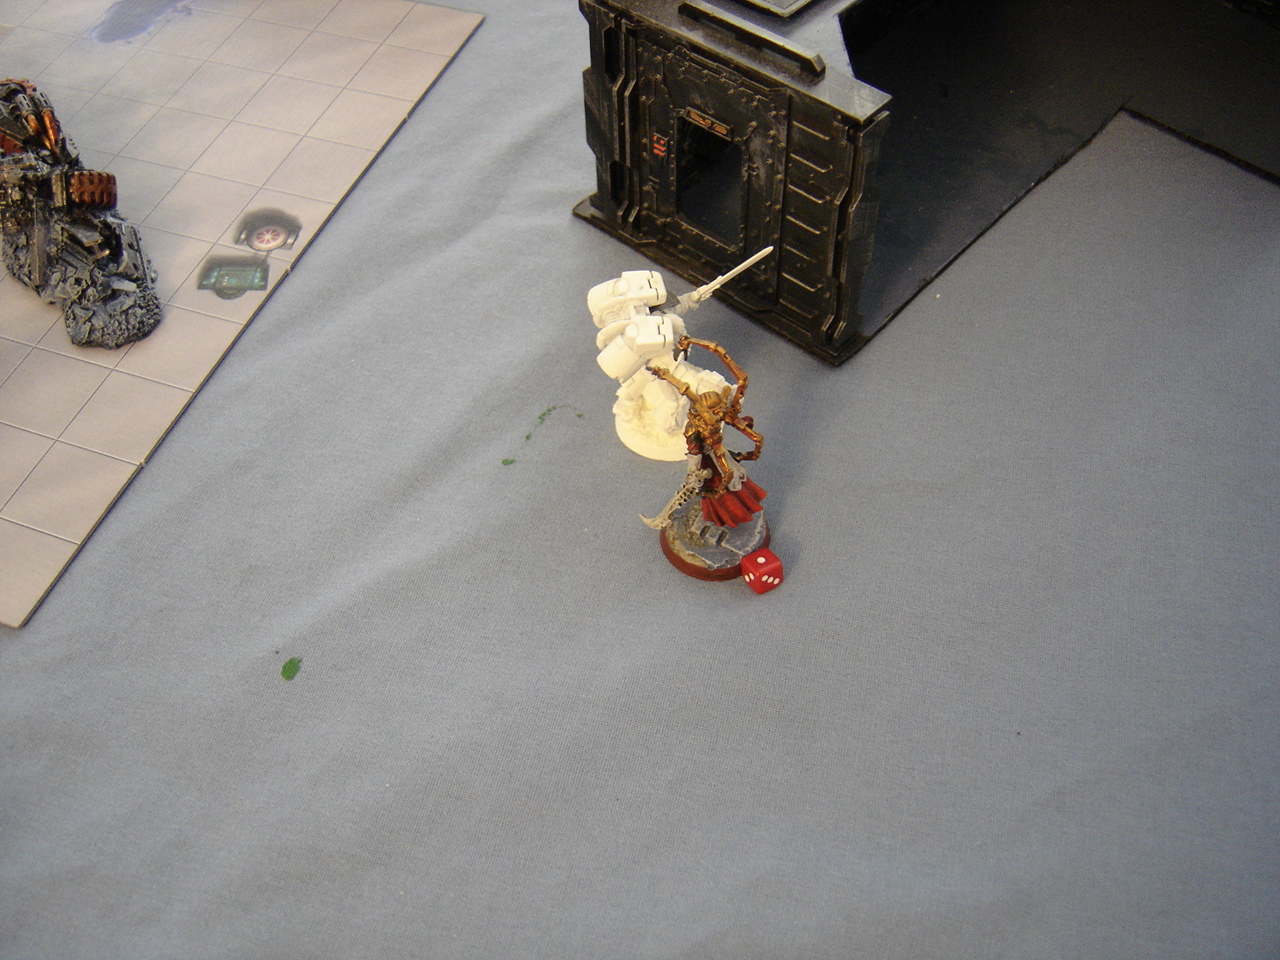
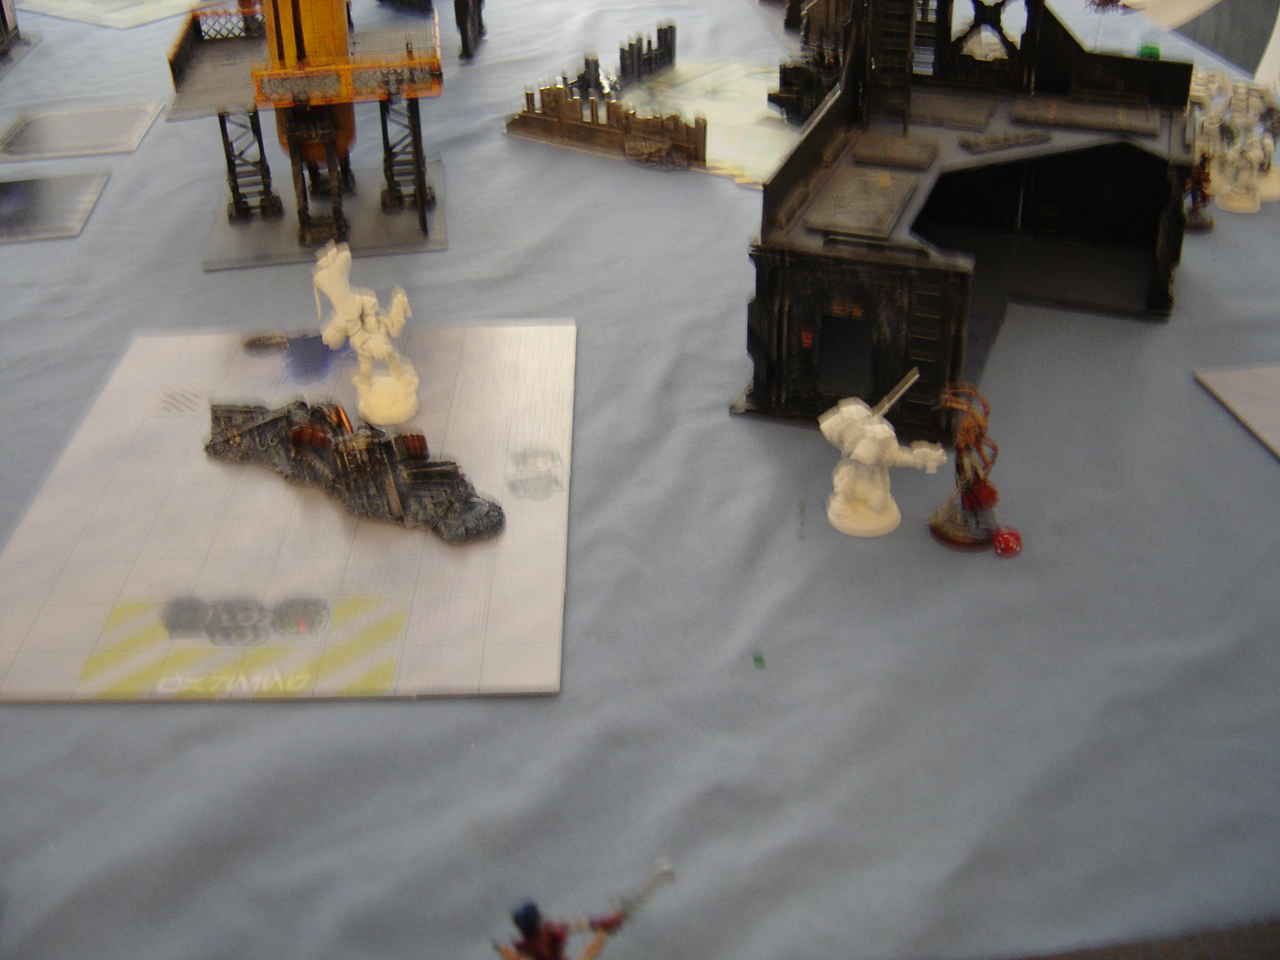
The Haemonculus' lashed out with his Huskblade and the true nature of the Dark Eldar's reality-bending technology became apparent:
...And from another angle.
Unfortunately the sole hit was taken by the remaining assault marine, leaving Perada unharmed. The Haemonculus was wounded in the melee, but wasn't out of the fight yet!
The Reavers proved completly ineffectual and were destroyed with contemptuous ease by Captain Furioso.
The Hellions and Kabalite warriors aboard the Raider unleased a flurry of shots from their splinter Weaponry, but only managed a bare handful of casualties. The Hellions arrogantly assaulted the second squad, but while they were able to account for a number of the marines they were badly mauled by the marines' retaliation. The sole survivor peeled off, easily outrunning the sweeping advance.
In the Blood Angels phase, the duel continued between Perada and the Haemonculus, with neither side able to gain the upper hand. Captain Furioso was moving in to support however...
The second Assault squad shot the Raider out of the sky, the Dark Eldar dismounting and landing lightly on their feet. With that, turn five drew to a close.
We rolled to see if there would be further turns, but the dice said there was not, and the game ended. We tallied up the Victory Points and the Blood Angels won, 32 to 13.
The battle was really quick and quite a lot of fun. Both armies were designed to avoid the Unstable Footing rules, so at any given time, the Dark Eldar were only rolling two or three dice for the archon and haemonculus at the beginning of a couple turns. The Kabalite Warriors would have had to roll had there been a turn six. Overall, a very enjoyable experience - a nice quick 1000 point game was just the thing to take the edge off a challenging stretch at work!


.JPG)


