
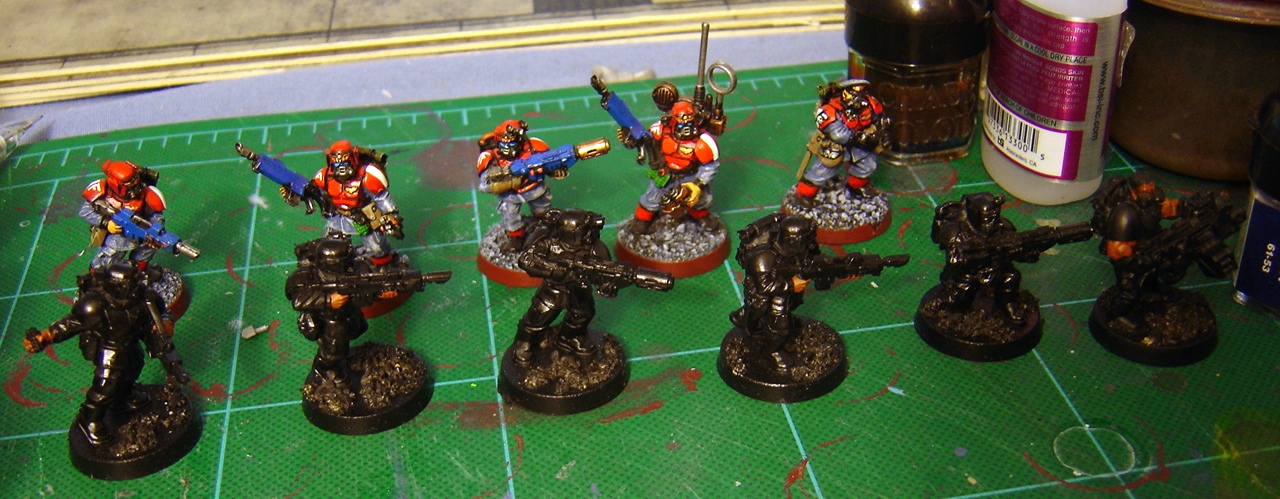
Since I had my camera right by my painting table, I figured I'd document the painting process from the primered to finished states. I start off all my infantry with Vermin Brown on any exposed skin as the basis for the flesh tones.

After the Vermin Brown is on, I paint any exposed eyes white with a thin line of black for the pupils - In this case, only the proxy Harker fig has exposed eyes, the rest of the unit has FW helmets with respirators, so I decided to wait on the lenses until later in the process. Once the eyes are done I use bronzed flesh followed by elf flesh to pick out any extreme highlights. After that I got started on the main colors - My veteran squads have a reversed paint scheme from my standard infantry, with grey fatigues and red armor. I started off with a Shadow Grey undercoat on the fatigues, and Dark Flesh for the armor.
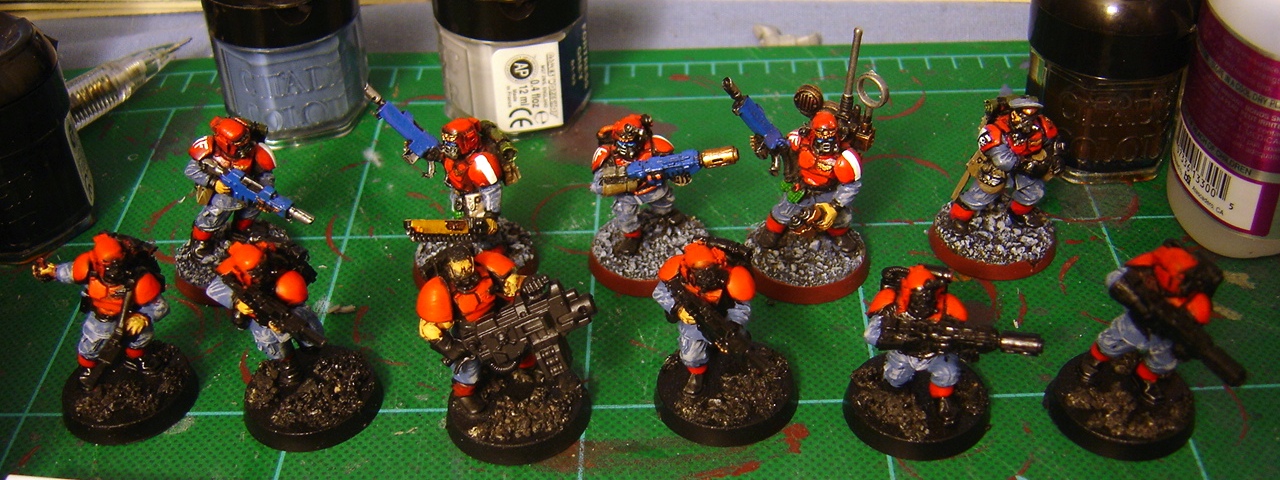
Once the base colors were on, I used a light drybrush of Fortress Grey on the raised areas of the fatigues, and a heavy drybrush of Blood Red on the armor. I find painting bright red over a black undercoat ends up looking very muted and streaky, so I usually start with a reddish brown undercoat. The reds tend to 'pop' much better that way.
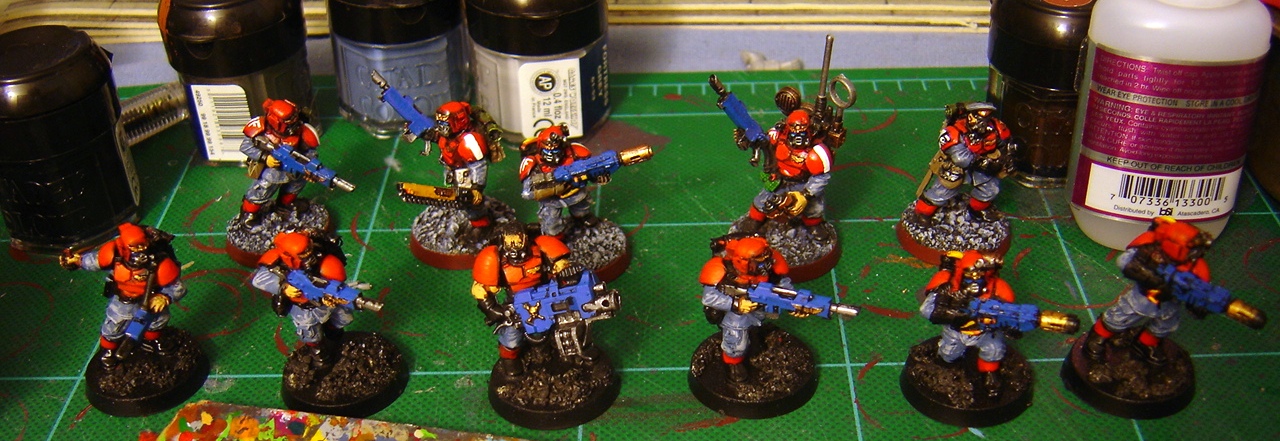
At that point, the majority of the colors were done and it was time to delve into the detail work. I used Enchanted Blue for the weapon housings as well as the lenses on the helmets, then I went in with Boltgun Metal on the barrels and whatnot for the weapons, as well as the respirator masks. I picked out the meltagun barrels and the Aquilas on the breastplates and helmets with Shining Gold, but at that point I ran out of painting time and had to call it a night.
Not too much remains - I still need to do the backpacks, gloves, and webbing in leather, pick out any grenades and such in their appropriate colors and paint up the bases. No painting time for me tonight, but I'm hoping I'll be able to knock them out tomorrow evening, just in time for the 2nd challenge deadline!


.jpg)


.JPG)


Hmm, I've heard of the advice that to get a red basecoat to pop over a black undercoat, you should first apply a brown intermediary coat. I really like the effect you achieved with your red using this technique, so I might consider doing this with my future Blood Ravens. Nice work on your vets, BTW!
ReplyDeleteIndeed - I find that Dark Flesh is ideal for just that purpose. It's opaque enough that it goes over a black primer in a single coat, and it's got a reddish-brown color that works under reds quite well. It may be just the thing for the more muted reds the blood ravens are known for!
ReplyDeleteI've sent a mail to a friend playing SM to get that scout's heavy bolter and arms : If he have a spare one, I'm going to copy you. I hope you don t mind.
ReplyDeleteBy all means - it was a super simple swap, though in retrospect I should have used a torso off the Catachan command sprues. His arms are a bit large for the model, but it's passable from a distance... :)
ReplyDelete