The Shaun of the Dead quote is apropos for this post! A couple readers have asked how I do the red on the Thousand Sons, and as I had a free evening yesterday I documented the process - hopefully it'll be of use!
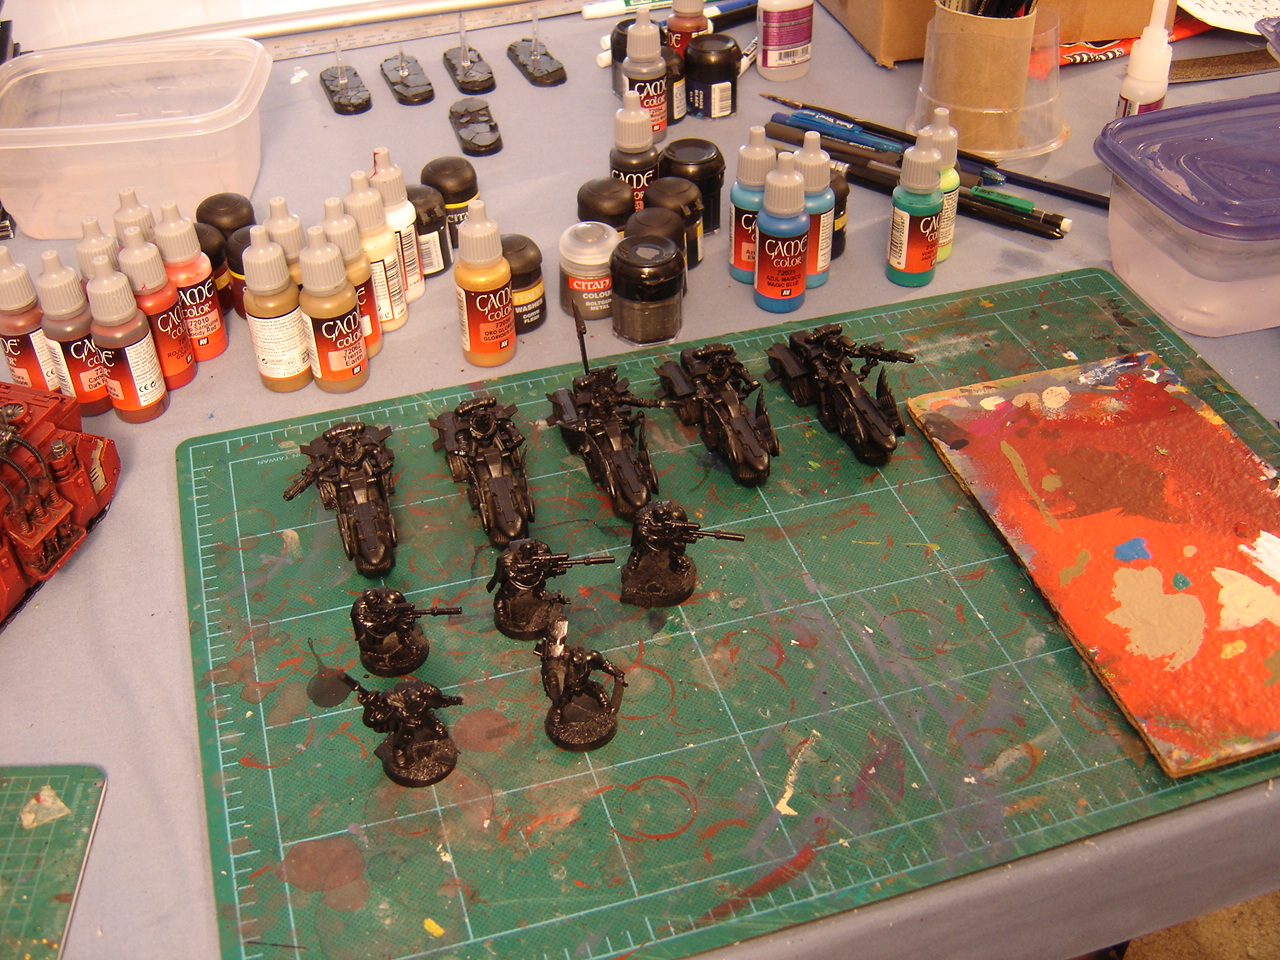
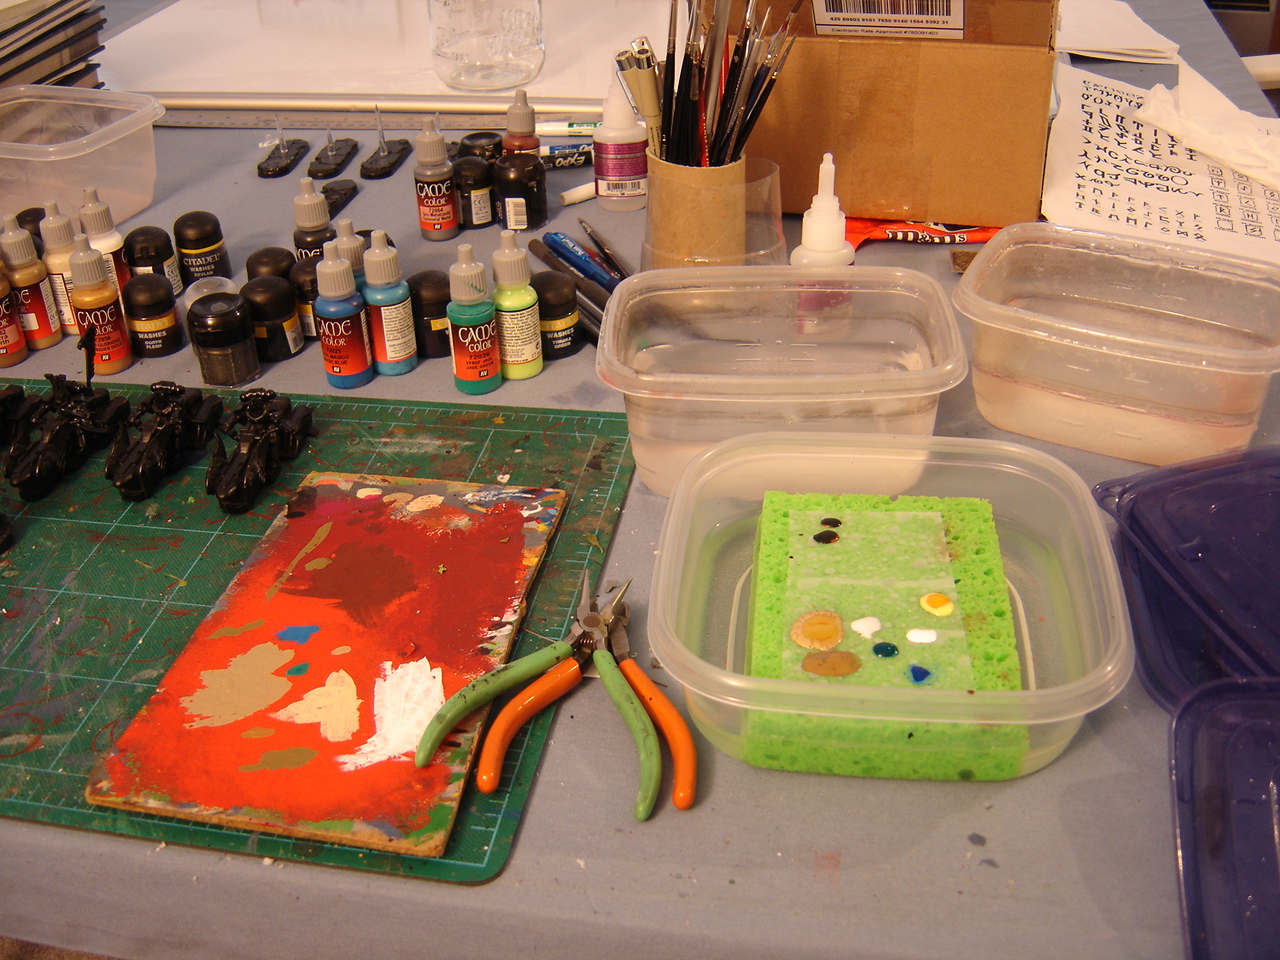
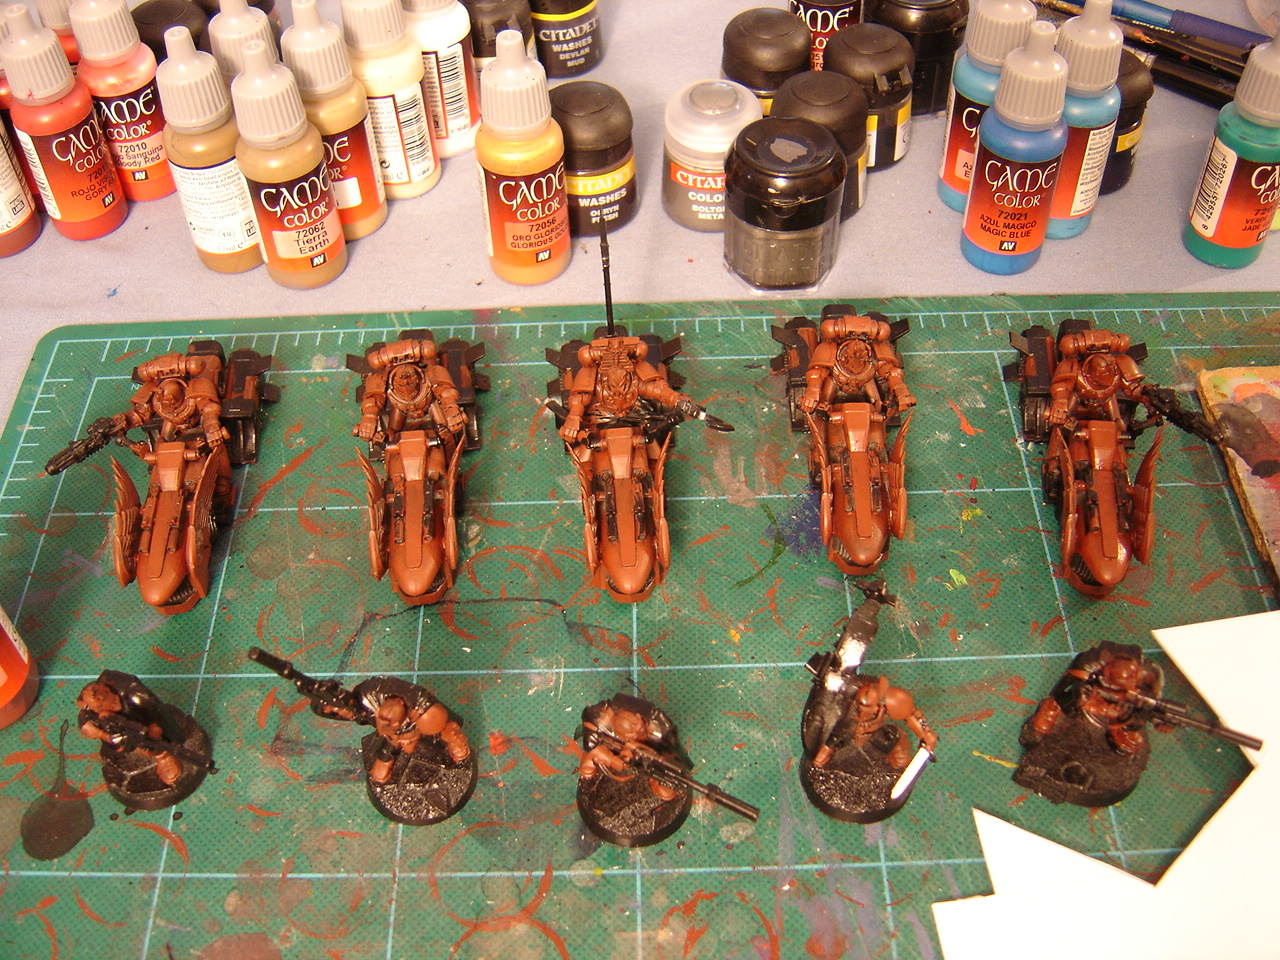
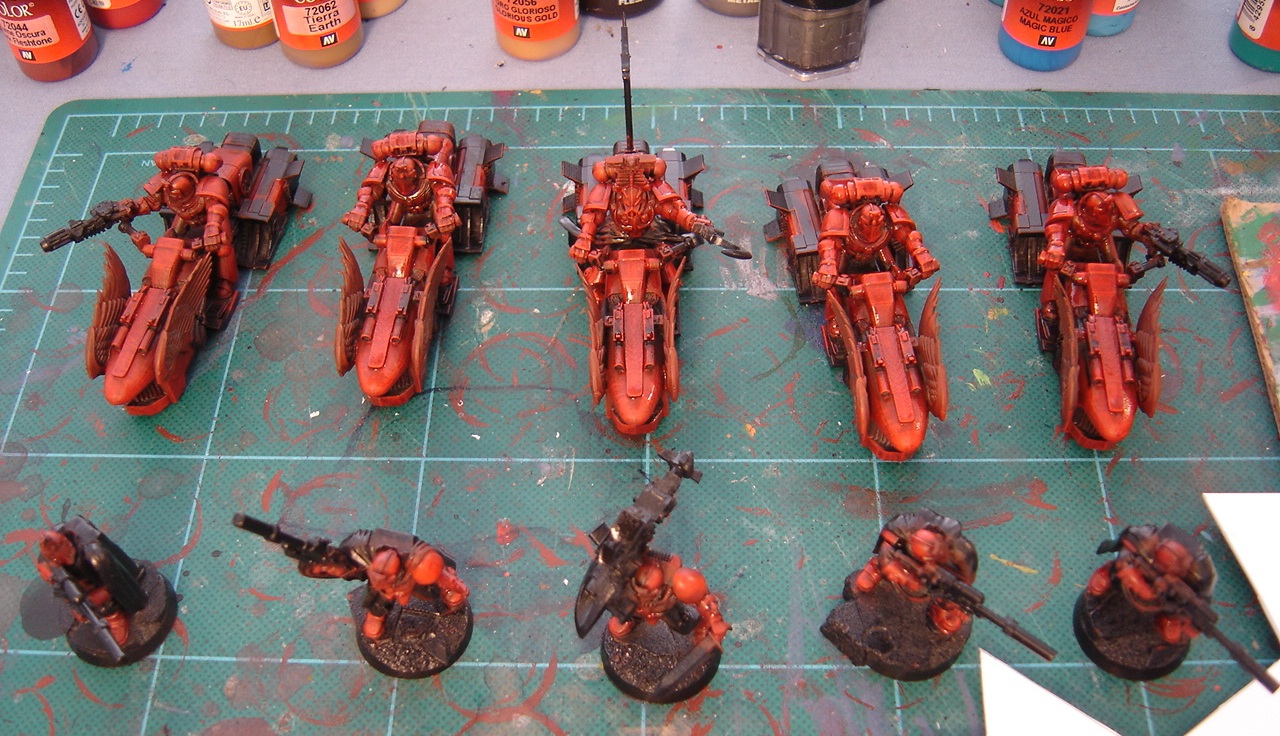
To start with, this is my work area. I usually paint 10-20 miniatures at a time, so I'll lay out what I have in a semi-ordered grid, and pull out all the paints that will be going on them. In the back of the first picture you can see all the various colors that go into the Thousand Sons. Between each major color I'll change out my rinse water - I use a pair of cheapo plastic containers, for a basic two-rinse system (first rinse gets rid of the majority of the paint, and the second rinses out whatever's left from the first rinse). I've been using a wet palette for a little while now and I absolutely love it - I used to menace
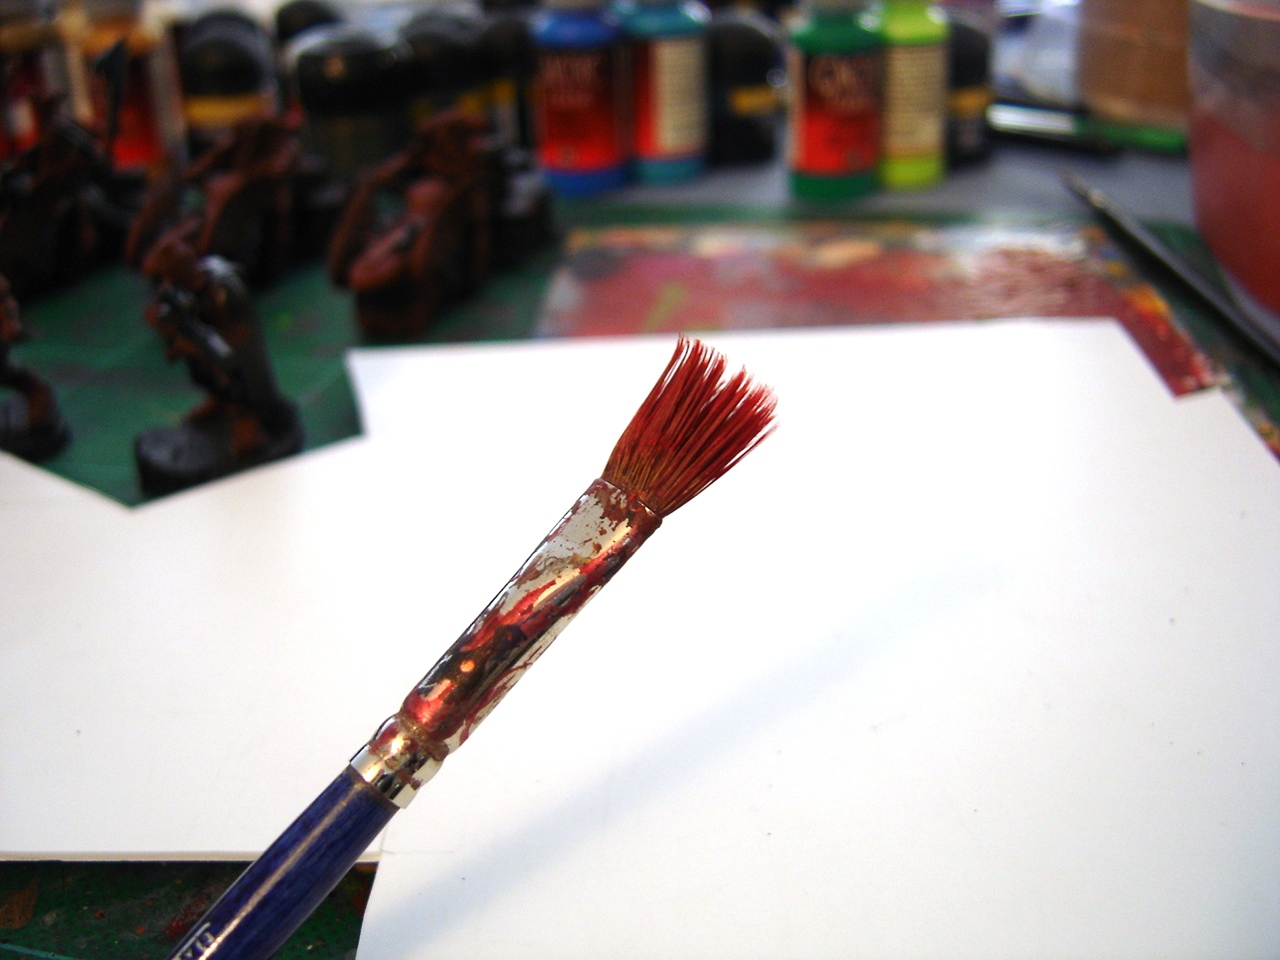
my more painterly friend by painting straight from the pot, but I have to admit, the control and consistency of the paint is so much better with a wet palette. Speaking of travesties in painting technique, those of you with weak stomachs should look away, for these are the brushes I use to paint the red on this army:
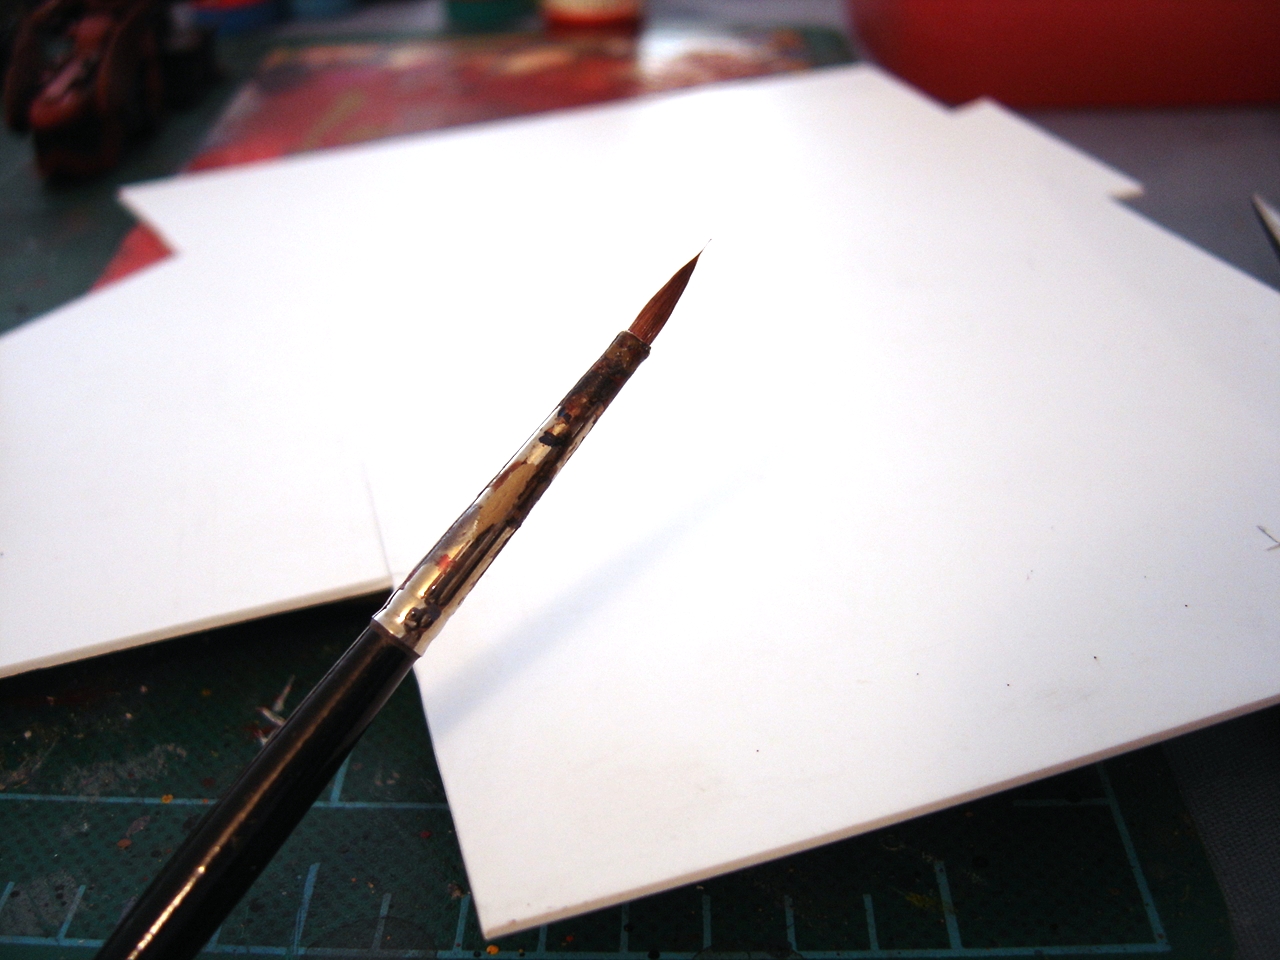
The horror! Now to be perfectly fair, these are particularly egregious examples of beaten-up brushes, but for the purposes to which I will be putting them, they really are exactly what I need.
The whole process starts with a Dark Flesh undercoat on the armor plates that will be red, as well as anything that will eventually end up being gold. I find painting gold directly over a black undercoat ends up looking rather patchy, but the red hue of the dark flesh gives any gold applied over the top a nice rich tone. I used the old beaten up Number 1 to block in the color, and I'm not particularly concerned if I get a little spillover, as at the end I go back in with Chaos Black to clean up any place that needs it.
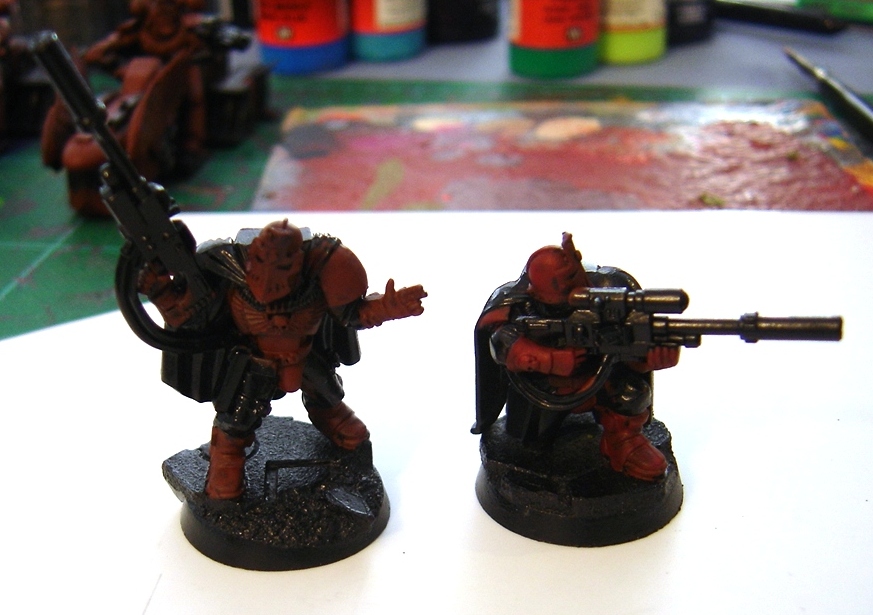
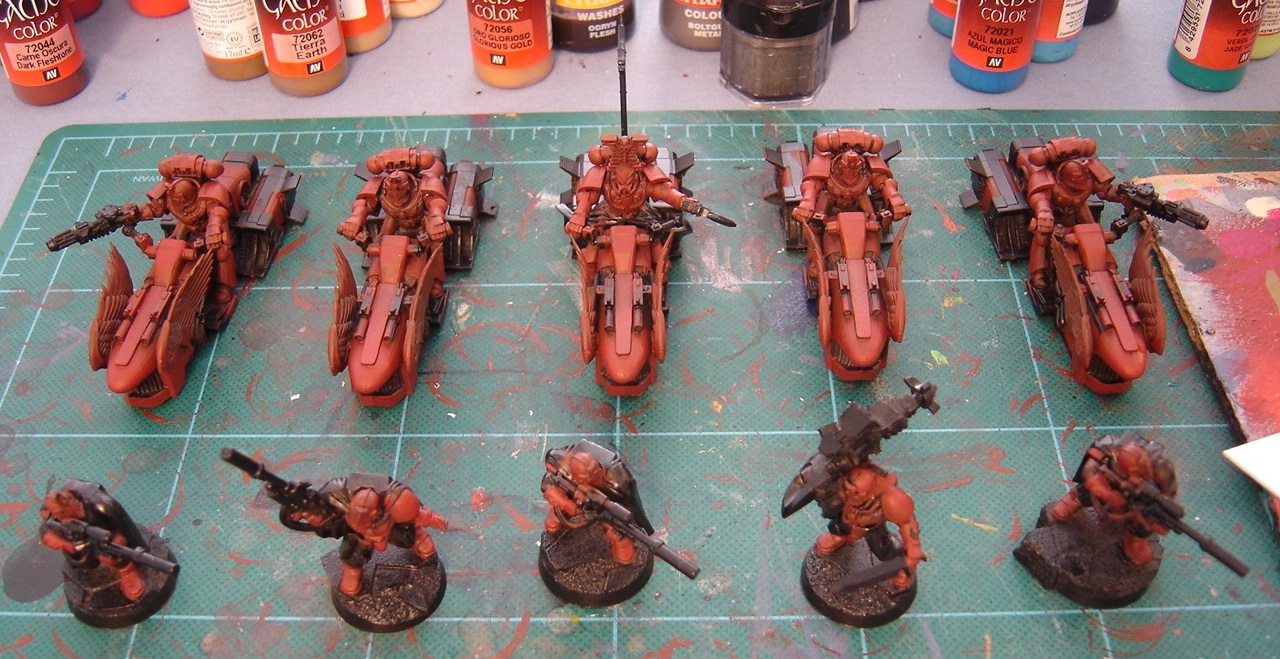
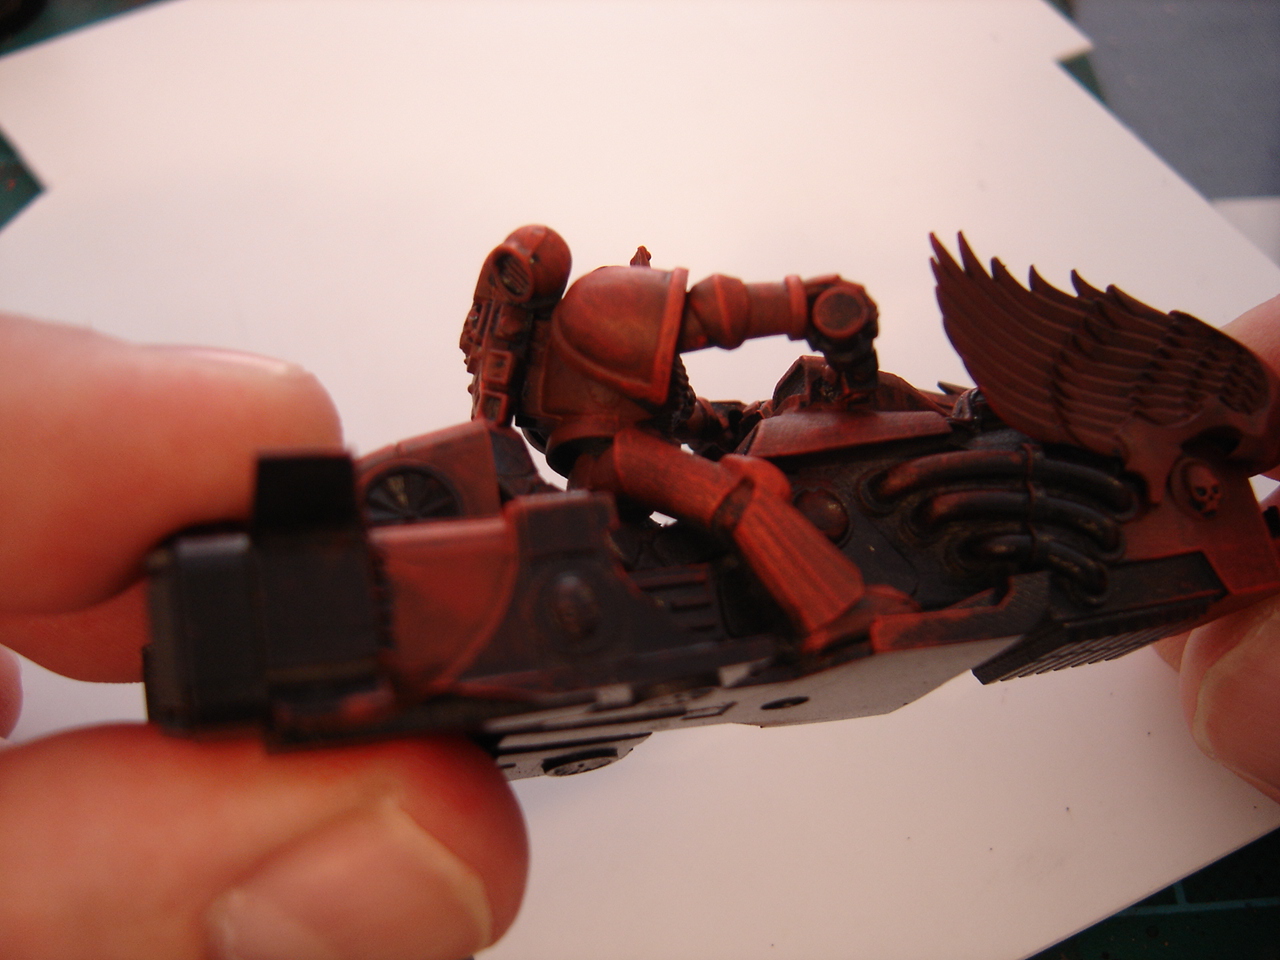
Now that horror show of a tank brush comes into play! [Ominous Horns!] The next step is drybrushing Red Gore onto the models. For the jetbikes and other larger vehicles, I use the big brush, as the splayed hairs add a little bit of a stippling effects which is good for larger smooth areas. For the scouts it's all done with the same #1 used in the basecoat. In the pictures above you can see a basecoated model on the left, and the Red Gore drybrushed model on the right. At this point I'm giving the entire basecoated area an even drybrush, to bring the red up a bit overall. Interestingly enough, it turns out that painting the initial basecoat of Dark Flesh actually takes longer than the rest of the red steps combined - once you make it to this point, rest assured, the end is near!
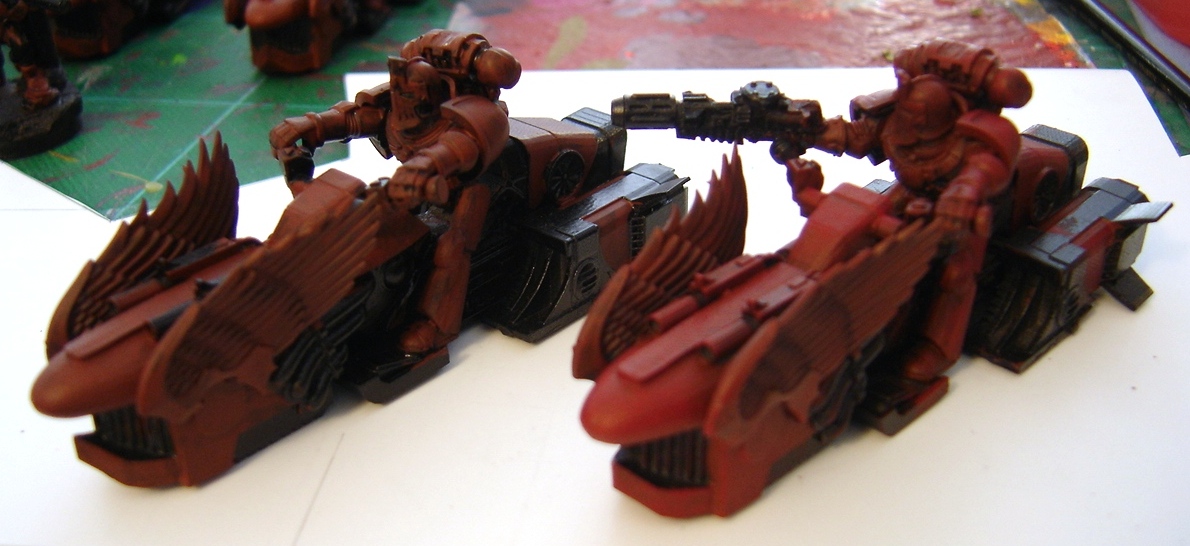
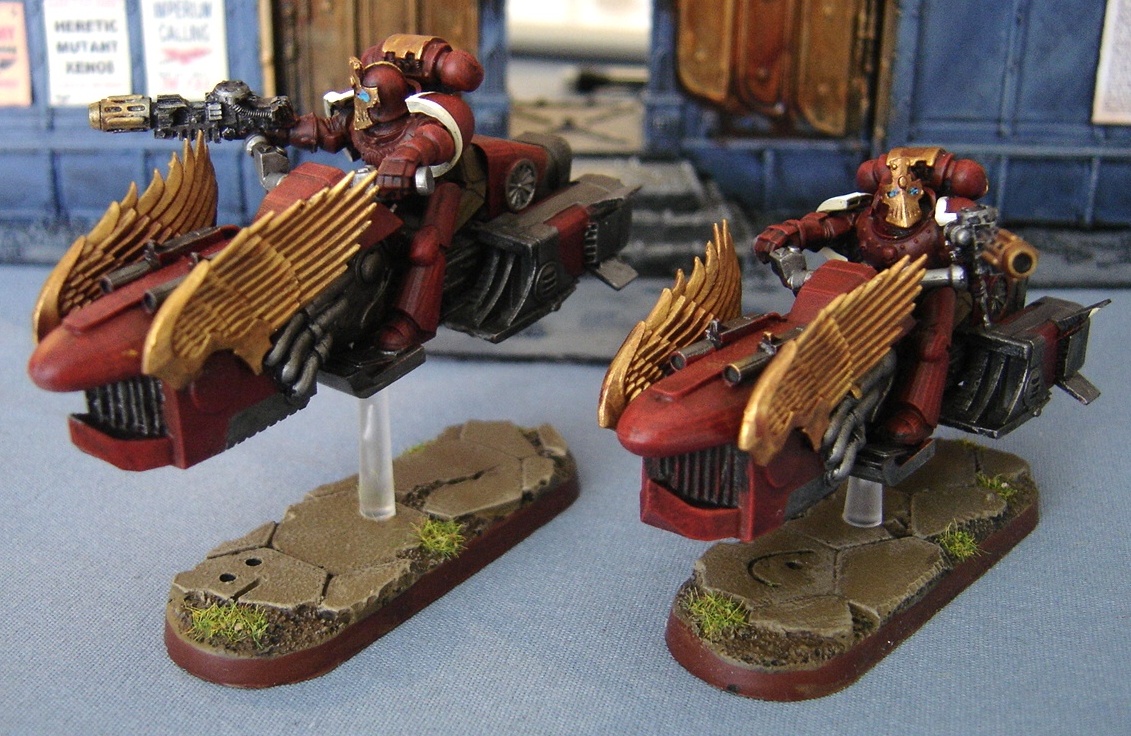
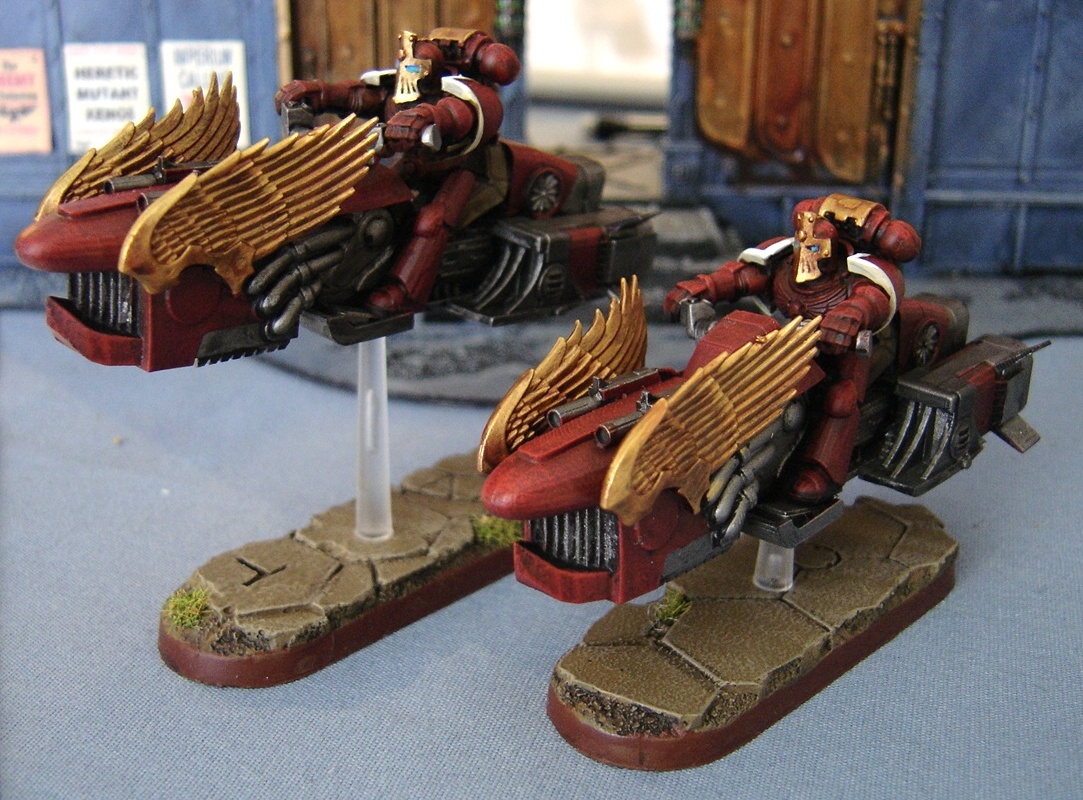
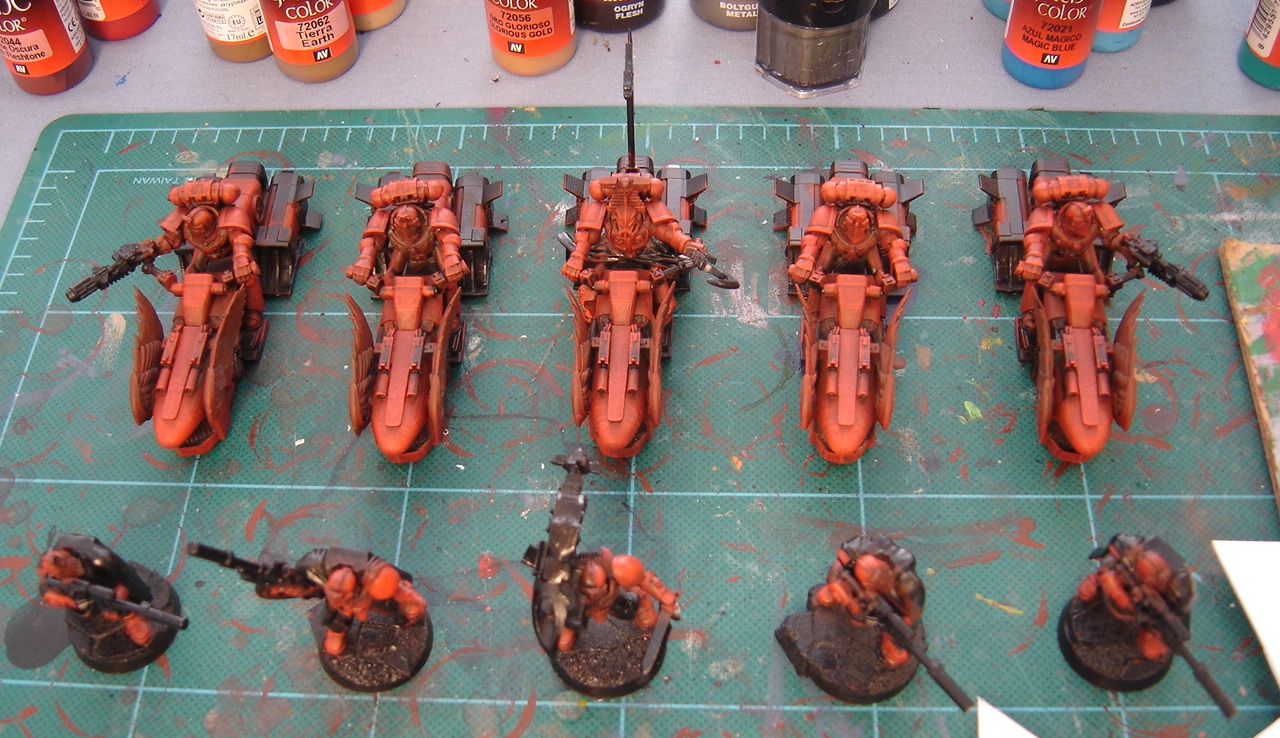
An overhead shot of the group shows how the Red Gore brightens up the whole unit. The next step changes things up a little bit and really helps the models start to come into focus.
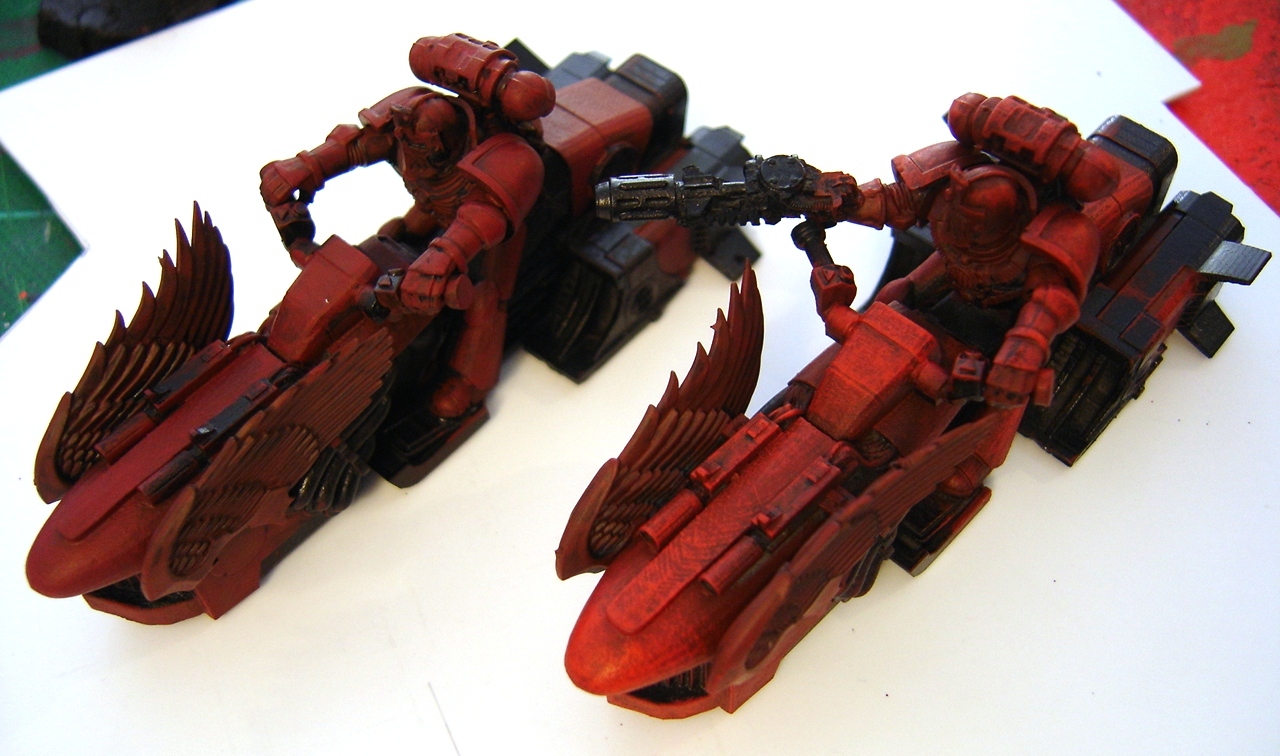
Next up is a more directed drybrush of Blood Red as shown on the right of the pictures as compared to a model from the previous step on the left. In general I follow a process similar to the
Zenithal Highlighting tutorial that Ron at From The Warp posted recently - I just didn't know there was a name for it! Essentially, before drybrushing the Blood Red on, I take a look at the model from above and focus the drybrushing primarily on the parts that I can see from that vantage. As that's where the light source would be coming from, those planes and angles get the Blood Red treatment, whereas the underside relies more on the prior Red Gore drybrush and Dark Flesh undertone.
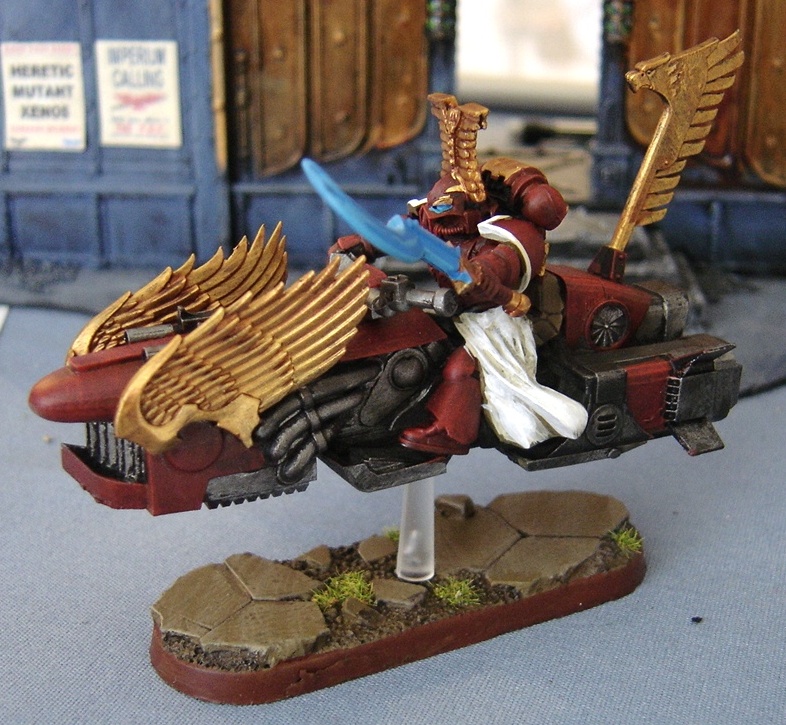
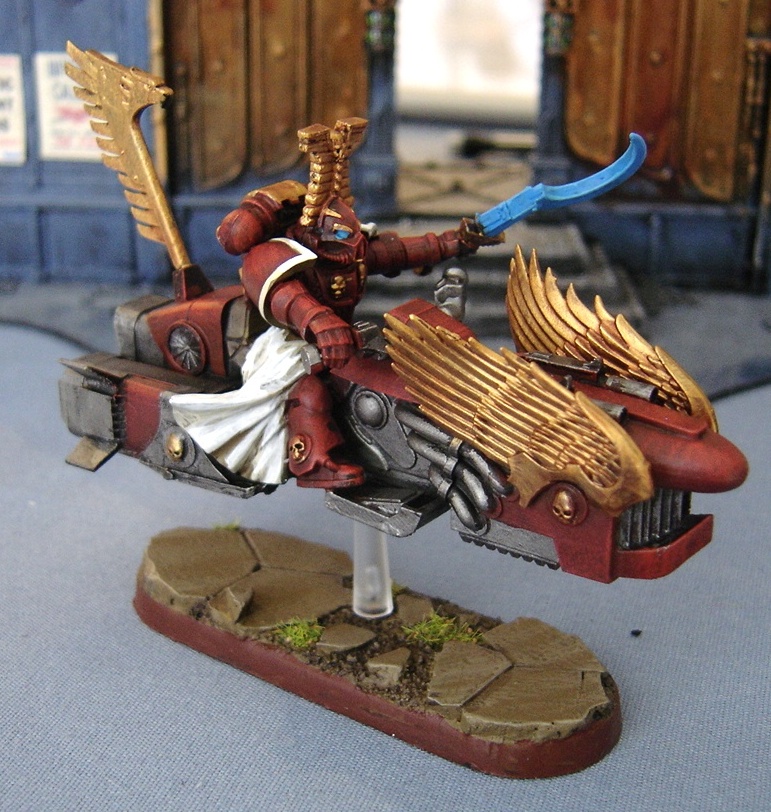
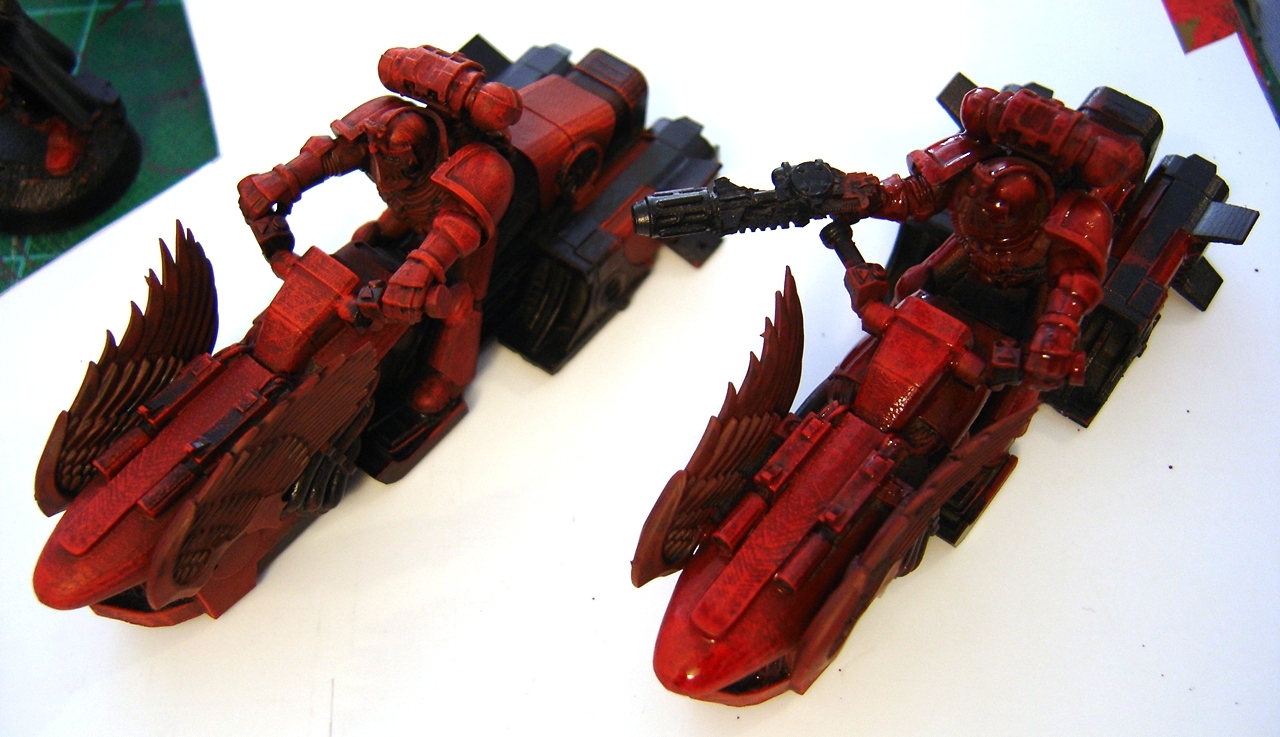
I tried to get a decent shot of the model from a couple angles to show what I mean. The upper planes of the marine's armor and the jet bike are a fairly bright red, whereas the underside is a bit more shadowed, though still distinctly red.
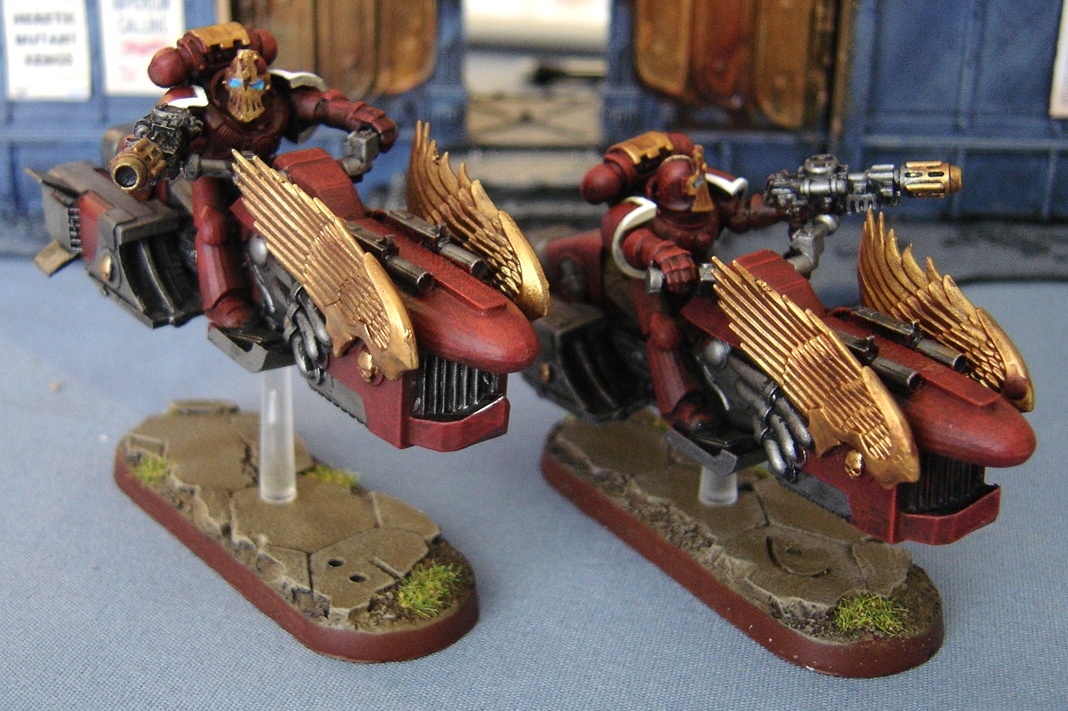
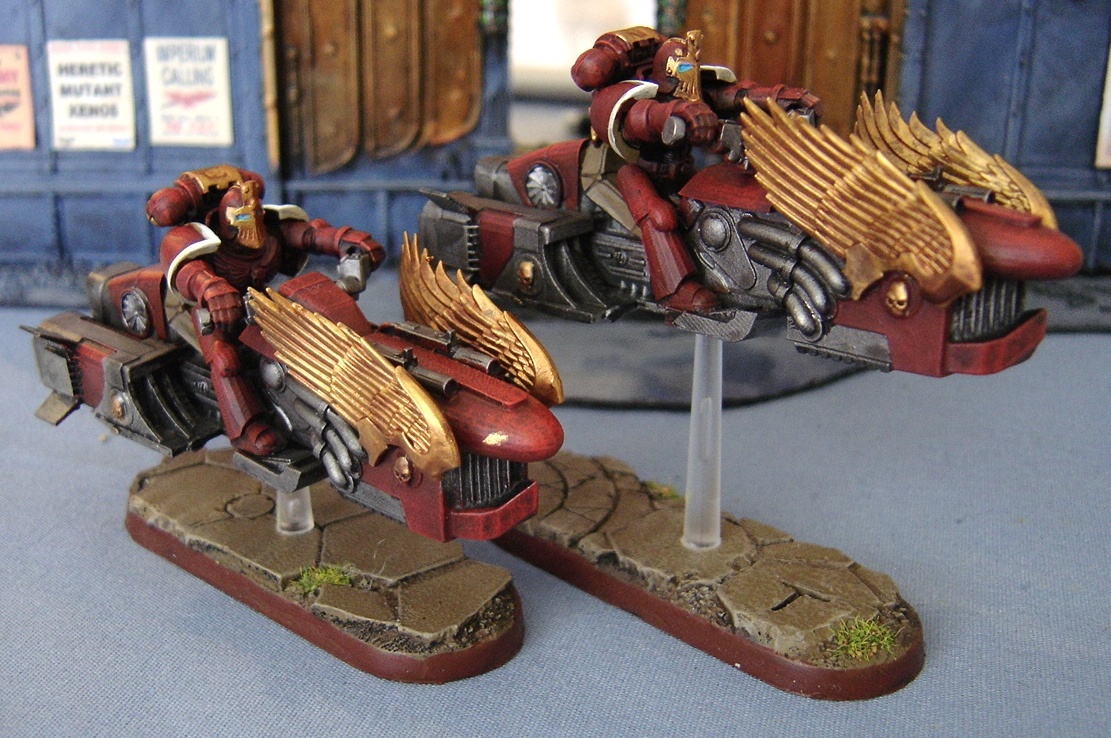
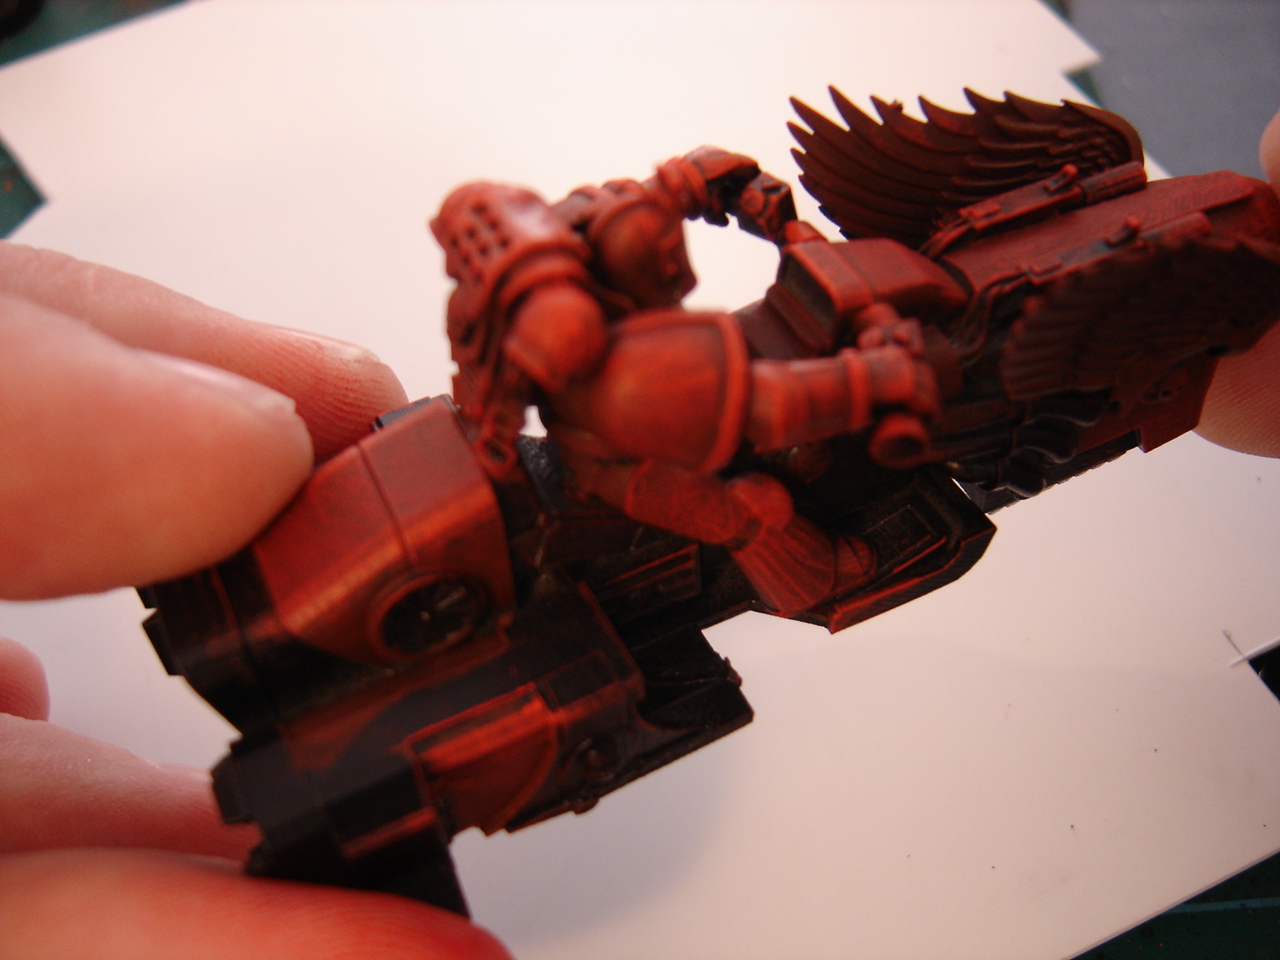
The units are significantly bright at this point, and would be more or less where I'd stop if I was doing Adeptus Mechanicus or World Eaters. I'd probably do one final light highlight of Blazing Orange on the extreme edges in that case. However, it's time to bring it all down a bit and tie it together instead!
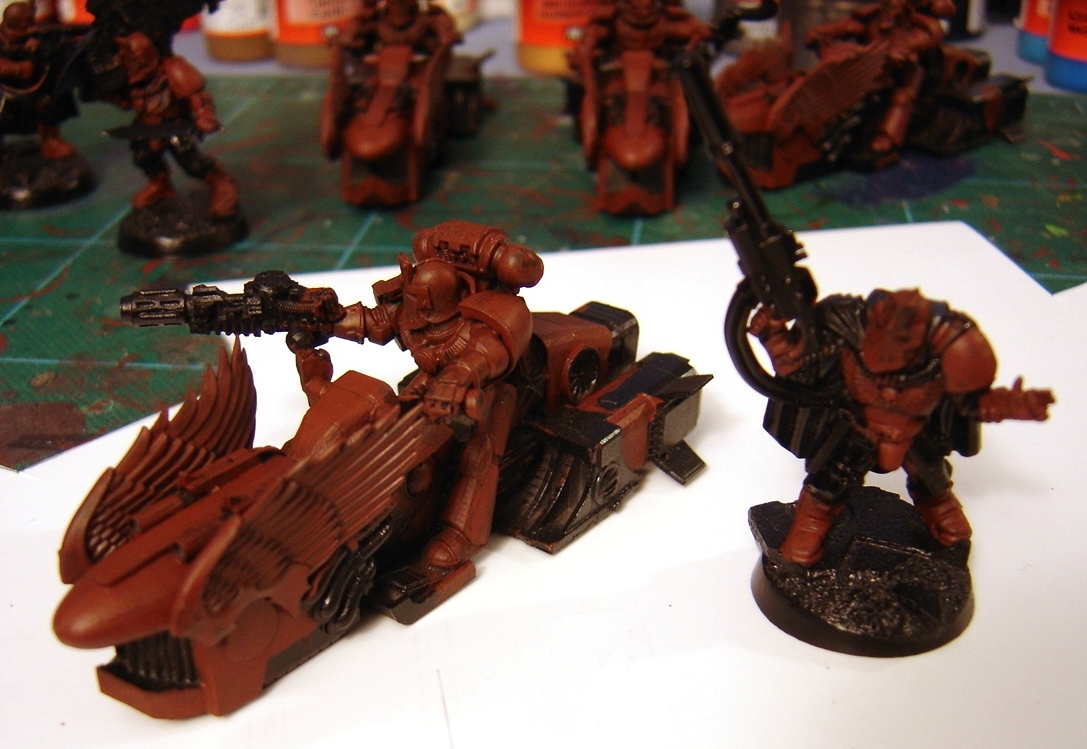
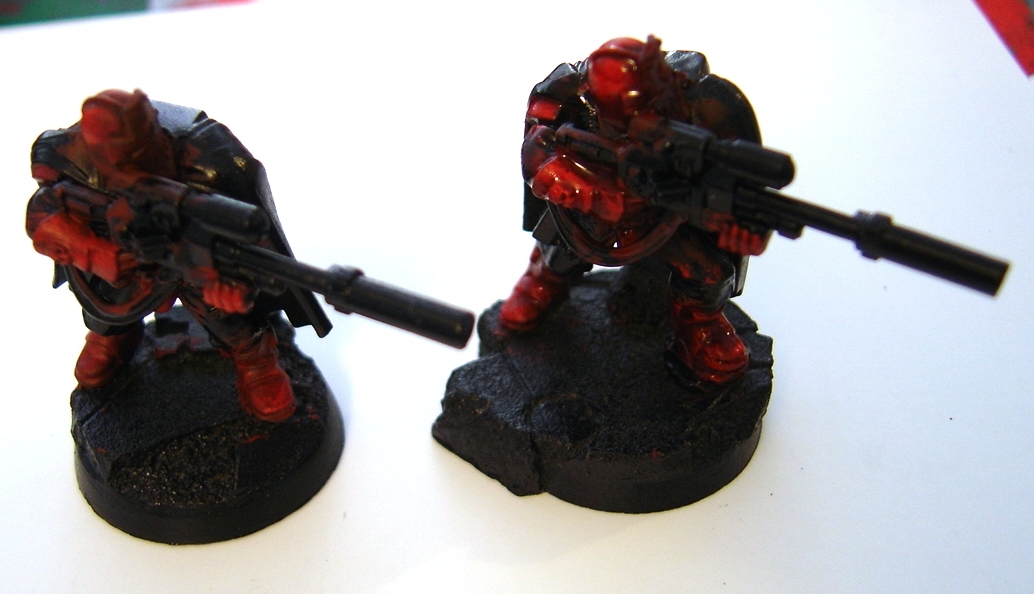
The next step is a Baal Red wash over the entire red area. In general I start at the top and work my way down the model. The wash takes longer to dry than the paint, so definitely give it time to completely dry before moving on to another step. In the pictures above, the models are still a bit awash with, well, wash which I'll go in with a clean brush and absorb as needed.
The group shot shows them all drying, which is where I left off for the evening. I usually let the washes dry for an hour or more before I work with the models again, but at this point it was time to call it a night. Hopefully that info is helpful, the process is really rather simple, but it seems to result in a neat look in the end. It's definitely messy though, suffice it to say my fingers, knuckles and a fair bit of the painting station were all various shades of crimson by the time I was done!
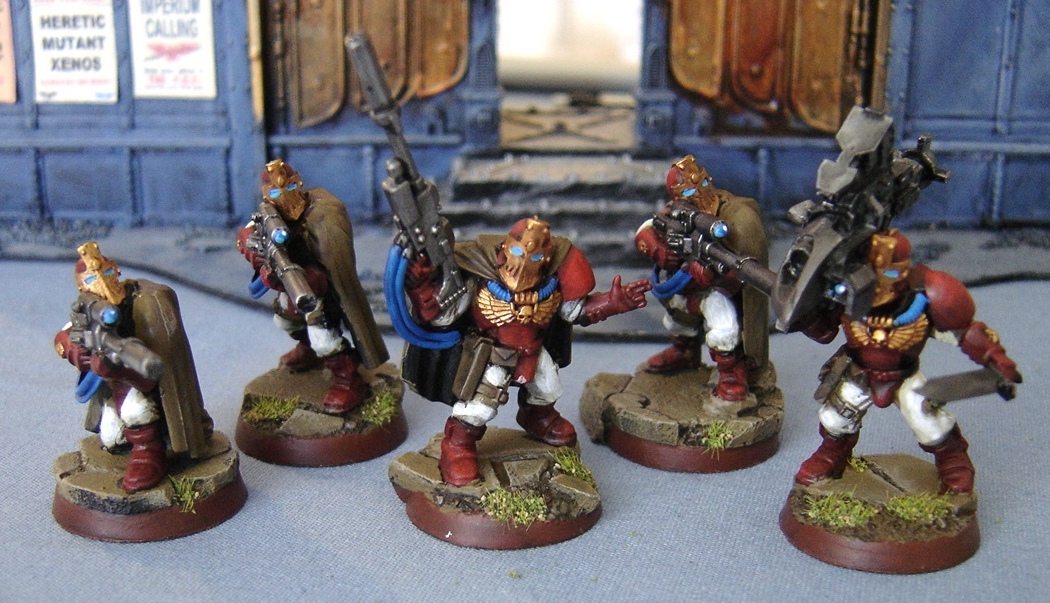
This morning before work I had an hour to mess around so I went in and added the Graveyard Earth to the bases, and anything that will end up being cloth on the models. The dirt and cracks in the paving stones were given a pass of Devlan Mud, as were the cloaks on the Scouts (they'll be getting a camo pattern to match the bases, as seems appropriate.
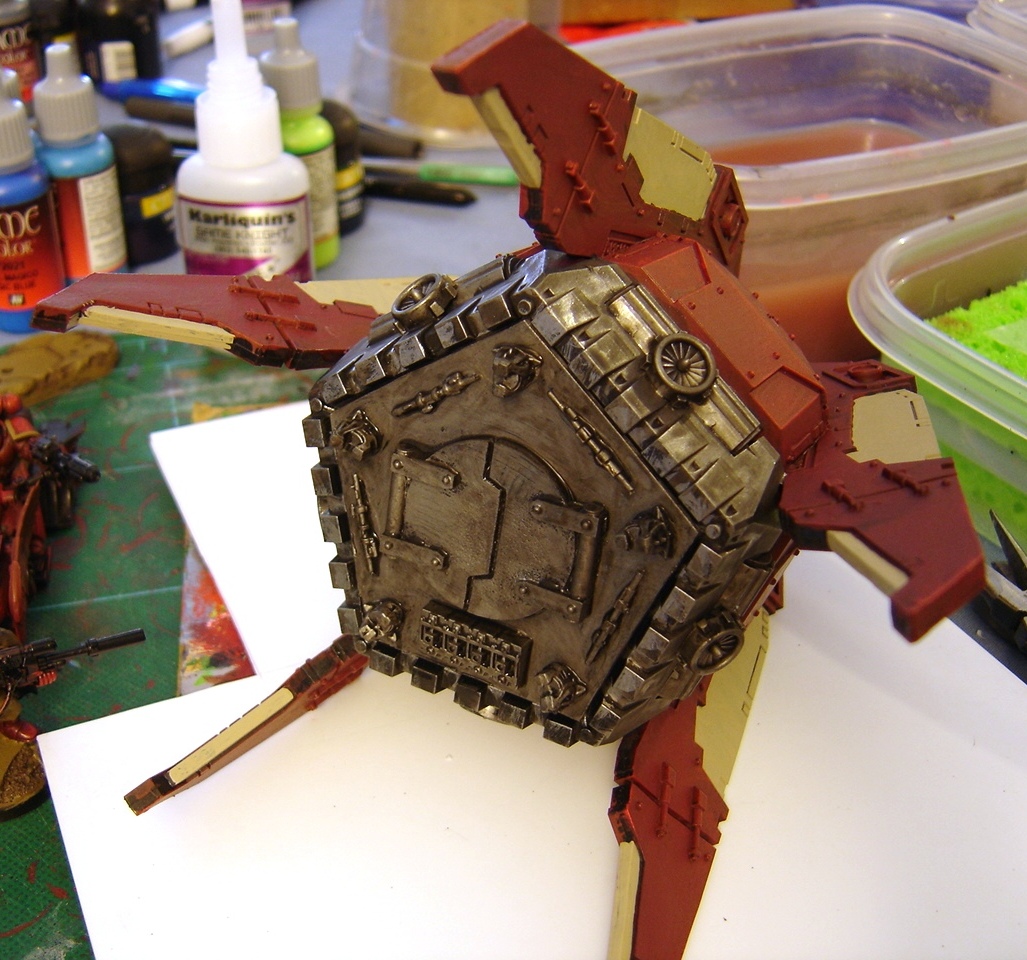
One further little update -I'd finally gotten around to building the bottom section for the faux Dreadclaw Drop Pods, and I got the initial metal colors onto and affixed in place. I made sure to find bits that I knew I had plenty of, so I could replicate it on the other one I've yet to build.
Wow, that was a long one. Thanks for reading!

.jpg)
.jpg)
.jpg)


.jpg)


