
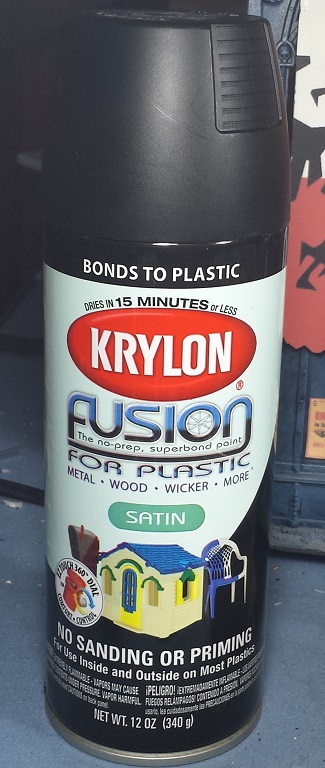
Primer - Any good paint job starts with a primer coat. While it's certainly possible to just dive in and start painting acrylics right onto the bare plastic, it's definitely not the ideal way! A preliminary primer coat gives the acrylic paint an ideal surface to adhere to and will ensure that the paint is far less likely to chip and flake off the model, as well as providing a way to pre-shade the models (depending on what colors you choose). 99% of the time I use Krylon's "Fusion" line of spray primers, and find that the Black Satin finish provides a very rich dark black. I tend to paint dark-to-light, so starting off with the black primer coat means that any little nook or cranny that I inevitably happen to miss ends up being in shadow and generally less noticeable. I will discuss alternate primer colors in an upcoming post, but suffice it to say I can count on one hand the number of times I've strayed from the dark side!
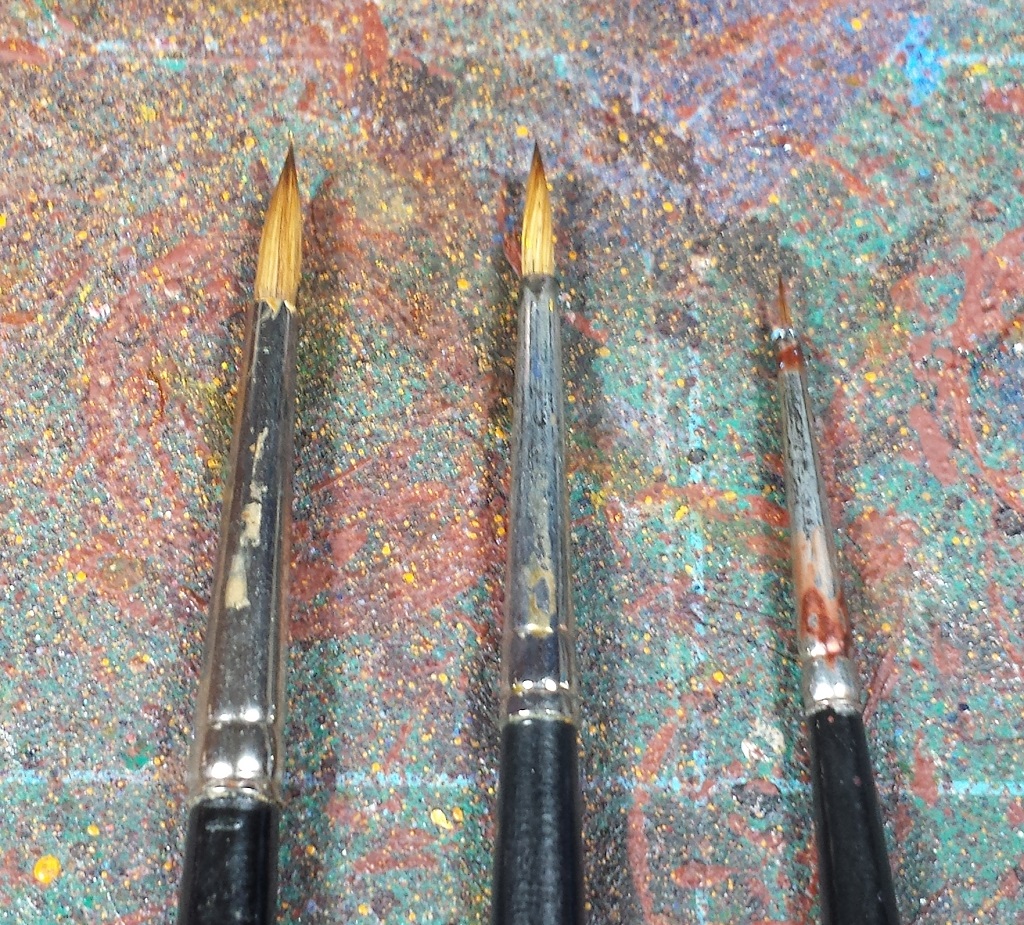
Paint brushes - When it comes to brushes, my tool kit has a bit of a split personality. I have a handful of what I consider "good" brushes (Reaper Kolinski Sable line in a 2, 1, 0, and 00), and I do my best to take good care of 'em. A decent brush is likely to cost somewhere in the $10-$20 range, and it's somewhat hard to explain what you're getting for your money. I find the difference in control and application that a good sable brush provides over a cheapo 4-for-a-dollar nylon is very noticeable, however. You really do owe it to yourself to give one a try; they keep their point better, paint is picked up by and flows from the brush better, and the cost of replacing one means that you're likely to take good care of them (or at least that's the theory)...
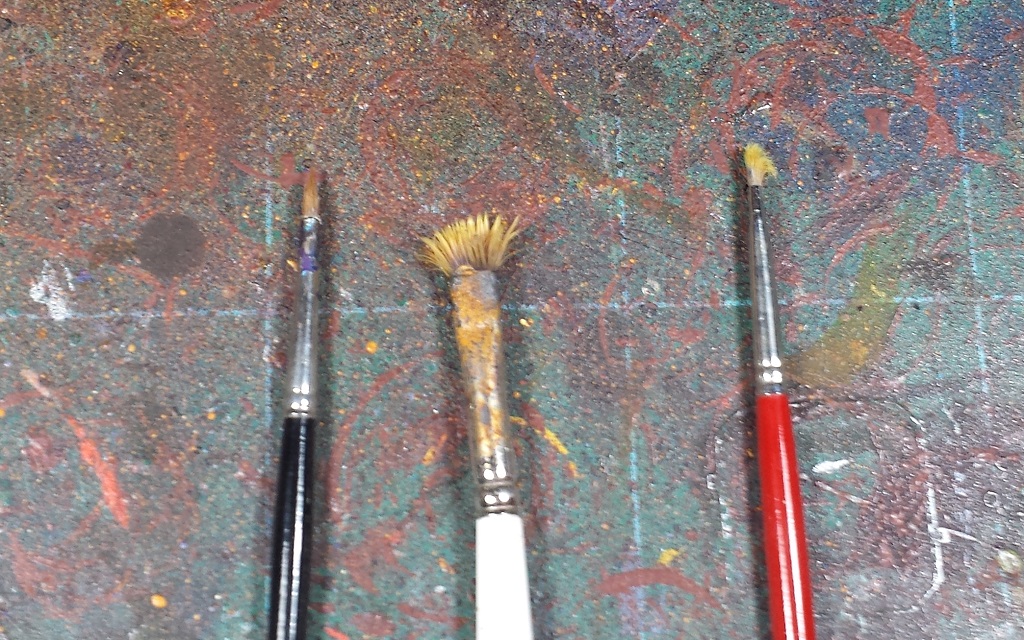
On the other hand, there's also a fistful of old, gnarled, splayed and terrifying brushes that end up in heavy rotation as well. Some of them are fallen soldiers, good Kolinskis that laid down their lives when my cleaning regimen was ignored or my predilection for drybrushing finally ruins their ability to hold form. Others started their lives as cheaper brushes which I find are ideally suited for sloppy base coats, stippling and scumbling for weathering, and even applying glue for static grass and such when they're really reaching the end of their work life. Even badly maintained and cheap brushes have their uses!

Cleaning - Speaking of brush maintenance, I strongly believe every painter ought to get themselves a pot of "The Masters Brush Cleaner and Preserver". It is absolutely magical stuff - keeps good brushes clean and is near-miraculous in helping badly mistreated brushes return to life. A 2.5oz pot will cost about ten bucks and will last you approximately forever. I'm still using the one that I bought nearly a decade ago, though I will admit that I'm not as rigorous in my brush cleaning as I probably ought to be. I'll give my 'good' brushes a soaping every three or four sessions, which is suitable for my needs but there's no doubt that they'd benefit from being properly cleaned every time. My lackadaisical attitude towards keeping my brushes spotless is the primary reason I've steered clear of airbrushes - I know for a fact that I'd put off cleaning it and end up with a $400 doorstop!
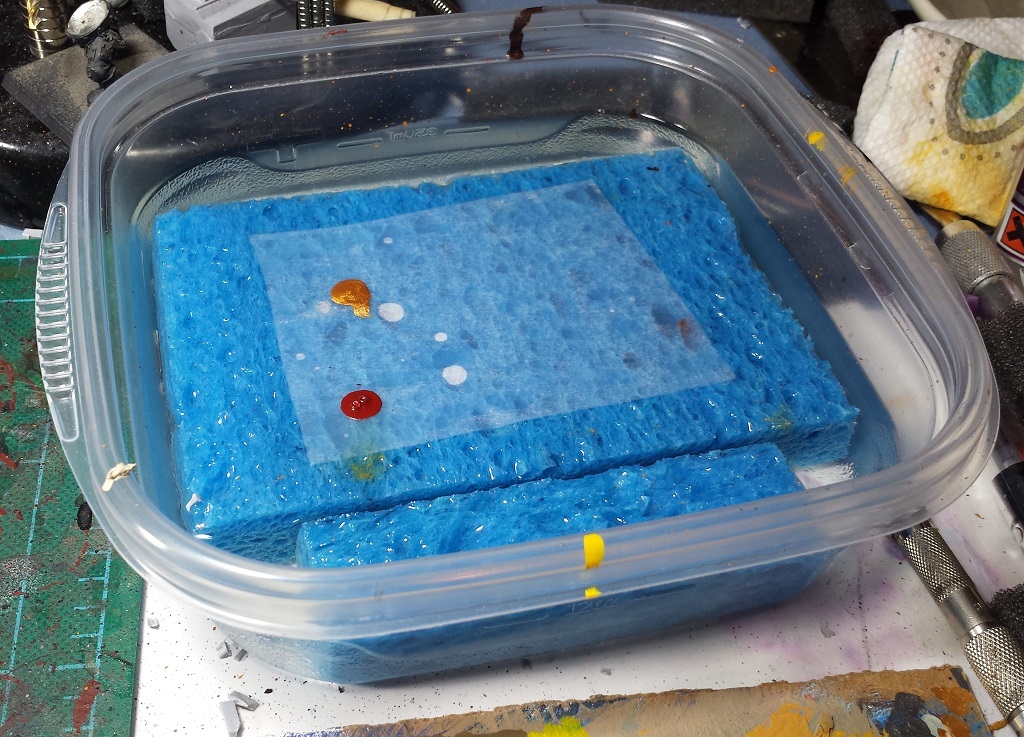
Wet palette - For a long, long time I painted straight from the pot, which was always a source of outrage to my more painterly friends. Using a wet palette is something relatively new to my arsenal, I've only been using one for the last four or five of the past twentymumble years and looking back it's something I wish I'd started using earlier. A cheap disposable tupperware container (with a lid), a sponge cut to fit, and a roll of parchment paper (which will last for a looooong time) is all you need. I'll fill the container with water to just a little below the height of the sponge, and the parchment paper wicks up just enough moisture from the soaking sponge to get damp and helps to thin the paint slightly. A few drops of paint on the palette at a time means there's not a lot of waste, and it also means that the paint pot isn't left open and drying out. I live in a state with very low humidity, so paint dries super quick here - rarely a problem with the wet palette though! While I don't do much paint mixing, it's a snap to mix up the colors on the parchment for those rare times that I do. When the paint session is done, snap on the lid and there's no mess to worry about - you do want to change the water, and wash/replace the sponge from time to time, as it can get a little funky otherwise!
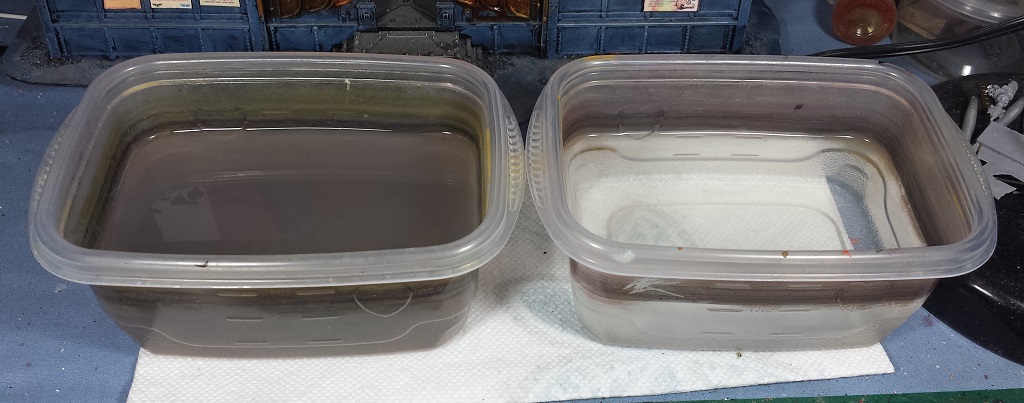
Water - As far as rinse water goes, I like to use double distilled mountain spring water that's been sanctified by a Zoroastrian minister. ...Or basic tap water when that's not available. What I do recommend is the "two tank" method. I'll have one container for the heavy rinsing to remove 99% of the paint from the brush, then a second container to get rid of any residual colored water from the first tank - this is key when painting with lighter colors (yellows and whites) where a previous dark paint could tint the subsequent lighter tones. This water gets changed out frequently, generally at the end of each painting session.
Paint - I don't have an evangelical attitude towards one paint manufacturer over another, and happily mix and match between GW, Vallejo and Army Painter, as well as the occasional super cheap hobby paint (mostly for use painting terrain). The dropper style bottles of the Vallejo line work really well with the wet palette, but there are a few colors that I find I prefer the GW line due to consistency and opacity (oranges and yellows, mostly). On the other hand, I find that I almost exclusively use GW's washes, though I do use Army Painter's Strong Tone and Dark Tone - I'd discussed them in more detail in this post from back in the day.

Light - Last but not least is light to paint by! Unless you are always able to paint during the day in a sunny room, it's absolutely worth investing in some 'true daylight' bulbs and a couple swivel-armed lamps. I find the clear bright light not only ensures the colors are coming out like you want them to, but also helps reduce eye strain which is a good thing when already trying to paint little fiddly details. Not to mention that it makes for much better picture taking on the back end once the painting is done!
Next up, color choices!


.JPG)


Yay I use that brush cleaner and have a selection of crappy brushes! We have something in common! :)
ReplyDeleteI have a huge selection of old crappy brushed for working with solvents, pigments and working on terrain or weathering. Great tip. So many people toss old brushes :(
ReplyDeleteSolid list Mordian. I am going to start using the two water system from now on, such a great idea!
ReplyDeleteVery interesting stuff - it's good to get back to basics once in a while with something like this. And you just assume people do the same as you, until someone tells you otherwise! I'd never thought of the double water pot method, but I'll try that now.
ReplyDeleteI definitely have one wash cup of water that I use - and replace when it nearly evaporates. I take terrible care of my stuff haha.
ReplyDelete@Greg Hess: Excellent! Almost all of mine are pretty crappy, but I definitely recommend picking up at least a #1 kolinsky. It's an investment but totally worth trying out.
ReplyDelete@Zab: Hah! I use 'em down to the nub too!
@Joe B: Thanks man! I'm glad there's useful info coming out of the series!
@Colonel Scipio: Cheers man! It's been interesting taking a step back and trying to explain the process. Definitely making me think about areas where I can improve!
@TheAmbit: I'm there with ya man - the funky-smelling sponge and rings of evaporated paint water attest to my laxity! :)
Cheers everyone!
Moving to using a wet palette was one of the single most transforming things in my painting life (that and discovering washes. How the hell did I paint without them?) .
ReplyDeleteGreat idea on the two water system. Something so simple yet will make the brushes last much longer (and alot cleaner :D ) with the regular masters cleaning
That's it, I'm putting 'brush cleaner' on the list next time I'm out and about. Also I think it is time to upgrade my tiny wet pallet for a proper one like yours. Don't laugh by my current one is a jar lid lined with folded paper towel with baking paper on top. Please allow me to ask a stupid question, is parchment paper and baking paper the same thing?
ReplyDelete@Nafnaf: Cheers bud! Aye, the wet palette really is one of those simple thing that really makes painting easier!
ReplyDelete@Col. Ackland: Awesome ! The brush cleaner really is magical stuff. Baking paper and parchment paper are likely the same thing, I'm assuming it's just the term for it over on your side of the pond.
Cheers guys!
Oh, Great Emperor: this simply could not have come at a better time!
ReplyDeleteOnly last night, I decided that - after my own twentymumble years of painting - I too ought really to make myself a wet palette. I immediately thought, 'now, where do I look to remind myself how the other bloggers do this?'
Great post!
Next thing you know, I'll actually be taking care of my brushes! Ha!