Thursday, March 25, 2010
A 'short' foray into a new technique...
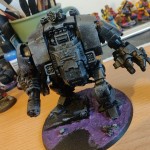
As I've referenced in past posts, I run a twice-monthly Rogue Trader RPG for my local gaming group. We tend to use miniatures fairly frequently, which gives me an opportunity to do a little one-off model or small unit here and there. The upcoming adventure takes the group to Ritammeron, a feudal world that has missed their yearly tithe and the players are supposed to go restore the status quo. One of many things going on down on the planet involves a rogue Squat Engineer who has been hiding out on the planet but recently has begun building technologically advanced weapons for one of the various power blocs. The Adeptus Mechanicus wants him captured, so I figured I should make up a model for him:
I picked up this warmachine fig ages ago for use as a squat in one of my multitudinous half-started projects, but until now it's been sitting primered on the shelf. I wanted to try out some new technique and push my comfort zone a little bit, so I thought I'd take a crack at 'object source lighting' and try to have the glow from the thunder hammer shine onto the model a bit. I read a couple tutorials and got to work - I resolved that for the first try I should try the 'less is more' approach - thinking that if I screwed it up and it looked dumb, it would only look dumb on a smallish part of the model. Heh.
However, for a first try I was pleasantly surprised in how it turned out, and learned a lot about what I should do on the next attempt. I may have been a bit too conservative on the lit areas, but overall I was happy with the final results. I don't know that I'd do this for every model that may have something that could possibly glow, but for the occasional character model I may have to try this technique again in the future!
Labels:
Rogue Trader
Wednesday, March 24, 2010
The last of the Crimson Fists - Part 6
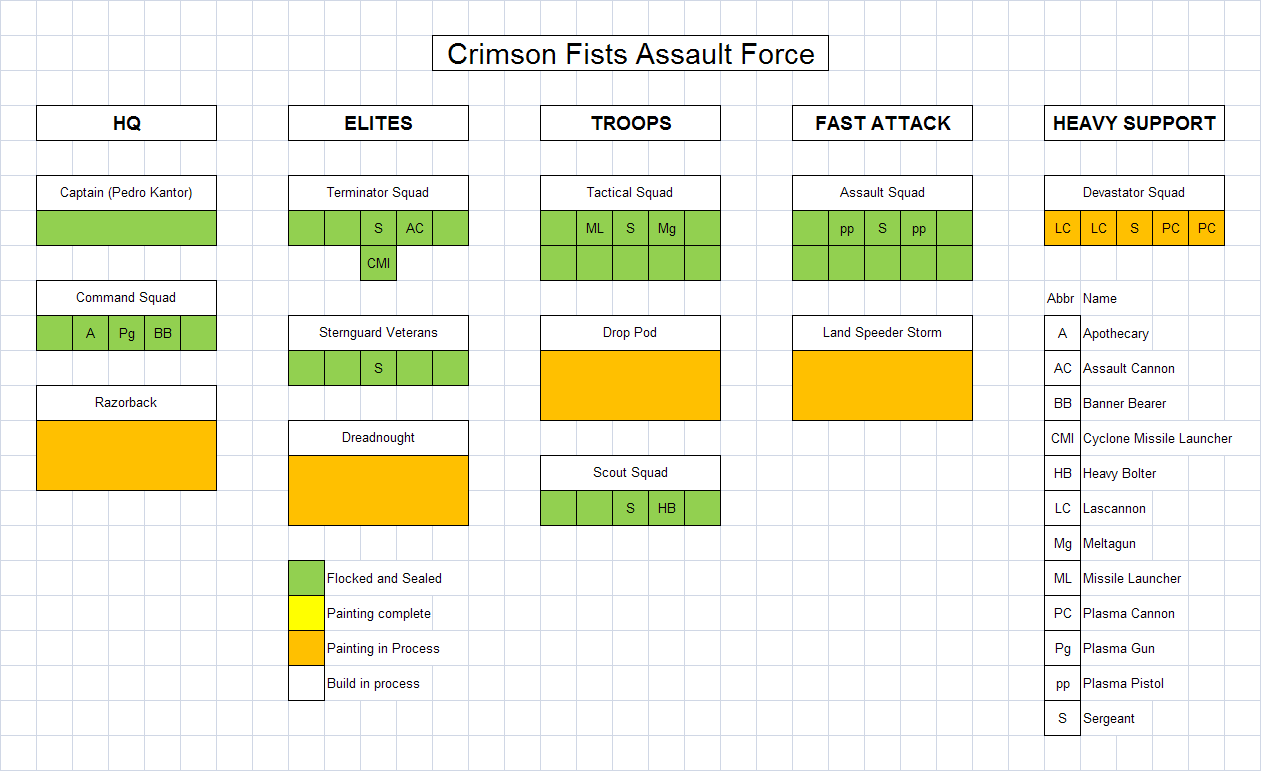
We're in the midst of the typical Colorado springtime (i.e. 12" of snow one day and mid 60's the next), so I took advantage of one of the nice days to flock seal a mess of Crimson Fists and call 'em done.
I made the executive decision that any waterslide transfers I do are going to end up making the model look worse than leaving them off, so other than the leader and character figs I've done so far, there are no more shoulder pads getting the treatment.
I had a chance to field the army this past weekend, and they fared rather well against my friend's BA, and I was able to fight him to a draw.
Unfortunately the Assault Squad failed several reserve rolls, then had two deepstrike mishaps in a row resulting in them never actually making it to the battle. Ah well.
The Scouts were probably the most fun to paint, too bad they were washed off the table by a squad of Death Company. I suppose in a battle between DC and Scouts, the outcome is fairly certain...
With that the painting chart is finally more green than not, which is always heartening to see!
Labels:
Crimson Fists
Monday, March 22, 2010
Inquisitor Lord Hector Rex - Complete!
I took the Crimson Fists into battle against a friend's Blood Angels this past weekend, and to add a little flavor to the army I wanted to include an Inquisitor and Vindicare Assassin. After all, those Blood Angels always have been a touch unstable, and thought I should include a bit of impartial oversight. Impartial in my favor of course! Heh.
I took a bit of time and painted up the Hector Rex model that has been lurking on the painting table for some time. I experimented with some various washes and inks on the cloak and armor which turned out fairly well. The retinue remain unpainted as yet, though they'll likely follow the same gold/purple/white scheme. I've really been enjoying the look of the static grass, and I'm leaning towards re-basing the entire Mordian 7th in a similar manner. I don't relish redoing the 100+ bases, but I think the overall look of the army would be improved!
I took a bit of time and painted up the Hector Rex model that has been lurking on the painting table for some time. I experimented with some various washes and inks on the cloak and armor which turned out fairly well. The retinue remain unpainted as yet, though they'll likely follow the same gold/purple/white scheme. I've really been enjoying the look of the static grass, and I'm leaning towards re-basing the entire Mordian 7th in a similar manner. I don't relish redoing the 100+ bases, but I think the overall look of the army would be improved!
Labels:
Inquisition
Sunday, March 21, 2010
Knight Paladin 'Vultus Mors' - Complete!
It's been insanely busy in Real Life(tm) recently so I've unfortunately not had much hobby time. However, as a little breather from the Crimson Fists, I did find the time to finish up the Knight Paladin and the pilot model that I'd picked up subsequently. Just some minor weathering on the base and a final shot of the matte sealer to knock down some of the shine and Vultus Mors is ready for the battlefield!
I definitely enjoyed painting up this model, and I look forward to attacking the Knight Errant model that arrived a month or so back - it went into the Closet of Doom as a reward for finishing off the Crimson Fists, so it will likely be a while before I get to build it.
While I like the predominantly red scheme on the Paladin and feel that it will tie in to the rest of the Ad-Mech army, I'm not sure that I want to do the same paint scheme on the Knight Errant - I'm leaning towards something entirely different, perhaps predominantly blue and white. Of course, with all the Crimson Fists I've been doing I may have gone off blue by the time I get to it!
I tried to paint the pilot in such a way that it ties in with the Knight - though I found that the shoulder pauldron is so small there's no way I could replicate the rampant lion, and the little squiggle of white I'd initially tried as an approximation actually looked worse than just the plain green section. Ah well...
Part of the fun of modeling in my opinion is using everyday objects for the hobby. In my other life I play the bass guitar and a couple practices ago one of my strings gave way so I replaced the whole set. I think it's a safe bet to say that future projects will not want for wire tubing!
Labels:
Adeptus Mechanicus,
Knight Paladin
Monday, March 8, 2010
The last of the Crimson Fists - Part 5
Let me preface this post with the comment that I absolutely dread/despise using waterslide transfers. Granted, for a long time I wasn't using the appropriate tools, methods or materials to do so, but to this day (and with the use of MicroSol, MicroSet, hot water, long soaks, trimming and slicing, you name it) I haven't really mastered the art of setting transfers over the curved marine shoulder pads and more often than not they just don't set correctly. In any case, I took another swing at it on a handful of the models yesterday and managed to pull off a couple squads with only minor blemishes:
First up, the squad of Terminators. These models turned out to be the best of the bunch so far, the various washes toned down the harshness of the highlights, and the transfers all more or less cooperated. Unfortunately after I sprayed these few squads I discovered that I didn't get the right matte sealant, so I'm hoping that another coat with the correct stuff won't screw them up.
Next up is good ol' Pedro Kantor, and a command squad that he technically can't have. Upon closer inspection of the codex, he's only allowed an honor guard squad which conversely are unable to be armed in the same fashion as the command squad. Argh. To be fair, the one time I've actually fielded the Crimson Fists, I fielded the Pedro Kantor model as a generic Captain armed with a Storm Bolter and Power Fist. For some reason, a couple of the shoulder transfers rippled up a bit on these models at the matte sealant stage, likely due to a combination of insufficient micro-sol and the incorrect sealer. Ah well, practice makes perfect!
I also knocked out a trio of Sergeants that will likely need their shoulder pads redone as well. It's at this point where I wonder whether attempting to freehand 25 more fists would be more or less aggravating than doing 25 more transfers. Of course, since I've started with the transfers I'm more or less compelled to finish the rest of the army in the same way for continuity's sake.
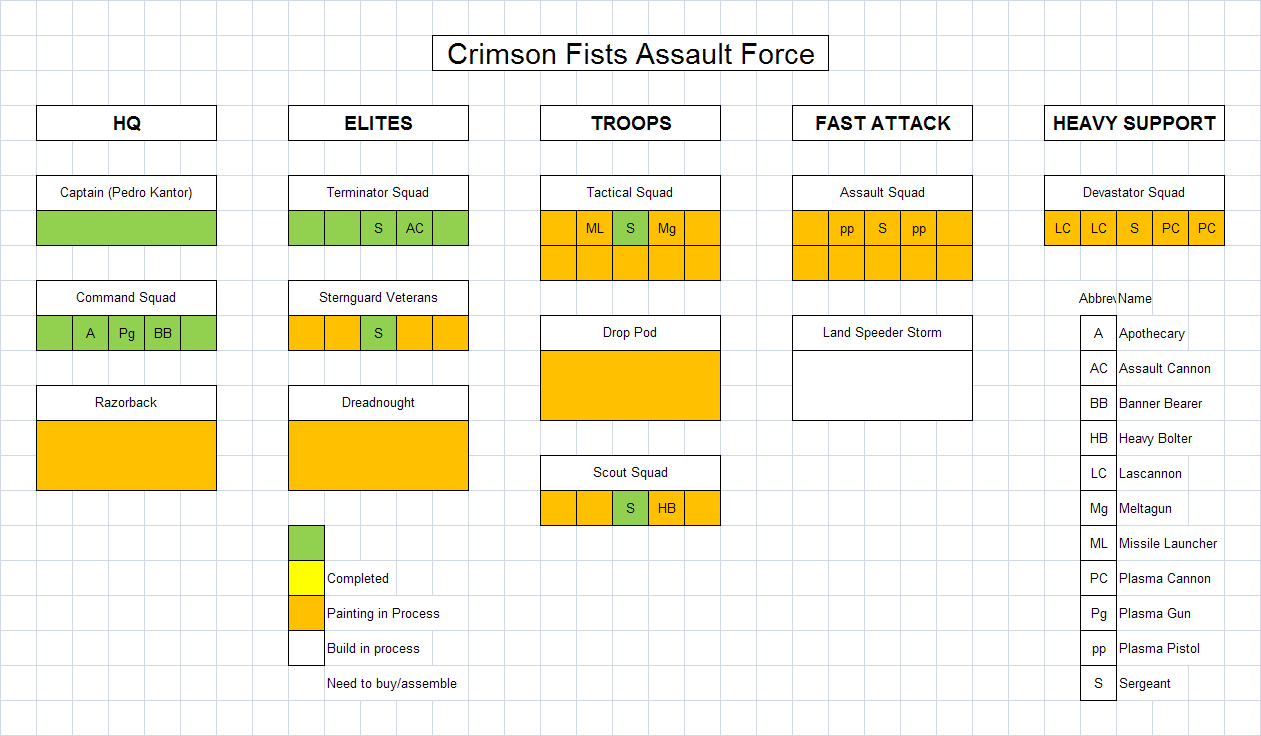
A few more bits of forward progress as well! The Land Speeder Storm was actually rather fun to put together - I opted for the Assault Cannon upgrade, and moved the Cerberus Launcher to the top rail, which I think turned out pretty decent. I also got a bit of paint on the Dreadnought and the Drop Pod, which were a nice change of pace from dozens of infantry!
So far so good! Things are starting to turn green on the chart, and as it stands the army comes in at a respectable 1977 points, which leaves room for a bit of wargear juggling. Once they're all painted I'm hoping to stage a battle report against my Guard and get some shots of a fully painted game (which doesn't happen very often around here)!
Labels:
Crimson Fists
Saturday, March 6, 2010
The last of the Crimson Fists - Part 4
Nearing completion on the infantry - A few hours worth of work this afternoon got them to the point that I can apply the first coat of sealant prior to adding the waterslide transfers and static grass. Wonder of wonders, it's supposed to be nice enough out tomorrow that I should be able to get them finished:
I still need to get the 5-man Devastator squad finished, as well as touch up the original command squad so they better match the current state of the army. Painting all of these models ensured they match one another, but the older models that I've done were painted in a slightly different manner. Nothing that can't be made to match with a little effort, though!
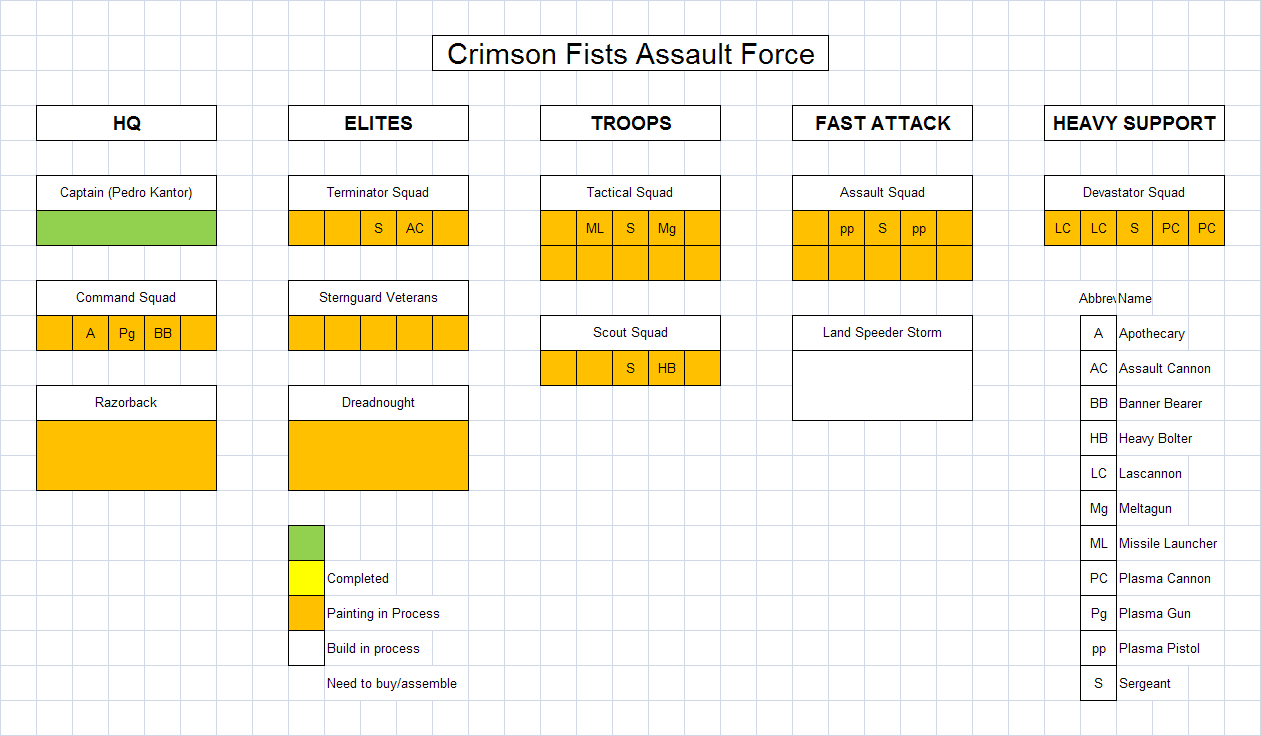
I sat down to point out the army and found it stood about 100 points shy of 2000, so to bring it up to a nice round number I decided to build one of the leftover Land Speeder Storms that I had laying around (I'd used the bodies of the scouts to make the Storm Troopers for my Guard army). I updated the painting chart accordingly - for all the progress I've made, it's still a mass of orange. Getting close to turning a bunch of them green though!
Labels:
Crimson Fists
Wednesday, March 3, 2010
The last of the Crimson Fists - Part 3
It's hard to call them Crimson Fists until their fists are actually crimson, and as such I pressed onwards last night and managed to get a bit of red on them.There was a bit more armor highlighting as well, followed by an Asurmen Blue wash that didn't quite tone down the highlights as much as I'd hoped (though my current plan involves a further wash step at the very end that I hope will rectify that situation). The red fists were done by a base of Scab Red, some Blood Red highlights then a wash of Red Ink. I then went over all the weapons, chest detail and arm/leg joints in Boltgun Metal before snapping a quick picture and calling it a night.
I've been considering what I wanted to do with the weapon casings (as I'm not a fan of the black casings displayed in the current SM codex) and a friend suggested that I go with a green/olive-drab color. I tried that on the one test model I'd done a while back (left column, 4th row) and I like the way it looks - a little splash of color to set of the blue and red without being too garish. I also hit that model with a wash of Devlan Mud which cut the highlights down a bit more and added some depth to the metal-painted sections. Once I get the rest of the models completed to a similar point they'll all be getting a Mud wash as well prior to the waterslide transfers...
I'd say the models are about halfway done at this point and I'm rather pleased with their progress overall. I'm not going to get any painting time in for the next few days though, but expect to see further updates this weekend. I did manage to put together a 5-man Devastator squad out of bits I had lurking in the Closet of Doom, so I need to bring them up to speed. Once all the infantry is done I can concentrate on cranking out the Razorback, Dreadnought and Drop Pod!
Labels:
Crimson Fists
Tuesday, March 2, 2010
The last of the Crimson Fists - Part 2 (also, #100!)
There's a catch when doing the assembly-line method. There's usually a stage in the painting process where I hate how the model looks - some half-finished intermediate stage between highlights. The entire set of infantry now sits at that stage, and I'll tell you that really makes me want to press onwards and rectify the situation!
A fair bit of progress last night - I followed the Midnight Blue basecoat with a medium drybrush of Regal Blue. After that I went in and polished off the six exposed faces, and added the red lenses to the helmets. Once that was done, I continued the highlights on the blue armor - that allows me to be a bit sloppy on the lenses, as I can come back and clean up any overspill with the helmet highlight color. A highlight of Ultramarines Blue catches the major exposed areas on the armor, but at that point I needed to call it a night. This is the stage I mean when I say I don't like how they look - it's an awkward, sloppy looking stage in the middle of the process. There will be one more extreme highlight of Shadow Grey on the upper edges, then the armor will get a blue ink wash to tone down the highlights.
Just realized that this marks my 100th post, and I want to thank all of you for your feedback and support over the last year. The 40k blogging community is amazing, and I'm glad to be a part of it! Cheers, everyone!
Labels:
Crimson Fists
Monday, March 1, 2010
Old Crow Civilian Vehicles
Back in late January I'd placed a small order with Old Crow Models - I've had an eye on their products for years, but finally decided to give 'em a try. The models are 'true' 25mm scaled, and I'd seen some scale shots alongside some 40k vehicles to judge that they were small, but would make convincing civilian transports that I could use in special scenarios or just as terrain. After a long-ish wait they arrived over this past weekend and I set to assembling and 40k-ifying them a little. The weather was nice enough today that I was able to primer them over my lunch hour and snap a quick picture:
All in all I'm quite pleased with the models, they were very clean casts and they were a breeze to assemble. They were affordably priced as well, though their standard delivery times are a few weeks longer than one would hope. All in all though, a great product worth being patient for, and I'll likely order a few more different models in the future. Once I get some paint on them I'll post some actual scale shots, but I think they're going to work out wonderfully. Much to my opponent's chagrin they arrived right on the heels of BOLS revamped Genestealer Cult list, and I think they'll be ideal for that nefarious purpose as well... Muahahah!
That will be for later on down the road though - for now, back to the Fists!
Labels:
Genestealer Cult,
Old Crow
Subscribe to:
Comments (Atom)


.JPG)


