
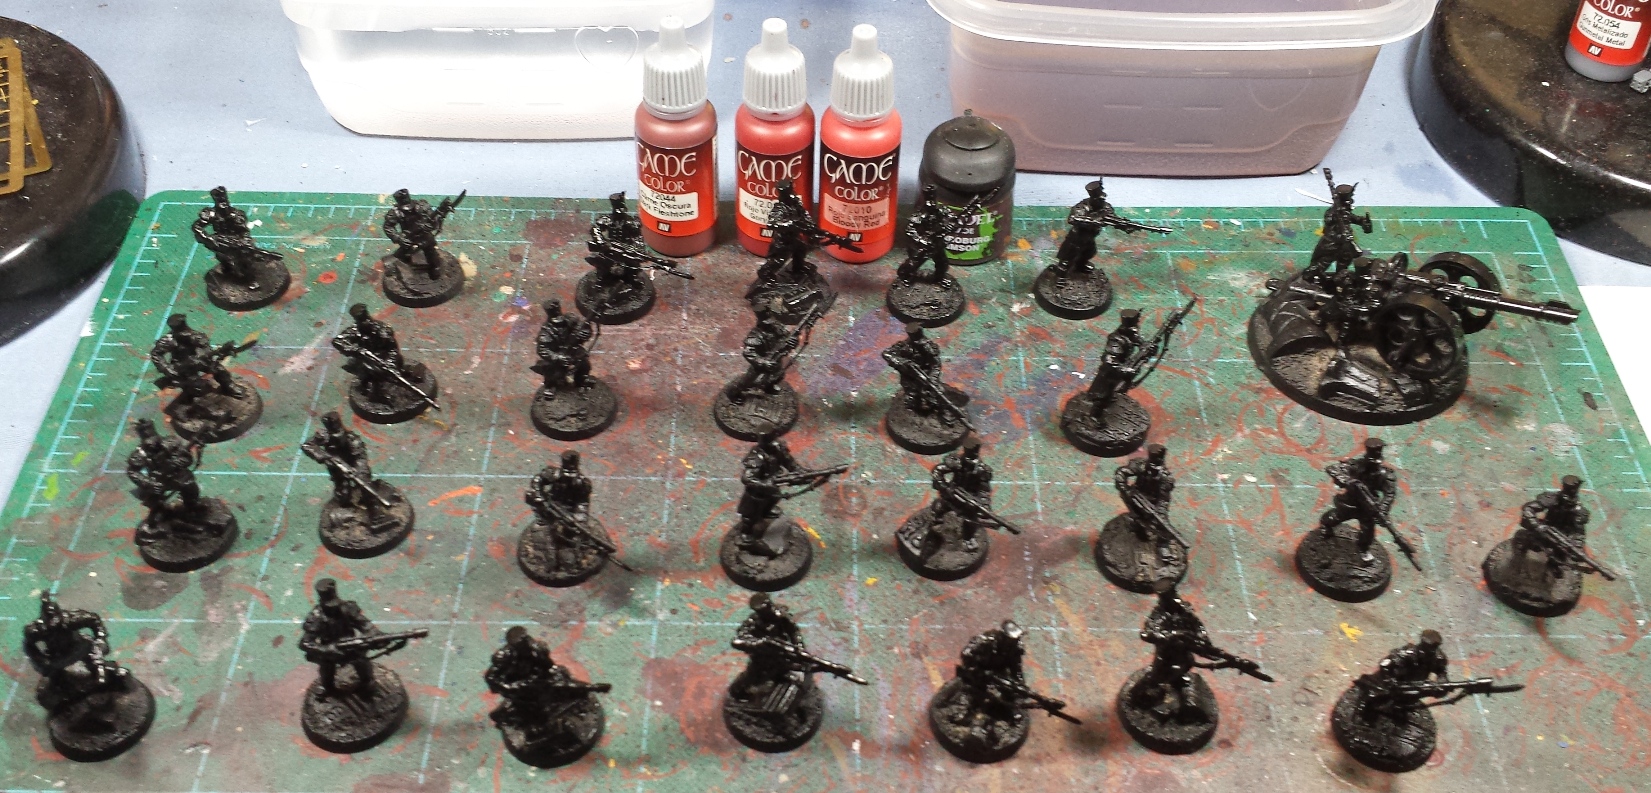
First thing that I do is pull out the colors that I intend to work on in a given section, and get the models organized. When I'm batch painting I'll usually just aim to do 3-4 colors in a sitting before taking a break and doing something (anything!) else for a bit. I had a bunch of laundry and other chores to do on Sunday, so I figured I'd knock out the reds then take a breather and take care of some housework.
In general I like to paint "from the inside out" meaning that I'll do all the innermost parts of a model (skin and inner clothing) then work outwards (outerwear and equipment), cleaning up any slop as I go. However, in the case of these models, I knew I wanted to get all the reds out of the way first as they tend to be the messiest what with the washes and drybrushing. I led off with Dark Flesh as a basecoat on everything that was going to end up red (the stormcoat and helmet), and though I tired to stay reasonably "within the lines" I wasn't too fussed about slop as it'll all get cleaned up in later stages. Took about half an hour to rock through the group - you'll note I pulled out one of the previously-painted models so I could check my work and match up with how I'd painted the infantry previously.
.jpg)
.jpg)
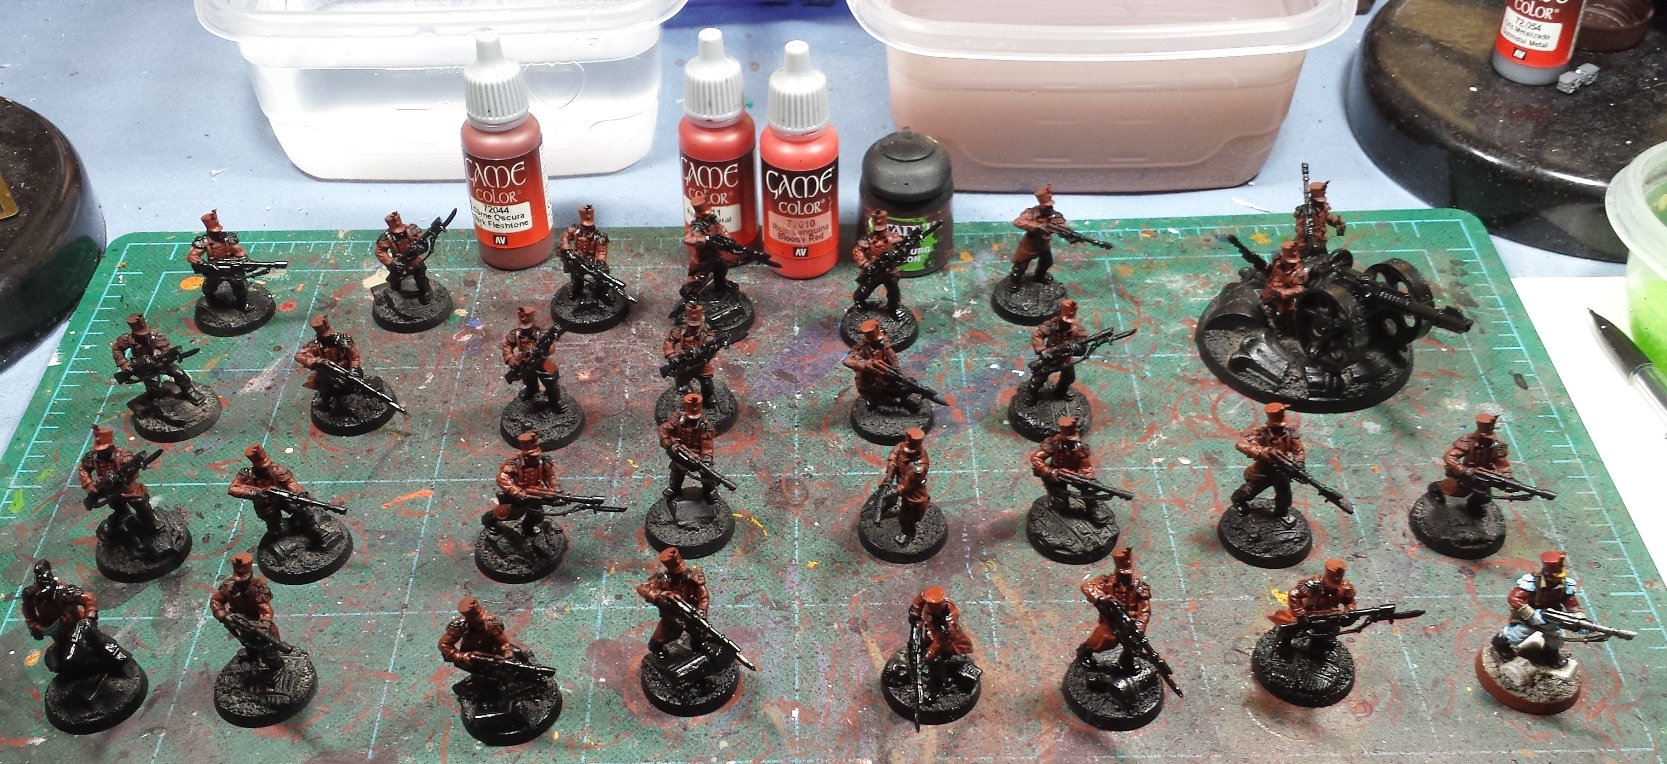
Next up was Gory Red, applied in a heavy drybrush leaving just a little bit of the Dark Flesh showing in the recesses. Figured I'd start taking some shots on individual models to zoom in a bit on what they look like at each stage.
.jpg)
.jpg)
After that it was time to really brighten them up with a medium drybrush of Blood Red. For the most part I just focused on the uppermost and most exposed portions, leaving more of the Gory Red in the recesses and undersides.
.jpg)
.jpg)
Final step in the red was an all-over wash of Carroburg Crimson, which gives the models a bit more depth and blends all the reds together a bit. At this point I took a break, partially because painting 30 models at a time is a bit of a slog even for me but mostly because I needed to give the models a good hour or so for the wash to completely dry before I fiddled with 'em any further. Elapsed time at this point was about 2 hours. Not bad!
.jpg)
.jpg)
Once the wash had dried, and I'd vacuumed and started a load of laundry, I figured I'd knock out the skin tones. For rank-and-file infantry I don't go out of my way to make each one perfect, and I'll be the first to admit that the Perry Miniatures heads are lacking somewhat in detail compared to the usual GW counterparts, so the end results are a little underwhelming. Since they'll undoubtedly be removed from the table by the double handful once the bolt rounds start flying though, I'm not too concerned. I started out with a thinned down Leather Brown basecoat, followed by Ghost Grey in the eye sockets. Finally, Bronzed Flesh was applied to the nose/cheekbones/chin and cleaned up any slop from the Ghost Grey in the eyes. It occurs to me now that I skipped a step on the eyes and fogot to pen in the pupils (using a micron pen), will have to rectify that later on!
.jpg)
.jpg)
There was so little skin showing on these models that the whole face process only took 30 minutes, so I figured I'd press on with the whites. To get a nice cool white color I started off with a basecoat of Electric Blue on the pants, gloves and epaulettes, taking care this time to cover up any slop from the earlier red stages, as well as making sure not to slop the blue out onto the areas that are supposed to be red! By the same token I wasn't too fussed if the blue got onto the rifle or boots, as I'll be cleaning up those colors in later stages.
.jpg)
.jpg)
The last step for the day's painting was to start pushing the whites onto the model. As I've mentioned in the past, one of the best bits of advice I've ever gotten was "never paint using pure white" and as such I use Ghost Grey instead. When comparing it to the other colors on the model it ends up looking white, and it has the benefit of being able to be further highlighted (on the most extreme edges) with pure white if needed. At this point I decided to call it a day as far as painting goes - these two colors added about another hour to the tally, so all told we're looking at about 3 1/2 hours worth of work, and the models are well on their way to being complete! Next up will be the leather colors for the webbing/collars/cuffs, the metallics on the helmet and weapons, and the bases. Figure another 3-4 hours and, when combined with the previous models I'd painted earlier, I'll have two twenty man lasrifle sections and a three-strong unit of Lascannons fully complete and ready to go!


.jpg)


You are absolutely prolific in your painting speed. Between you and James, every time I blink it's another awesome squad or model :).
ReplyDeleteThe never use white is some super great advice. Wish someone had mentioned that to me years ago!
Incredible work as per usual! Always amazed at the speed while maintaining quality. Great to see the step by step.
ReplyDeleteI need to do some batch painting soon too, I will be sure to your work as my inspiration!
@Greg Hess: Thanks man! I try to get across that anyone can paint to the level that I do (tabletop quality), I really hope the step by step helps! Only using pure white for the most extreme of edge highlights is one of my most treasured painting tips - It's one of those 'eureka' moments!
ReplyDelete@Colonel Winterborne: Thanks very much! When it comes to batch painting, I find that a good audiobook or music is essential. When You're doing the same color on the same basic area 20-30 times in a row you can let your hands go on semi-autopilot and just enjoy the story or the tunes and all of the sudden you're at the end of the pile and ready for the next color. The time (and the paint) just flies by!
Cheers guys!
In the time it took you to almost finish 20 miniatures, I got one done... Cheeky git.
ReplyDeleteBloody impressive work mate.
@Dai: Haha! I'll admit that batch painting can be pretty tedious, but it's definitely nice when you get to the end and a whole mess of models are all done at once!
ReplyDelete