Sunday, December 22, 2013
Terrain - Bug Hunt Corridors built!
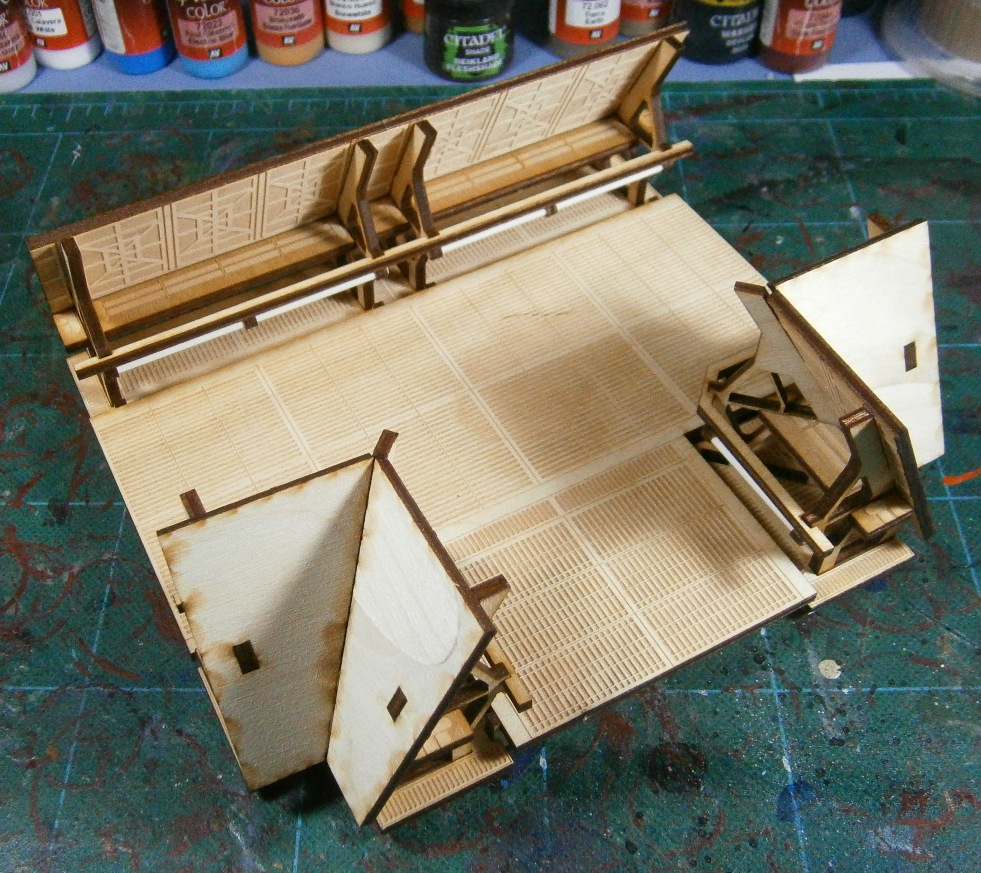
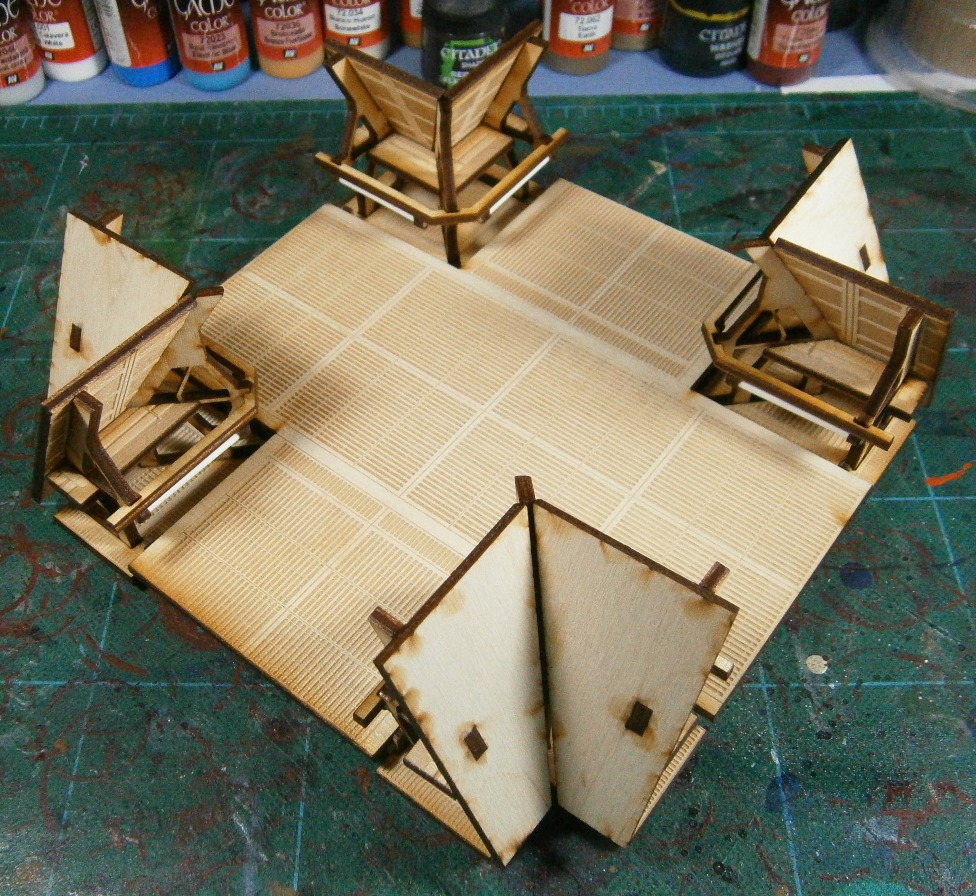
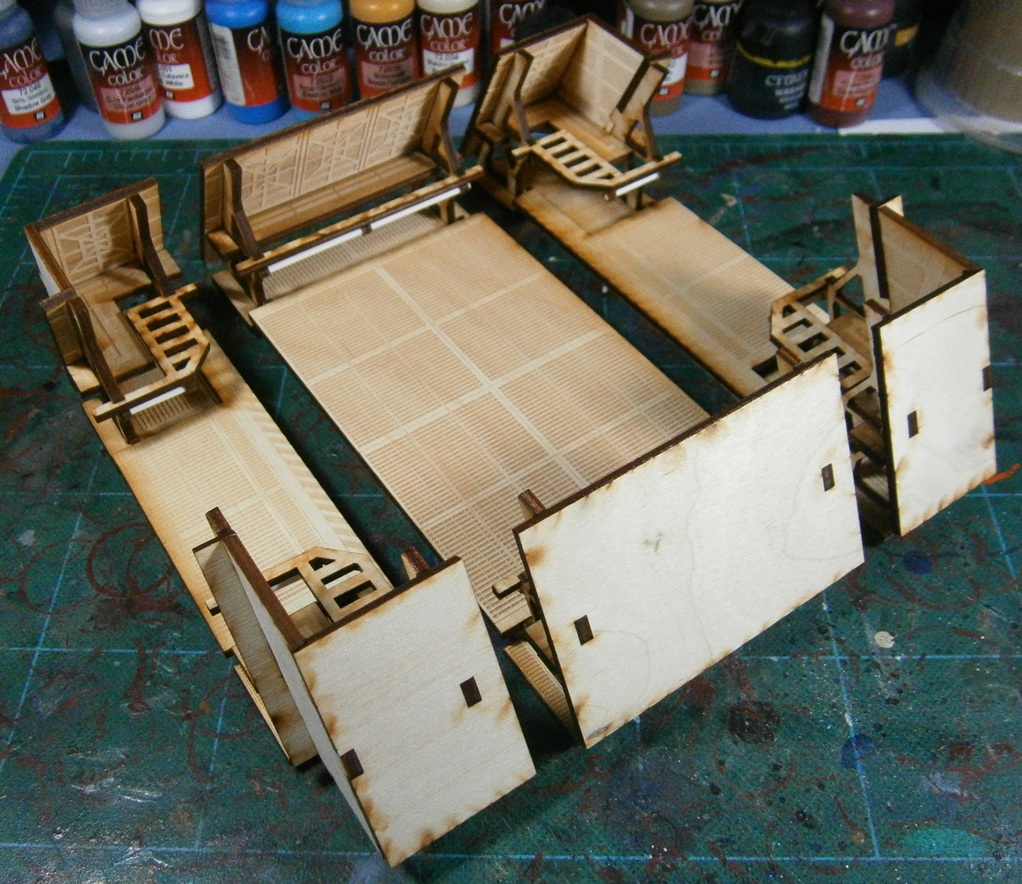
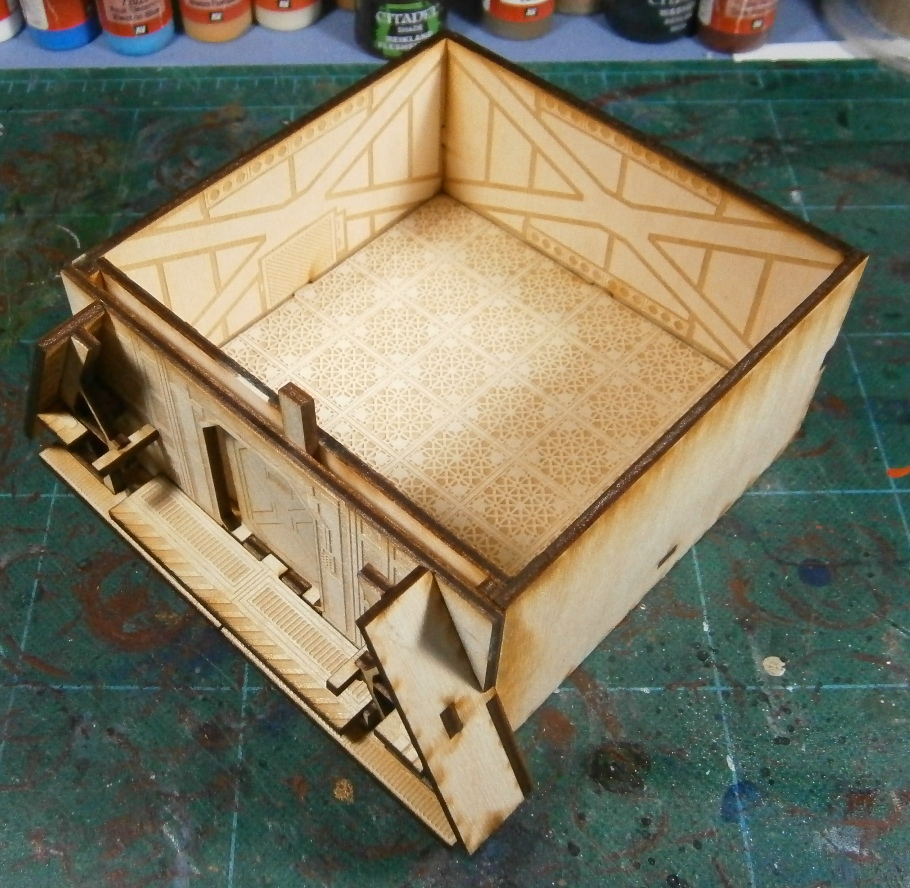
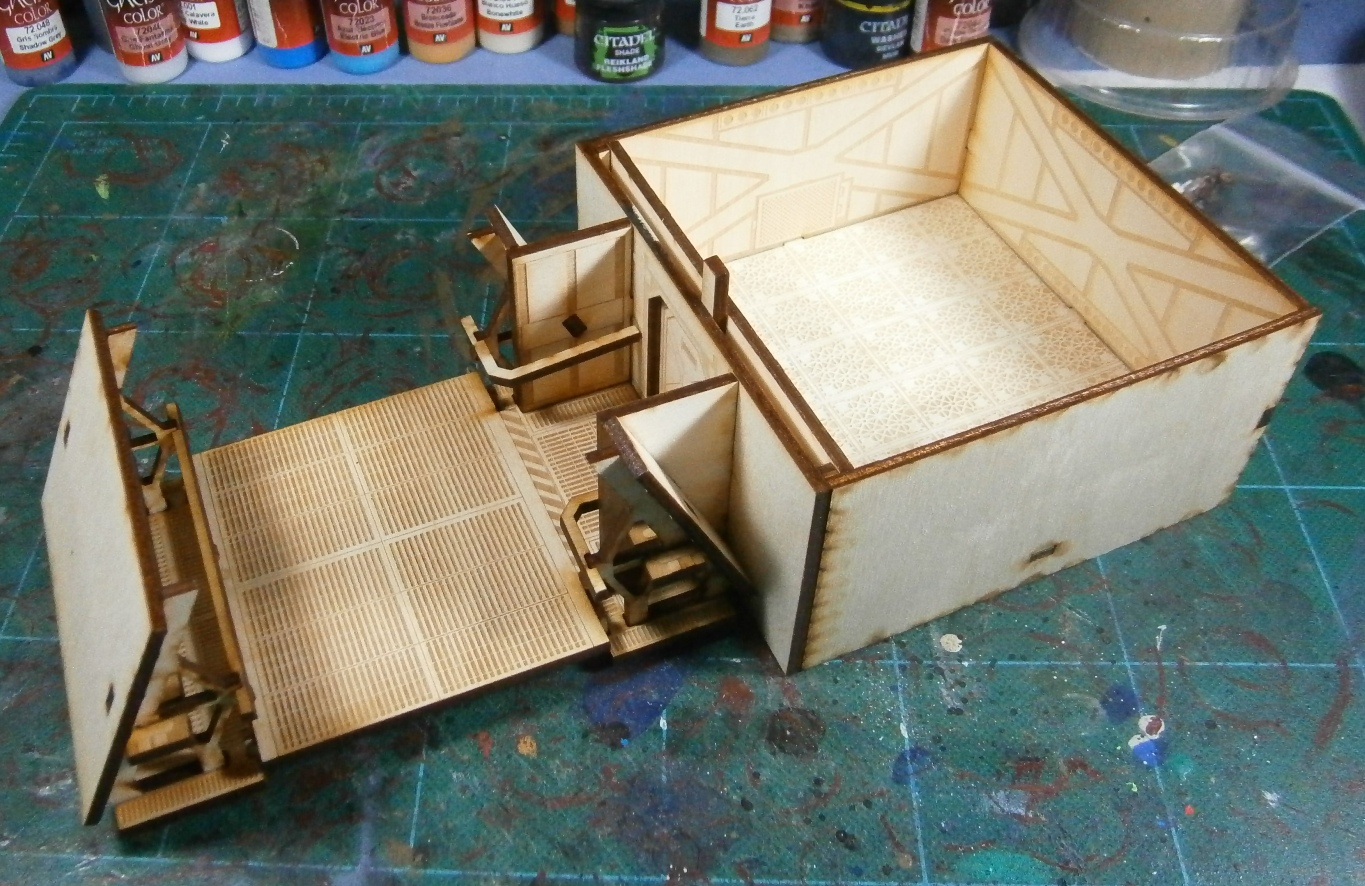
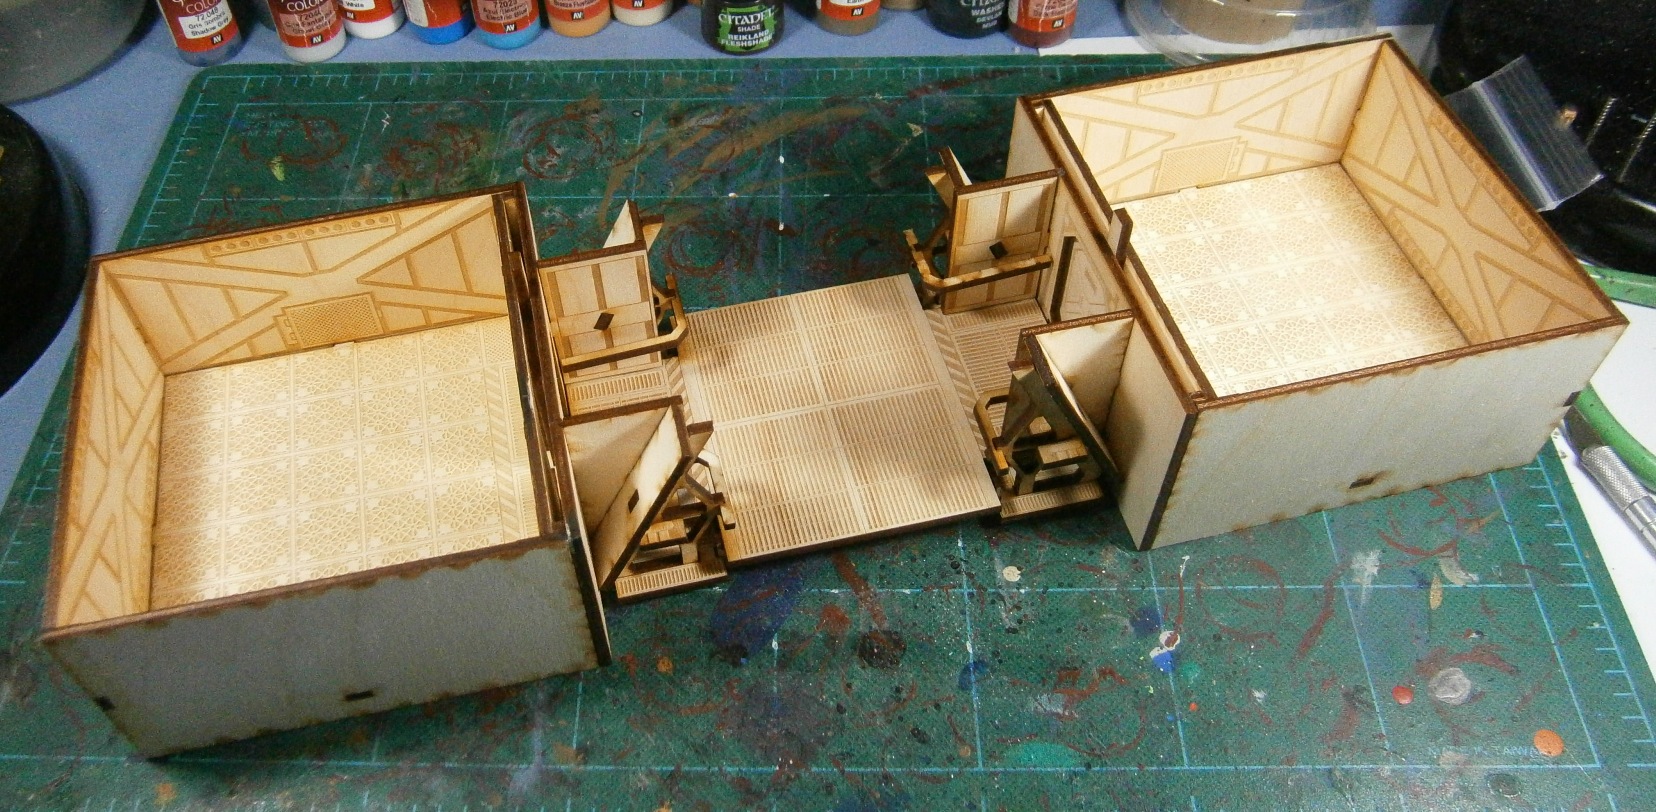
Holy moly was that ever a lot of wood and glue! Spent the last week's hobby time finishing up the build of the Bug Hunt Corridors, which was surprisingly much more fun than I had anticipated. As the sections came together, I just added them to a rambling complex on the hobby table, eventually covering the better part of a 6'x4' area!
Really looking forward to using this set in a game soon, either in a game of Zone Mortalis or in one of our various sci-fi RPG games - seems like it'll be perfect for Rogue Trader or Shadowrun!
For storage, I picked up a good sized plastic tub and spent an hour arranging and rearranging until I managed to find a configuration that would actually hold everything and still be able to get the lid on. At that point I realized that I'd never remember this exact configuration after unpacking it, which was a definite concern!
In order to help things sit flat in the tub, I'd cut a piece of cardboard to more or less fit the bottom, and then did a careful unpack, taking the time to write in the configuration. Job sorted and everything loaded back up in a flash!
Before I packed it up however, representatives from the Benevolent Cult of the Four Armed Emperor prowled the halls for a bit and they seemed pleased with the new accommodations...
Definitely a nice change of pace to do some building rather than painting for a while, but now I'm itching to get back to the Iron Hands. Just three weeks to go before the event in Memphis!
Really looking forward to using this set in a game soon, either in a game of Zone Mortalis or in one of our various sci-fi RPG games - seems like it'll be perfect for Rogue Trader or Shadowrun!
For storage, I picked up a good sized plastic tub and spent an hour arranging and rearranging until I managed to find a configuration that would actually hold everything and still be able to get the lid on. At that point I realized that I'd never remember this exact configuration after unpacking it, which was a definite concern!
In order to help things sit flat in the tub, I'd cut a piece of cardboard to more or less fit the bottom, and then did a careful unpack, taking the time to write in the configuration. Job sorted and everything loaded back up in a flash!
Before I packed it up however, representatives from the Benevolent Cult of the Four Armed Emperor prowled the halls for a bit and they seemed pleased with the new accommodations...
Definitely a nice change of pace to do some building rather than painting for a while, but now I'm itching to get back to the Iron Hands. Just three weeks to go before the event in Memphis!
Labels:
Terrain
Wednesday, December 18, 2013
Adeptus Mechanicus - Castellax complete! ...Well 99%
Took advantage of another reasonably warm day to finish off the Castellax and get 'em sealed:
Added a bit more gold trim here and there, I'd considered painting the weapon housings in white but in retrospect I'm glad I didn't - think it would have made them a bit too bright. ...And Christmas-y. I'm going to gloss-coat the black faceplate to match the Thallax, but apparently I didn't screw the lid on tight last time I'd used it, and it was a solid gloopy mess. Gotta pick up a new bottle!
Added the cog-tooth pattern to the left shoulder guard to match the Thallax unit from earlier, always nice to have a common theme running through the various units to tie 'em all together!
Oh the ammo feeds. They were most definitely not the right shape to fit straight out of the bags. Mush hot water bending and a modicum of cursing preceded their fitting!
Similar to the left shoulder guard, the right got roman numerals. The scattering of static grass on the base sets off the red and gold on the models fairly well. I wish I'd made the bases a bit more interesting (or had gone with resin terrain bases), but the rest of the Ad-Mech I have are on this style so I'm sort of stuck maintaining the method. Nevertheless, quite pleased with how they turned out! Seems like they have the potential to be rather nasty on the tabletop as well, though I have yet to give them their first trial by fire!
Next up, more Iron Hands...
Added a bit more gold trim here and there, I'd considered painting the weapon housings in white but in retrospect I'm glad I didn't - think it would have made them a bit too bright. ...And Christmas-y. I'm going to gloss-coat the black faceplate to match the Thallax, but apparently I didn't screw the lid on tight last time I'd used it, and it was a solid gloopy mess. Gotta pick up a new bottle!
Added the cog-tooth pattern to the left shoulder guard to match the Thallax unit from earlier, always nice to have a common theme running through the various units to tie 'em all together!
Oh the ammo feeds. They were most definitely not the right shape to fit straight out of the bags. Mush hot water bending and a modicum of cursing preceded their fitting!
Similar to the left shoulder guard, the right got roman numerals. The scattering of static grass on the base sets off the red and gold on the models fairly well. I wish I'd made the bases a bit more interesting (or had gone with resin terrain bases), but the rest of the Ad-Mech I have are on this style so I'm sort of stuck maintaining the method. Nevertheless, quite pleased with how they turned out! Seems like they have the potential to be rather nasty on the tabletop as well, though I have yet to give them their first trial by fire!
Next up, more Iron Hands...
Labels:
Castellax,
Mechanicum,
Robots
Sunday, December 15, 2013
Terrain - Bug Hunt Corridors arrive!
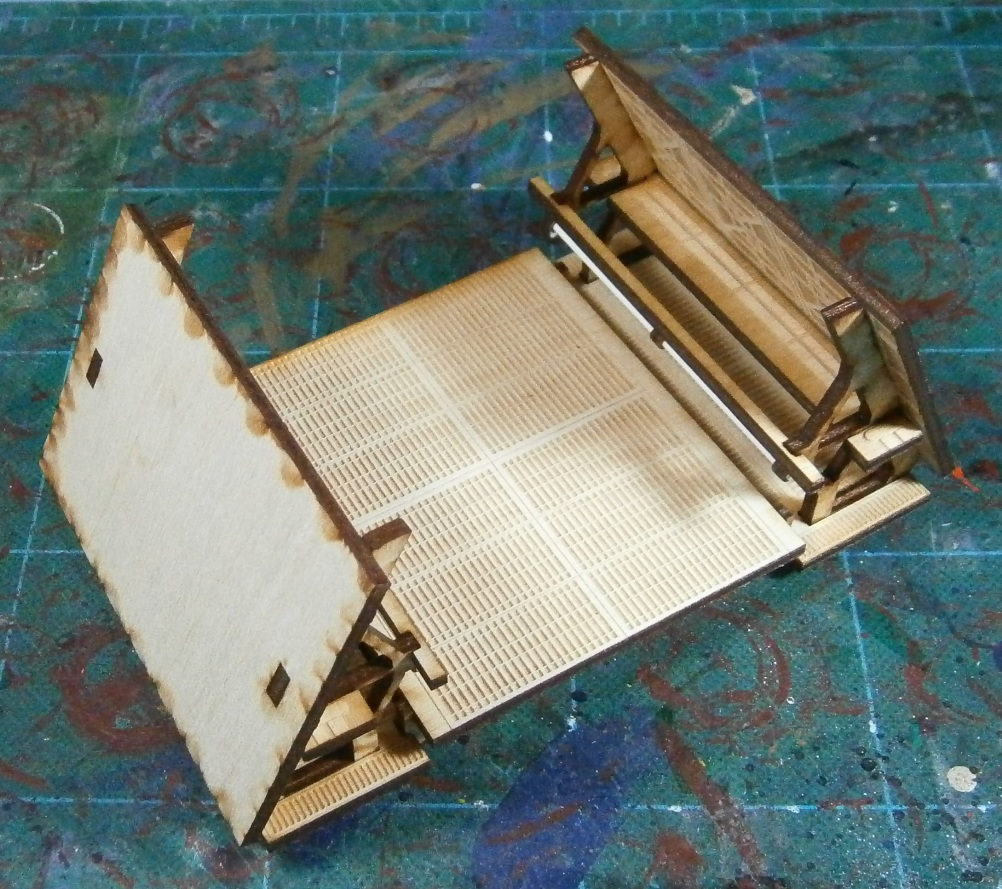
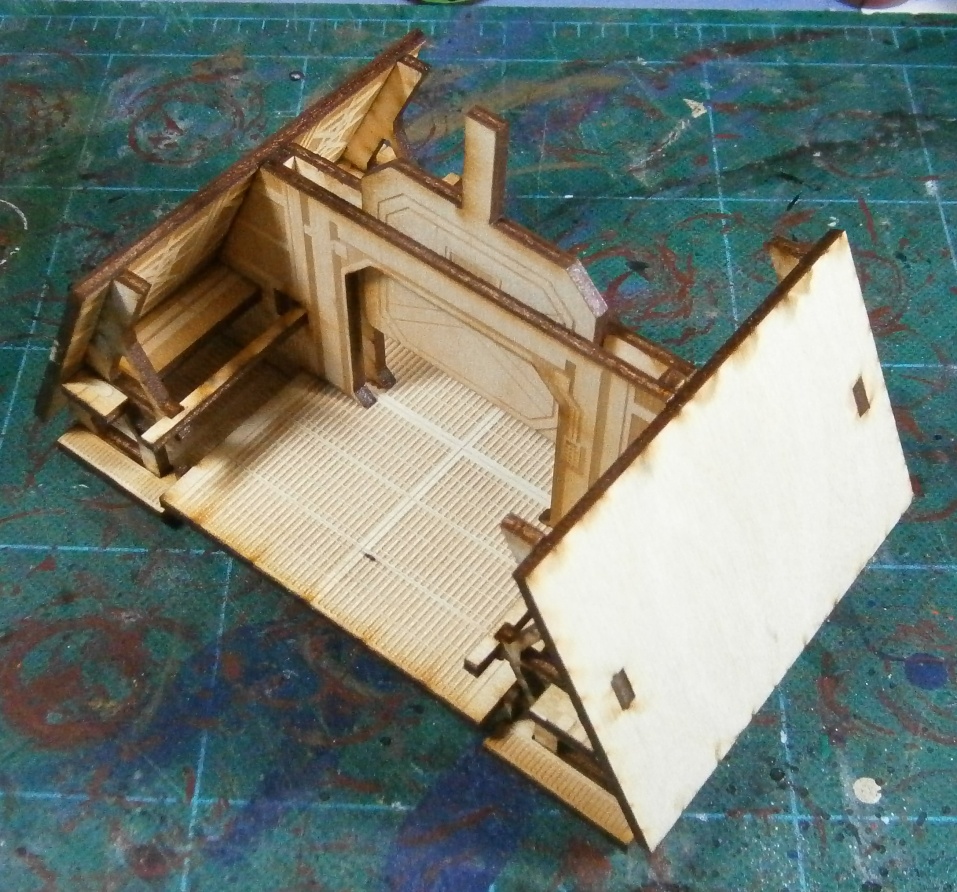
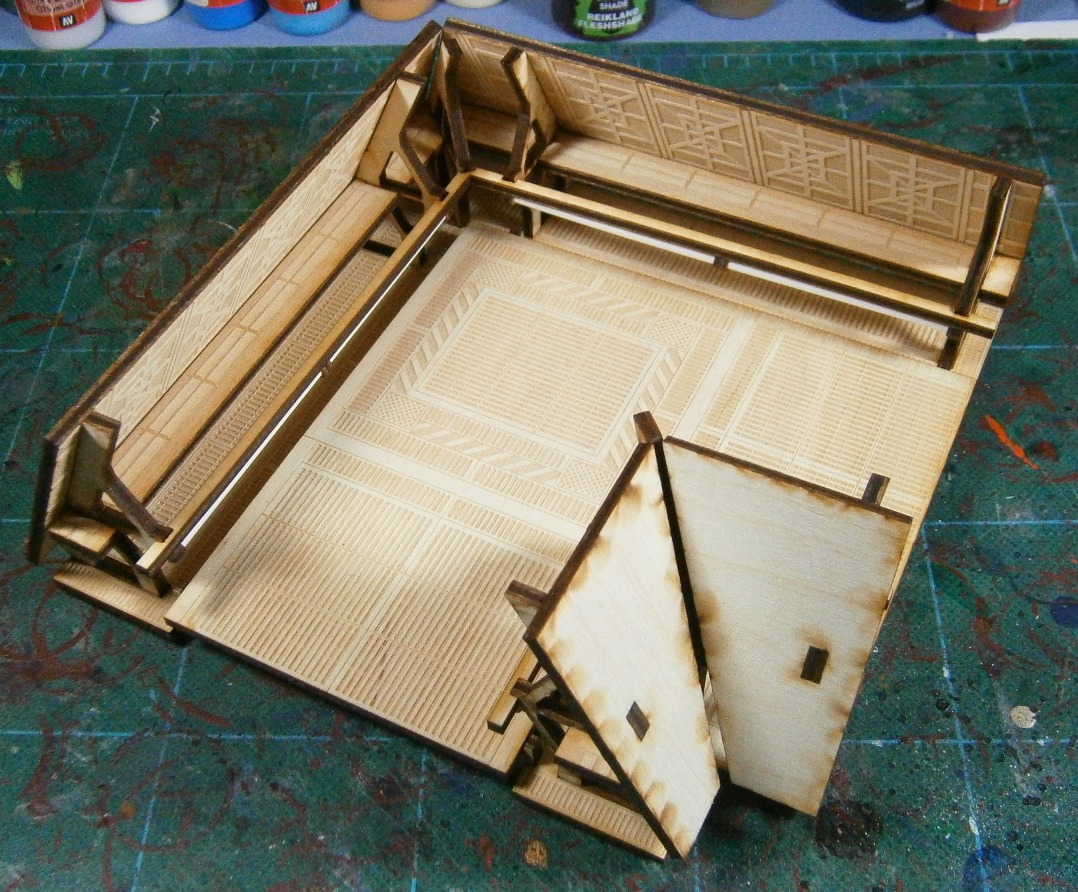
A while back I pitched in on the Bug Hunt Corridors Kickstarter, and have been eagerly awaiting its arrival. Yesterday, my patience was rewarded and a big ol' box showed up! Spent a little time laying things out and put a couple example pieces together and snapped some pics:
I sprung for the level 3 corridor bundle which is a huge whack of laser cut plywood. I was astonished to see just how well organized the various sections were - each in their own bag, and completely separated and cleaned up. No punching anything out, just unbag and go!
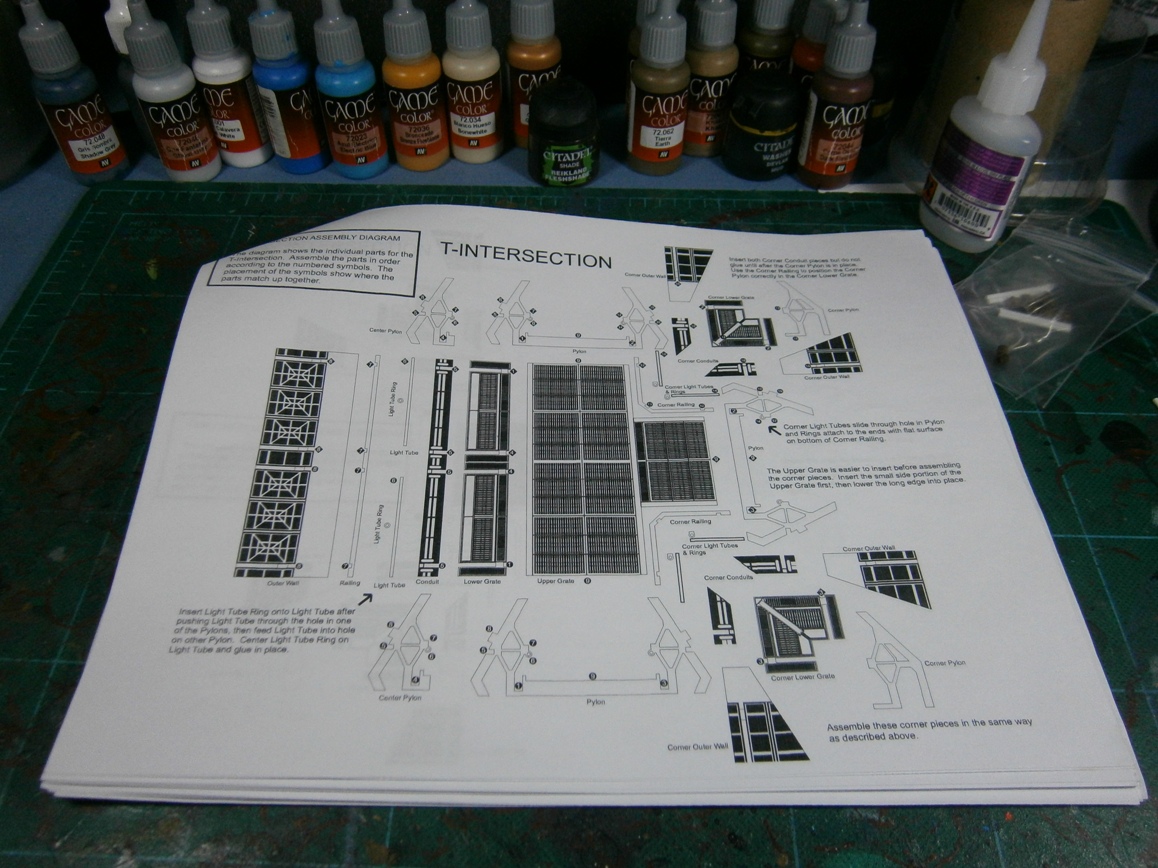
The instructions are phenomenal as well, fully exploded diagrams with detailed build order and suggested ideas for making it surprisingly simple! I decided to build one each of the various pieces to get a feel for the process, as we'll see below:
The ubiquitous straight section. There's eighteen of 'em, that's gonna take a while to build!
Included are the option to add a bulkhead door in the middle of the straight sections, though it's a permanent addition. I plan on doing 4 or 5 of these and leave the majority plain straights.
The set included a trio of corners...
Three "T" intersections...
...And three 4-way intersections. I find the small 'internal' corners to be rather fiddly, and the 4-ways have four of 'em each. This is probably the hardest section to assemble in my opinion.
There's also a wide corridor section, with two connector sections and three wide internal sections which will make a nice big open area.
In addition to hallways, there are also a number of rooms. A trio of 'em that attach to the end of hallways and help close off the open ends.
There are also three sections with a room attached to the side of a corridor...
...and a trio with rooms to either side of the hallway.
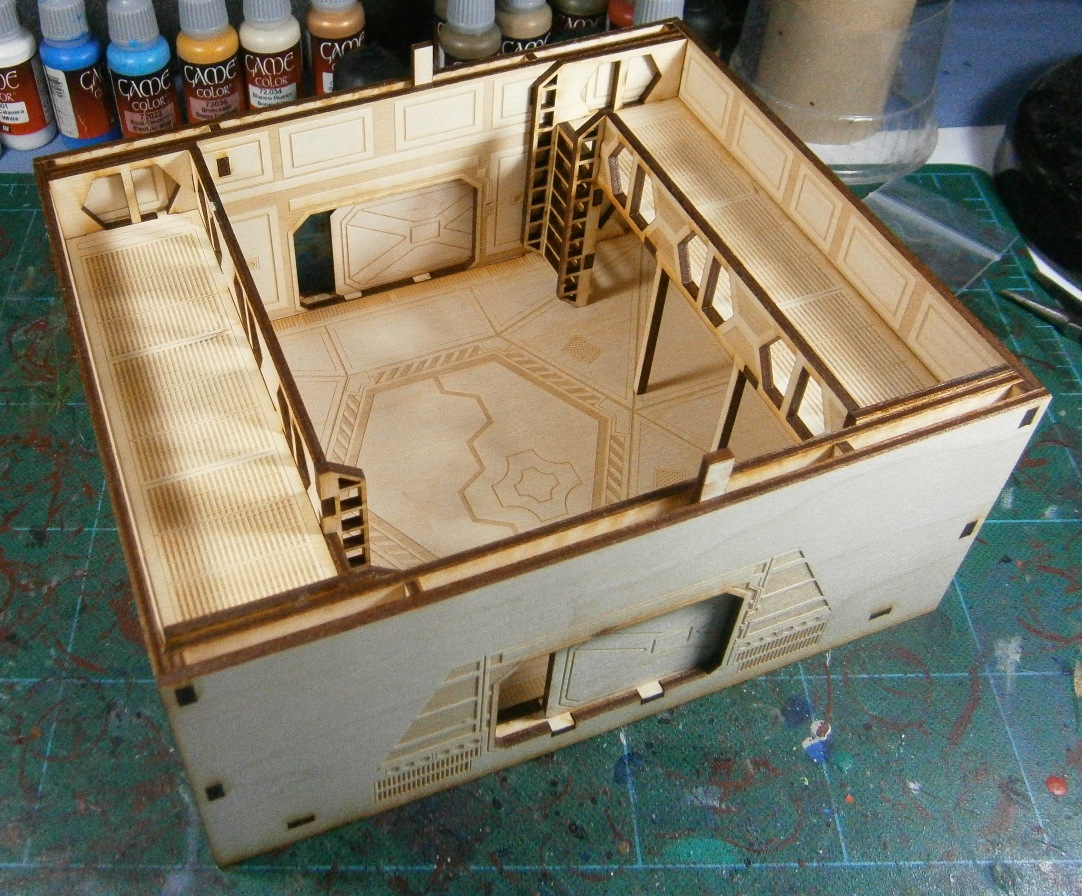
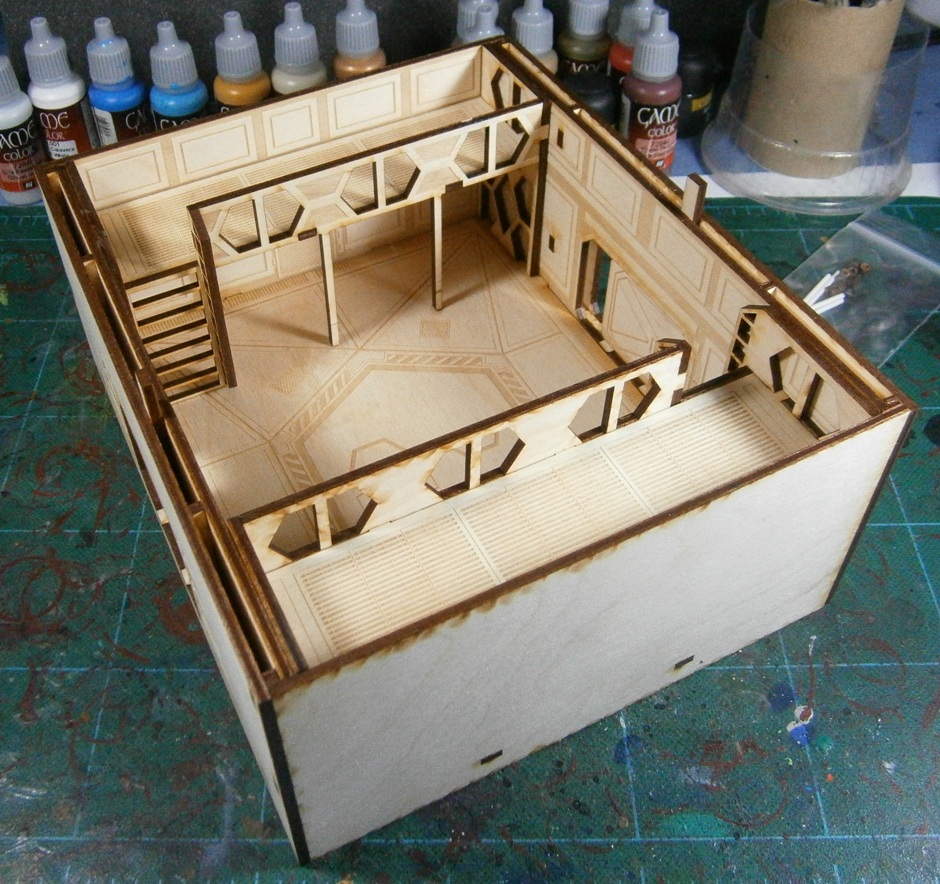
There are also a pair of larger cargo bays, which were one of the add-on room options. I quite like this one!
And lastly are a pair of Airlocks which provide access to the exterior of the corridor layouts. Quite looking forward to trying out some Zone Mortalis at some point in the future, though I still have a whole bunch more corridors to build before that!
The sections are significantly easier to assemble than I'd feared, but still rather challenging - you really do have to build them in a a particular order and way. All in all I'm really quite pleased with the results, and I definitely consider this a Kickstarter that did things right!
I sprung for the level 3 corridor bundle which is a huge whack of laser cut plywood. I was astonished to see just how well organized the various sections were - each in their own bag, and completely separated and cleaned up. No punching anything out, just unbag and go!
The instructions are phenomenal as well, fully exploded diagrams with detailed build order and suggested ideas for making it surprisingly simple! I decided to build one each of the various pieces to get a feel for the process, as we'll see below:
The ubiquitous straight section. There's eighteen of 'em, that's gonna take a while to build!
Included are the option to add a bulkhead door in the middle of the straight sections, though it's a permanent addition. I plan on doing 4 or 5 of these and leave the majority plain straights.
The set included a trio of corners...
Three "T" intersections...
...And three 4-way intersections. I find the small 'internal' corners to be rather fiddly, and the 4-ways have four of 'em each. This is probably the hardest section to assemble in my opinion.
There's also a wide corridor section, with two connector sections and three wide internal sections which will make a nice big open area.
In addition to hallways, there are also a number of rooms. A trio of 'em that attach to the end of hallways and help close off the open ends.
There are also three sections with a room attached to the side of a corridor...
...and a trio with rooms to either side of the hallway.
There are also a pair of larger cargo bays, which were one of the add-on room options. I quite like this one!
And lastly are a pair of Airlocks which provide access to the exterior of the corridor layouts. Quite looking forward to trying out some Zone Mortalis at some point in the future, though I still have a whole bunch more corridors to build before that!
The sections are significantly easier to assemble than I'd feared, but still rather challenging - you really do have to build them in a a particular order and way. All in all I'm really quite pleased with the results, and I definitely consider this a Kickstarter that did things right!
Labels:
Terrain
Saturday, December 14, 2013
Heresy Era Iron Hands - Cataphractii Terminators Painted
Had a reasonably warm day yesterday and I was finally able to get some models that have been finished for a while now sealed! First up is the unit of Cataphractii Terminators:
The limited palette really worked out well on these guys, as they all have a nice bright blue spot color on the various power weapons and plasma coils. Being vets, I wanted to give them a bit of gold as well, but wanted to keep that subtle.
Not the best pic of the sergeant and plasma blasters, I'll have to rectify that. The sergeant gets a cyber-familar, which boosts his save to an impressive 2+/3++. While I love the reaper autocannons, I found it amusing to have the Iron Hands use a lot of plasma weapons. After all, if it gets hot and blows their hands off then hey - more bionics! Heh. All three got lightning claws as I wanted to get a few swipes in at a reasonable initiative in melee.
In that vein, four of the troopers carry combi-plasmas and power fists. I continued the iron-colored loricated armor on the rear of the models, which matches up with the Mk.III power armour nicely!
The chainfist has always been my favorite terminator weapon, so the unit gets a trio of 'em! To balance out their cost, the models just end up carrying a basic combi-bolter. Pretty pleased with how they turned out, the tall slate basing really makes them rather imposing when compared with the tac marines!
The limited palette really worked out well on these guys, as they all have a nice bright blue spot color on the various power weapons and plasma coils. Being vets, I wanted to give them a bit of gold as well, but wanted to keep that subtle.
Not the best pic of the sergeant and plasma blasters, I'll have to rectify that. The sergeant gets a cyber-familar, which boosts his save to an impressive 2+/3++. While I love the reaper autocannons, I found it amusing to have the Iron Hands use a lot of plasma weapons. After all, if it gets hot and blows their hands off then hey - more bionics! Heh. All three got lightning claws as I wanted to get a few swipes in at a reasonable initiative in melee.
In that vein, four of the troopers carry combi-plasmas and power fists. I continued the iron-colored loricated armor on the rear of the models, which matches up with the Mk.III power armour nicely!
The chainfist has always been my favorite terminator weapon, so the unit gets a trio of 'em! To balance out their cost, the models just end up carrying a basic combi-bolter. Pretty pleased with how they turned out, the tall slate basing really makes them rather imposing when compared with the tac marines!
Labels:
Horus Heresy,
Iron Hands,
Terminators
Monday, December 9, 2013
Adeptus Mechanicus - Castellax painting continues
Been fiddling around with ideas for lists for the upcoming Betrayal Weekender in Memphis in mid-January at the Memphis Battle Bunker. Definitely looking forward to it! One of the list options I'm pondering is the inclusion of an Adeptus Mechanicus allied detachment - seems fitting for the Iron Hands after all!
Very nearly done with the Castellax now, just needs a little more gold trim here and there and some static grass. Unfortunately it's been bitterly cold here of late (lows of -12F with the days getting all the way up to a blistering 10F) so they're not going to get a sealant coat (and gloss coat on the black faceplates) for quite a while. Brr!
Been knocking out a bunch of Iron Hands as well, pics to follow soon!
Very nearly done with the Castellax now, just needs a little more gold trim here and there and some static grass. Unfortunately it's been bitterly cold here of late (lows of -12F with the days getting all the way up to a blistering 10F) so they're not going to get a sealant coat (and gloss coat on the black faceplates) for quite a while. Brr!
Been knocking out a bunch of Iron Hands as well, pics to follow soon!
Labels:
Castellax,
Mechanicum,
Robots
Wednesday, December 4, 2013
Heresy Era Iron Hands - Of Cataphractii and Characters
Got some good headway on the batch painting, but decided that after getting all the base black and iron on the models that I would just paint them up in units of ten. I think that the terminators and veterans in particular would benefit from some more individual effort.
That said, I pulled out the terminators and got the white weapon housings and leather laid down on 'em. I also added some cog-tooth pattern to the right shoulder pad and left knee to help Iron Hand 'em up a bit. So far, so good!
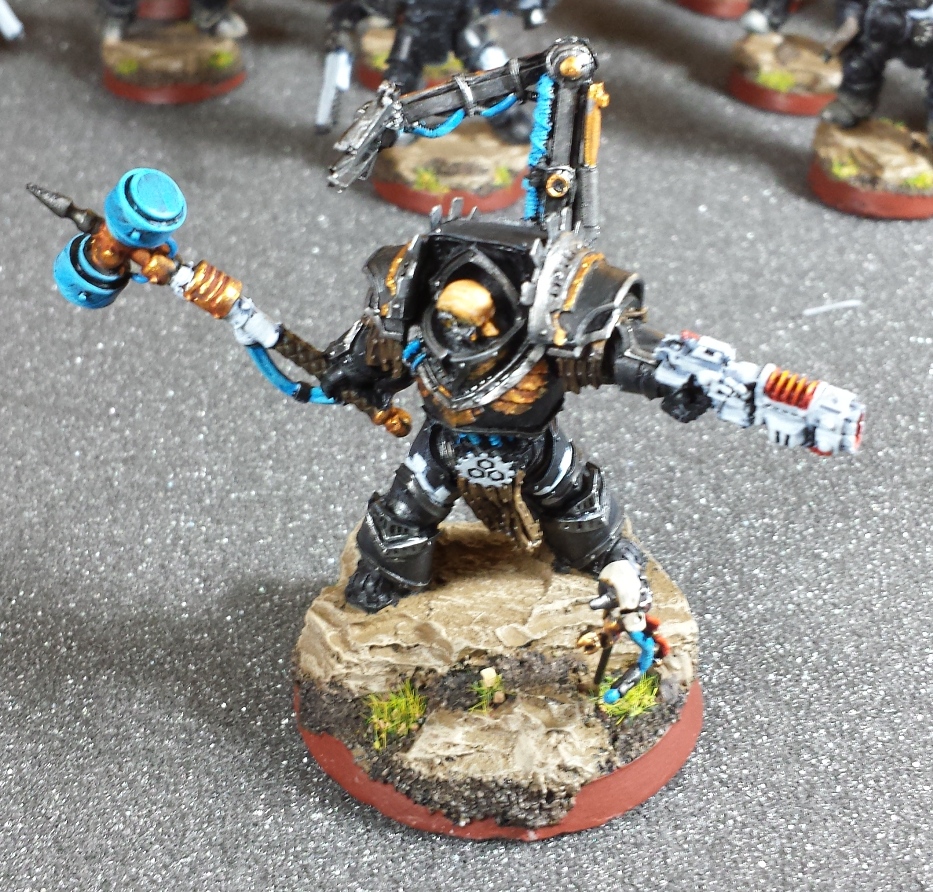
Speaking of terminators, I finished up the Praetor a little while back but realized I hadn't actually taken any photos of it. Rather pleased with him, went with the basic blue on the power cables and thunder hammer, and went with a reddish-orange glow on the Volkite weapon based on the cover art from Tallarn:Executioner.
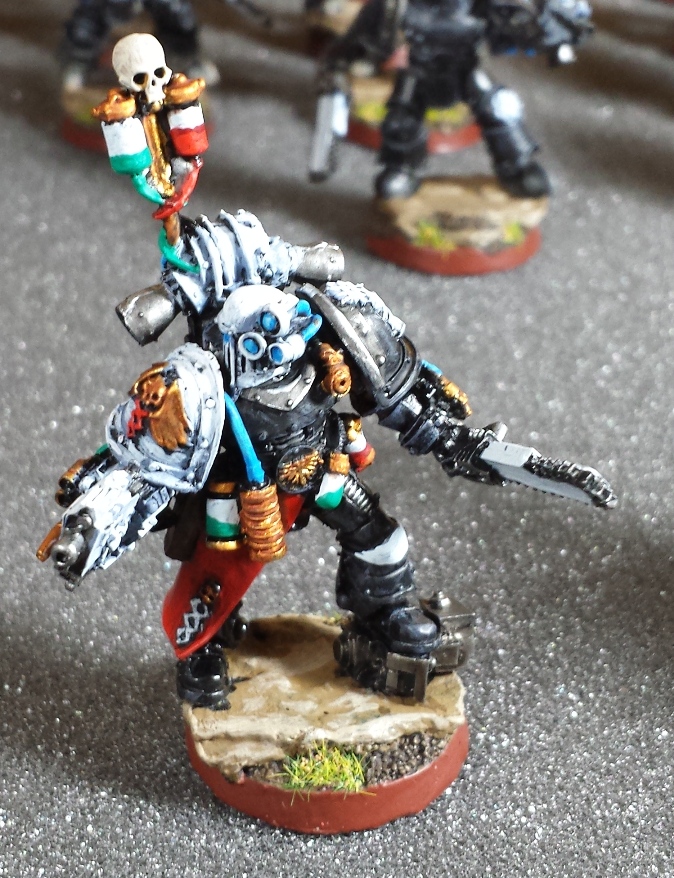
While I was about it I also banged out an Apothecary for the army, went with the color scheme laid out in one of the old compilation books from the RT era - Primarily the default legion paint scheme, with a white helmet, backback and right arm/shoulder pad. Think it worked out pretty well!
That said, I pulled out the terminators and got the white weapon housings and leather laid down on 'em. I also added some cog-tooth pattern to the right shoulder pad and left knee to help Iron Hand 'em up a bit. So far, so good!
Speaking of terminators, I finished up the Praetor a little while back but realized I hadn't actually taken any photos of it. Rather pleased with him, went with the basic blue on the power cables and thunder hammer, and went with a reddish-orange glow on the Volkite weapon based on the cover art from Tallarn:Executioner.
While I was about it I also banged out an Apothecary for the army, went with the color scheme laid out in one of the old compilation books from the RT era - Primarily the default legion paint scheme, with a white helmet, backback and right arm/shoulder pad. Think it worked out pretty well!
Labels:
Apothecary,
Horus Heresy,
Iron Father,
Iron Hands,
Terminators
Sunday, December 1, 2013
Heresy Era Iron Hands - The rest of the infantry built!
It was a jam packed and fun holiday weekend, and I hope all the Yanks had a great thanksgiving! Finally had some free time to put together all the remaining infantry for the army - There was a surprising amount of it as well, photo barrage inbound!
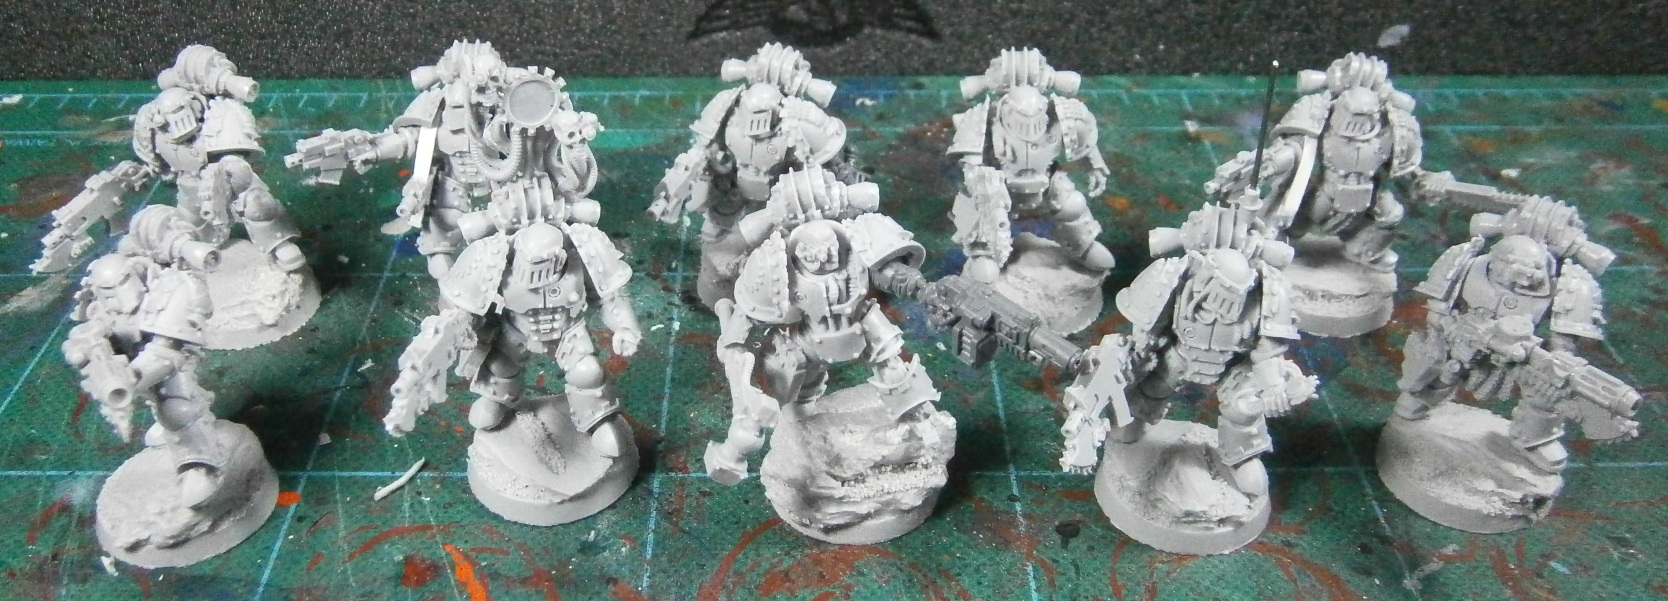
First up is the unit I was most looking forward to building, the Cataphractii Terminator squad. Fairly straightforward to build, though I would say that attaching the shoulder guard to the arm before attaching the arm to the body does make things easier.
I went heavy on the plasma for the unit, it amuses me to think that the dangers of wielding the plasma weaponry just means the opportunity for more bionics. "Lost another arm, sir..." Two plasma blastguns and four combi-plasmas should be good for winnowing down enemy heavy infantry.
Next up is the Veteran squad, composed primarily of the new Iron Hands Legionaries kit. These models are positively dripping with cog-teeth and detail, and should contrast nicely to the 'vanilla' tac marines. This squad is armed with a pair of melta guns, a combi-melta and a thunder hammer. The Tank Hunters veteran skill is the obvious choice, then!
Next up are some odds and bobs to make up the command models for the various tac squads. The sergeants were built from the Legionaries kit as well, so they match up as veteran sergeants. The Voxcaster and Vexilla were then attached to some regular marines, which gives them a little extra Iron Handedness.
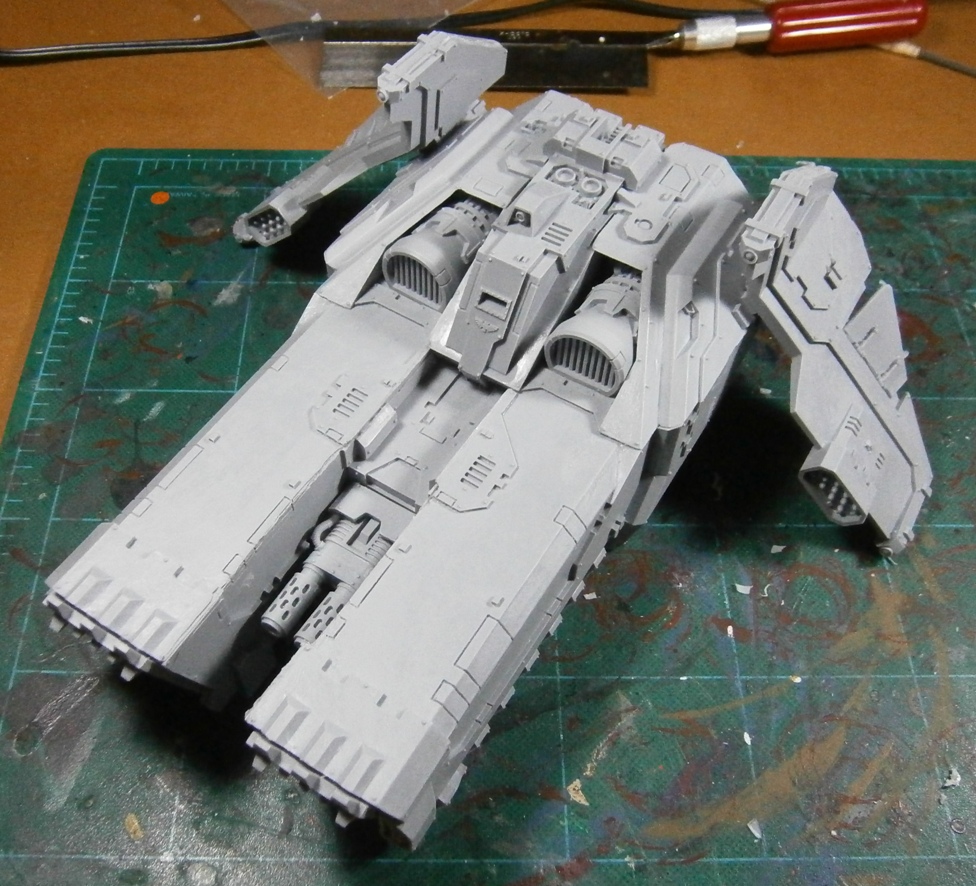
Then it was time to build something big! The Caestus was a breeze to assemble, though there was a fair bit of hot-water-bending required on the assault booms. One they were straightened out however, there's only about ten pieces to the whole model. The wings are attached via a pin-and-magnet arrangement to allow for easier transport - important, as this thing is quite a bit bigger than I'd anticipated!
Of course, if I'm doing the iron hands this was a foregone conclusion...
It was challenging to build, but not the nightmare that I'd feared. This is probably the most beautifully and intricately sculpted model I've ever worked on, I have to admit I'm worried about doing it justice.
The diorama base is a multi-piece affair to which I've attached a few magnets. The pieces lock together surprisingly well, but this definitely makes it secure. On the gaming base, he's definitely a domineering presence!
Now you know I can't leave you without a pic of the batch painting madness! At this point the basic black and iron has been applied to all of the models above (with the exception of the Caestus), which is the heavy lifting pretty much done. Can't let up on the pace though - there's just a little bit more than month left to go before the event!
First up is the unit I was most looking forward to building, the Cataphractii Terminator squad. Fairly straightforward to build, though I would say that attaching the shoulder guard to the arm before attaching the arm to the body does make things easier.
I went heavy on the plasma for the unit, it amuses me to think that the dangers of wielding the plasma weaponry just means the opportunity for more bionics. "Lost another arm, sir..." Two plasma blastguns and four combi-plasmas should be good for winnowing down enemy heavy infantry.
Next up is the Veteran squad, composed primarily of the new Iron Hands Legionaries kit. These models are positively dripping with cog-teeth and detail, and should contrast nicely to the 'vanilla' tac marines. This squad is armed with a pair of melta guns, a combi-melta and a thunder hammer. The Tank Hunters veteran skill is the obvious choice, then!
Next up are some odds and bobs to make up the command models for the various tac squads. The sergeants were built from the Legionaries kit as well, so they match up as veteran sergeants. The Voxcaster and Vexilla were then attached to some regular marines, which gives them a little extra Iron Handedness.
Then it was time to build something big! The Caestus was a breeze to assemble, though there was a fair bit of hot-water-bending required on the assault booms. One they were straightened out however, there's only about ten pieces to the whole model. The wings are attached via a pin-and-magnet arrangement to allow for easier transport - important, as this thing is quite a bit bigger than I'd anticipated!
Of course, if I'm doing the iron hands this was a foregone conclusion...
It was challenging to build, but not the nightmare that I'd feared. This is probably the most beautifully and intricately sculpted model I've ever worked on, I have to admit I'm worried about doing it justice.
The diorama base is a multi-piece affair to which I've attached a few magnets. The pieces lock together surprisingly well, but this definitely makes it secure. On the gaming base, he's definitely a domineering presence!
Now you know I can't leave you without a pic of the batch painting madness! At this point the basic black and iron has been applied to all of the models above (with the exception of the Caestus), which is the heavy lifting pretty much done. Can't let up on the pace though - there's just a little bit more than month left to go before the event!
Labels:
Caestus,
Ferrus Manus,
Horus Heresy,
Iron Hands,
Primarch,
Terminators
Subscribe to:
Posts (Atom)